Integrations & API
Module: Settings | Platform: Web
Appello provides several integration points — Twilio for SMS, accounting software connections, and an API credential system for external applications.
Navigation
Access these from three separate Settings screens:
- Settings → Integrations — Twilio SMS
- Settings → Accounting Integrations — Accounting software
- Settings → API Credentials — OAuth / API keys
Zapier does not have its own Settings screen. It is set up from Settings → API Credentials -- see Zapier below.
Integrations (Twilio SMS)
Where it is: Sidebar → Settings → Integrations. Settings opens as an overlay panel over whatever page you're on -- there is no separate URL for it.
Configure Twilio to enable SMS notifications for your Appello instance.
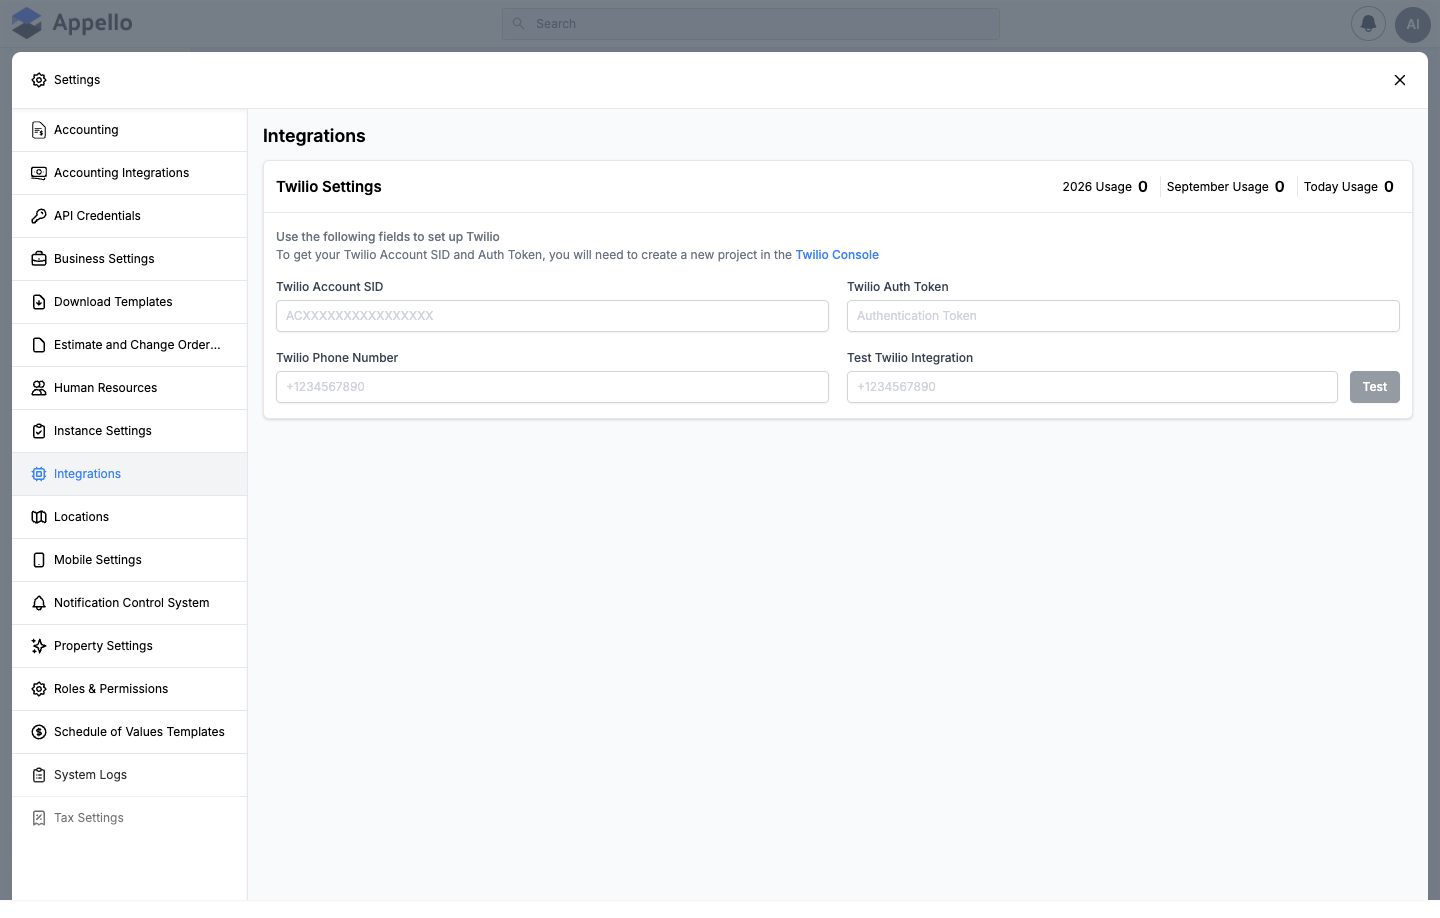
The Integrations tab shows a single card, Twilio Settings -- the screenshot above is the whole tab, and there is no separate Twilio sub-tab. There are also no webhook cards, no Dropbox Sign / e-signature controls, and no accounting-system picker inside this tab. Dropbox Sign lives on its own Human Resources Integration sidebar entry (see Dropbox Sign lives elsewhere below), and the accounting system picker lives on the separate Accounting Integrations tab documented next on this page.
Fields
| Field | Required | Type | Effect |
|---|---|---|---|
| Twilio Account SID | No | Text | Your Twilio account identifier (starts with AC). Stored on the instance record. |
| Twilio Auth Token | No | Text | Authentication token from the Twilio Console. Stored on the instance record. |
| Twilio Phone Number | No | Phone | The Twilio phone number Appello sends SMS from. |
| Test Twilio Integration | No | Phone | A phone number to send a one-off test SMS to. The Test button is disabled until all three Twilio fields above and this field are filled in. |
There is no separate enable/disable toggle for Twilio. SMS sending is effectively "on" for an instance as soon as all three account fields are saved, and "off" -- silently skipped, and logged as "Twilio is not configured" -- whenever any of them is blank.
Setting up Twilio
- Create a project in the Twilio Console and copy its Account SID and Auth Token.
- Enter the Account SID, Auth Token, and the Twilio Phone Number that will send messages.
- Optional: enter a phone number under Test Twilio Integration and click Test to confirm the credentials work before saving.
- Save. The usage counters in the card header (current year / current month / today) start reflecting Twilio message volume once messages go out.
What Twilio SMS is used for
Twilio backs one thing: outbound SMS notifications. When an event fires that a user's notification preferences allow over SMS, Appello looks up that user's phone number from their Employee Data record and sends the message; if no Twilio credentials are configured, or the user has no phone number on file, the attempt is skipped and logged rather than failing loudly. Which notification types go out over SMS (and whether SMS is on or off per type, and per user) is controlled on Notification Control System, not here.
PIN resets are sent by email (a reset link -- there is no SMS version), and guest links (RFI, form, or share links) are not sent over SMS either. The only thing Twilio is used for is the general notification-preferences SMS channel described above.
Dropbox Sign lives elsewhere
Appello's Dropbox Sign / e-signature configuration is not part of the Integrations tab. It's a separate sidebar entry, Human Resources Integration, with its own Dropbox Sign Connection Status and Dropbox Sign Logs sub-tabs. That entry is hidden entirely unless Dropbox Sign is enabled for your instance by your Appello administrator or Appello support -- it is off on the demo instance used for this page's screenshots, so the entry does not appear in the sidebar there and isn't screenshotted on this page.
Accounting Integrations
Where it is: Sidebar → Settings → Accounting Integrations -- a separate sidebar entry from Integrations above, gated by the Instance Settings View / Edit permissions rather than the Integrations tab's System Settings permission (see Permissions below). It's also distinct from the plain Accounting entry, which manages the chart of accounts (see Accounting).
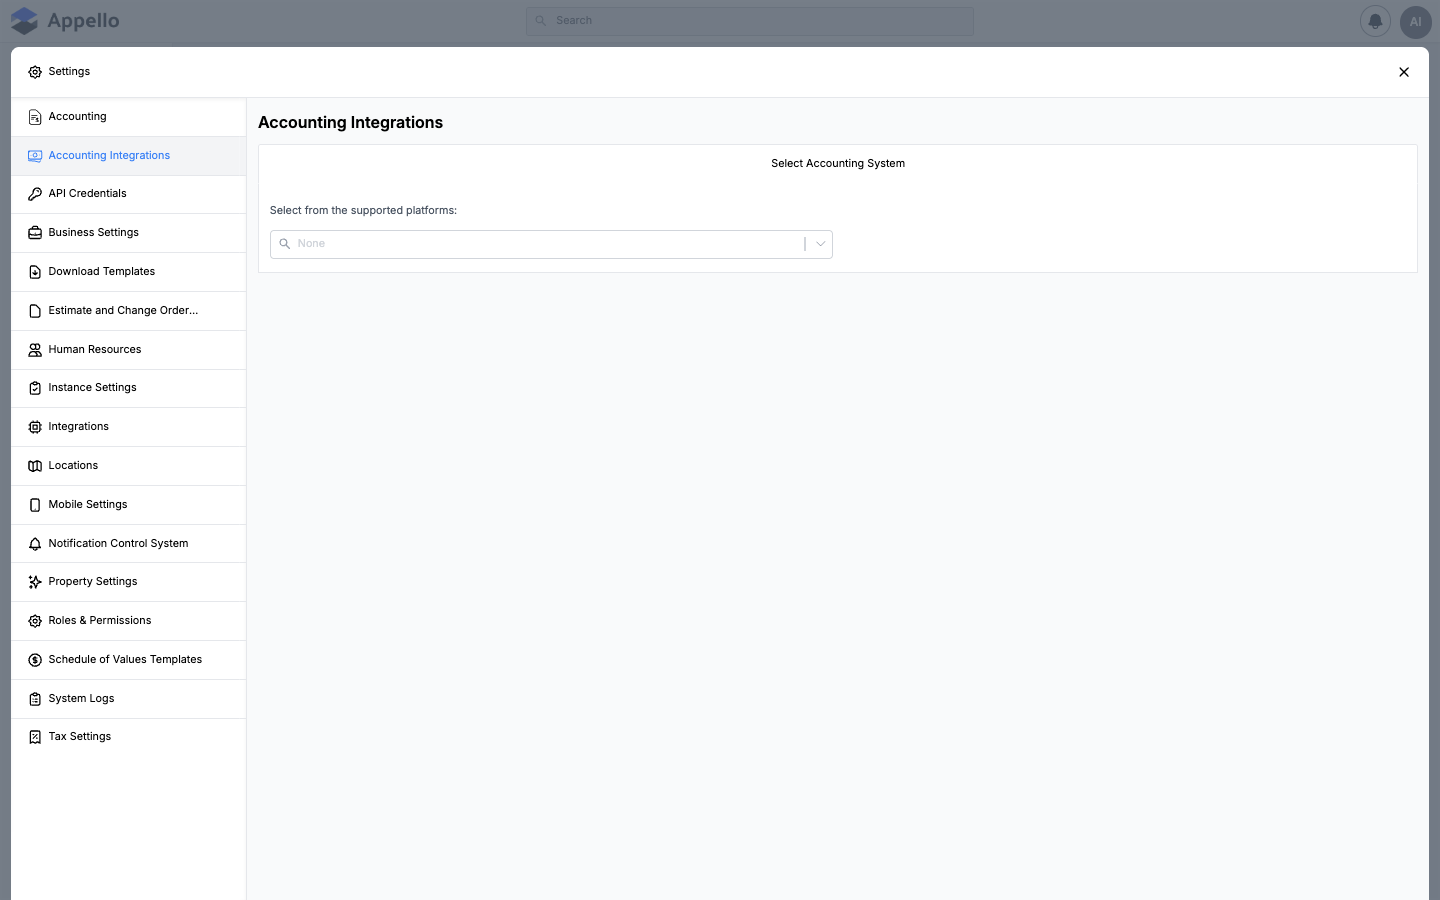
Connect Appello to your accounting software for invoice and financial data synchronization.
Select from supported platforms using the Select Accounting System dropdown. Once connected, configure sync settings, customer/vendor mapping, and GL account mapping.
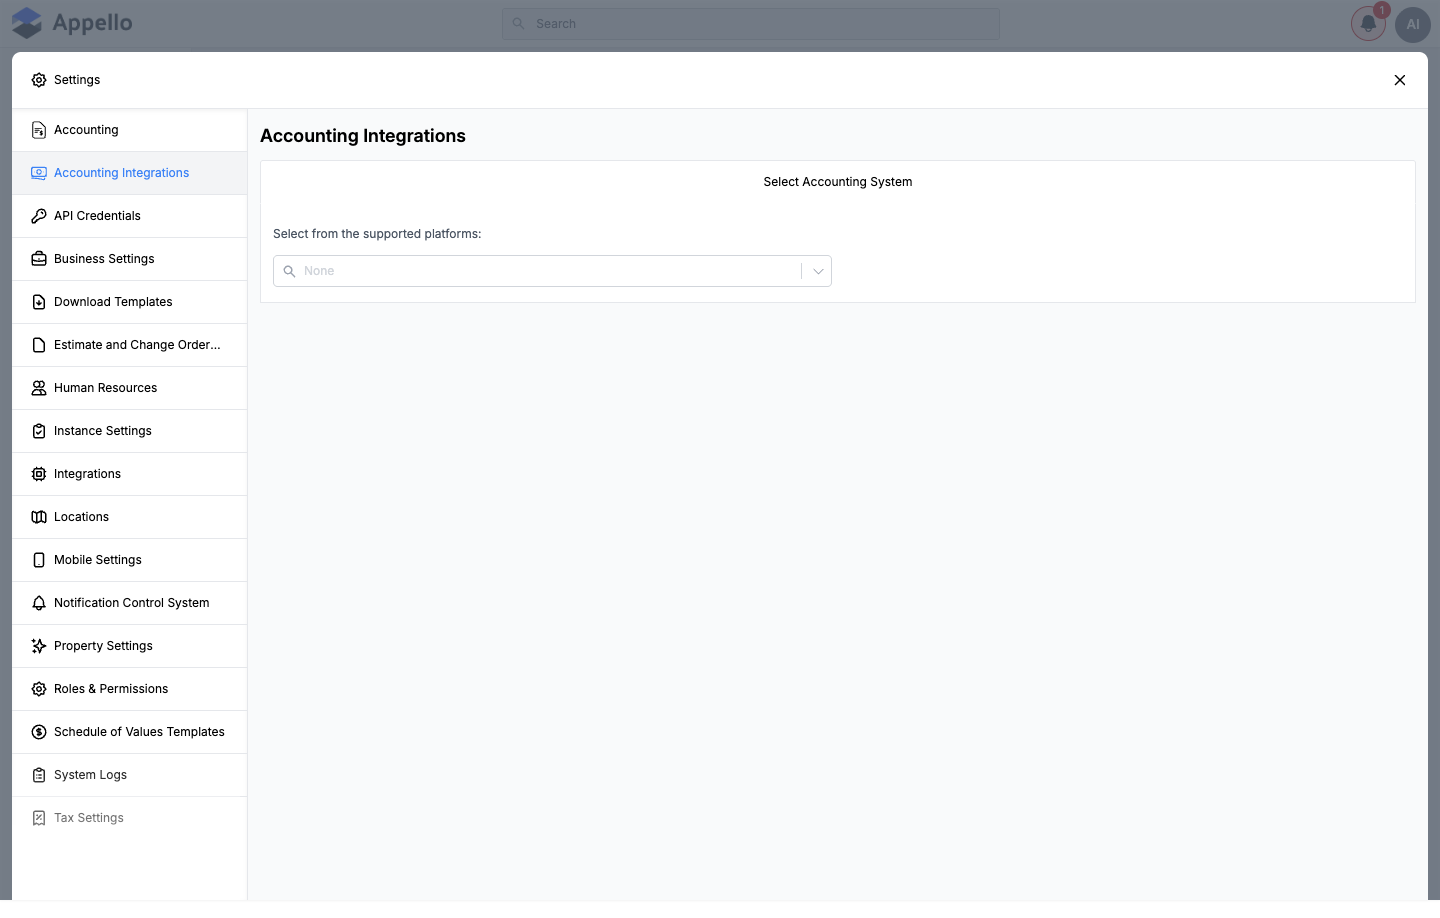
Supported accounting systems
The dropdown lists the accounting systems Appello currently supports, in alphabetical order:
| System |
|---|
| Avantage |
| ComputerEase |
| Dayforce Powerpay |
| Payroll4Construction |
| QuickBook (Desktop) |
| QuickBooks Online |
| Sage50 Canada |
| Sage50 US |
| Spectrum |
Sage 50 (Canada and US editions) is on this list -- it appears as Sage50 Canada and Sage50 US.
For QuickBooks Online setup, see Connecting QuickBooks Online.
This list is confirmed from Appello's accounting-system records (the options a company can select from), not from selecting and connecting each one on a live instance. The demo instance used for this page's screenshot had no accounting system connected (Select Accounting System shows None), and connecting one is a live change this documentation pass does not perform.
API Credentials
Where it is: Sidebar → Settings → API Credentials. Gated by the application
permission (see Permissions below), separately from Integrations and
Accounting Integrations.
What an API credential is
An API credential is an OAuth application record: a Client ID / Client Secret pair, one or more redirect URIs, and a set of grant types, that lets an external system (a script, a middleman like Zapier, or your own backend) authenticate against Appello's public API on your instance's behalf. A credential is not scoped to a narrower set of functions -- there is no "scopes" or "permissions" field limiting what it can call. There is also no expiry date on a credential: it stays valid indefinitely until it is disabled.
An AI assistant such as Claude or ChatGPT does not use these credentials. It connects through the Appello MCP Server and signs in on the Appello login page as the user.
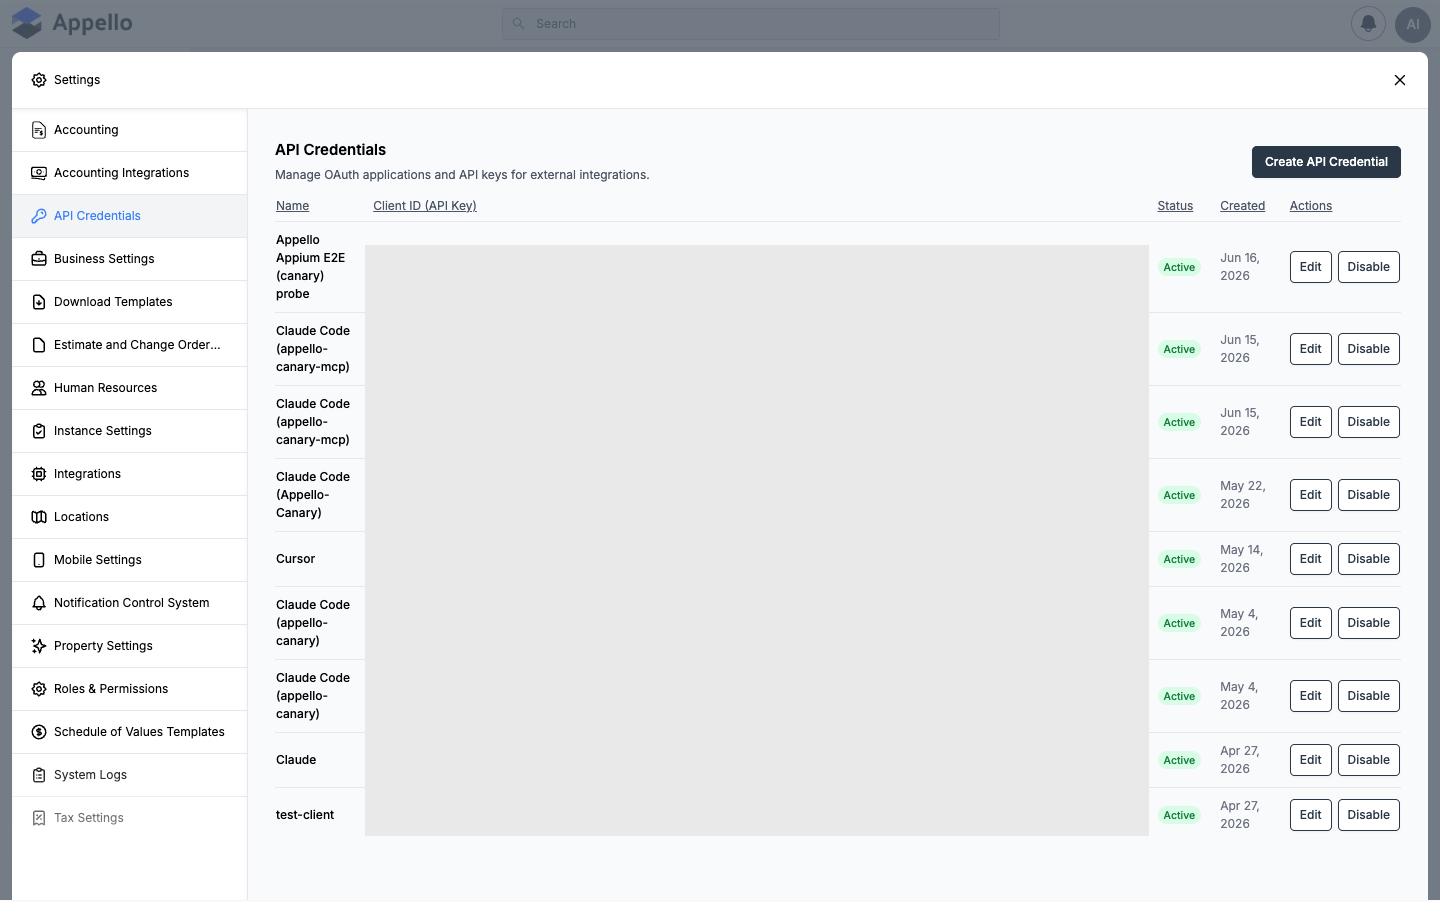
| Column | Description |
|---|---|
| Name | Label for the API credential. |
| Client ID (API Key) | The unique identifier for API authentication. |
| Status | Active or Disabled. |
| Created | Date the credential was created. |
| Actions | Edit (change redirect URIs / grant types) or Disable / Enable the credential. |
Create API Credential — generate a new OAuth app for external systems to authenticate with Appello.
Creating a credential
- Click Create API Credential.
- Fill in the Create OAuth Application form.
- Click Create.
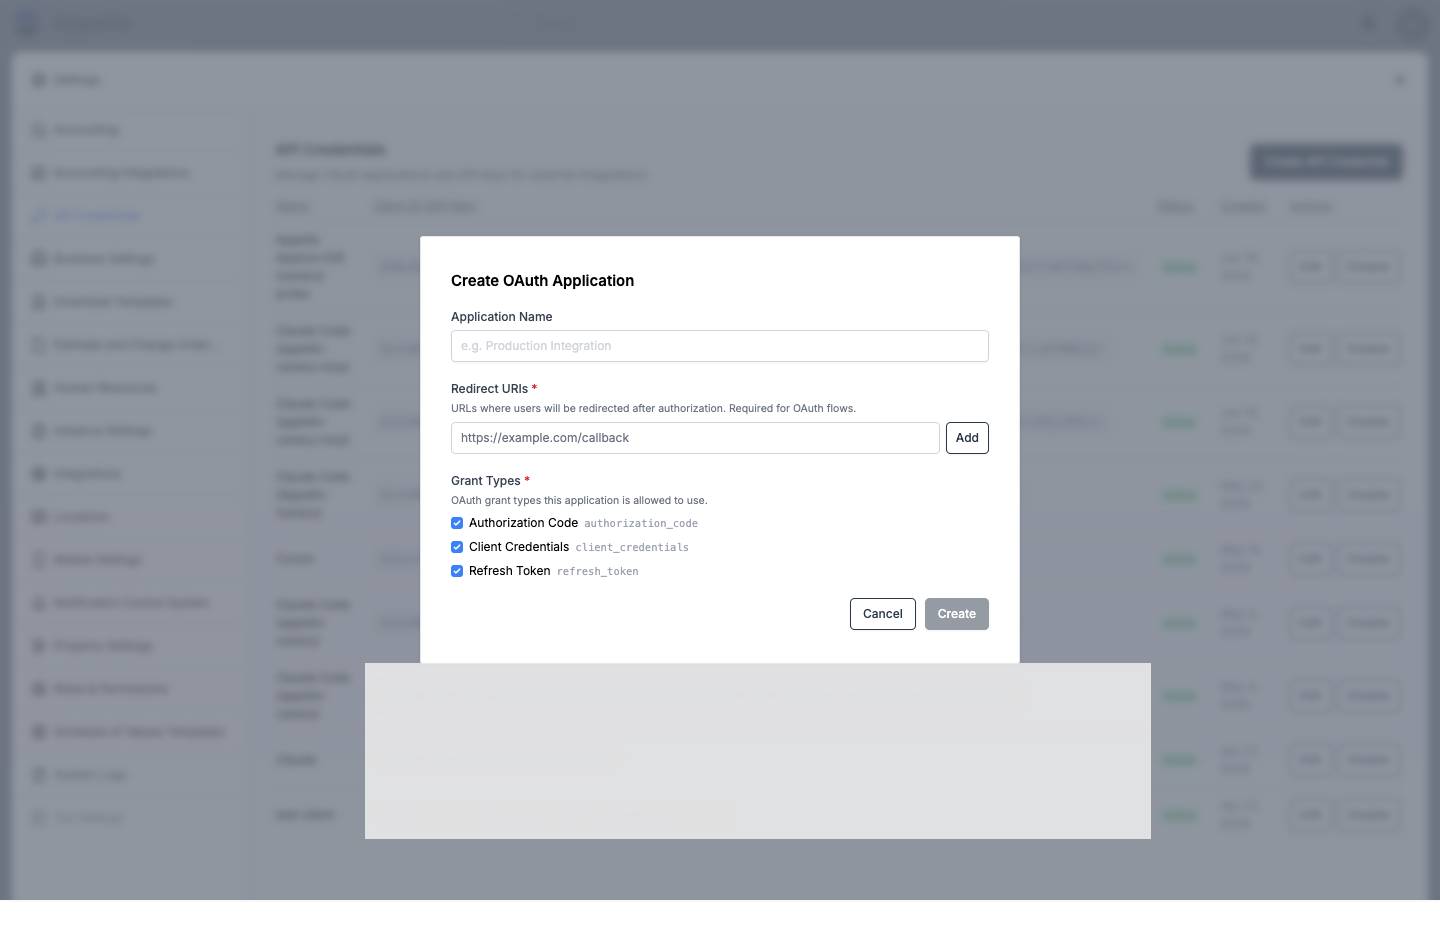
| Field | Description |
|---|---|
| Application Name | A label for the credential, e.g. "Production Integration". |
| Redirect URIs | Required. At least one URL (191 characters or fewer) that the external system will be redirected to after authorization. Add multiple by entering a URL and clicking Add. |
| Grant Types | Required. At least one OAuth grant type this application may use: Authorization Code, Client Credentials, and Refresh Token. All three are checked by default. |
There is no separate "scopes" field -- the grant types above are the only access controls set at creation time.
After you click Create, Appello shows the credential once:
- API URL, Authorization URL, and Token URL — the OAuth endpoints the external system calls.
- Client ID (API Key) — shown here and in the credentials list afterward.
- Client Secret (API Secret) — shown only this one time. Copy it before closing the panel; Appello does not display it again.
This documentation pass opened the Create API Credential panel on the demo instance to confirm its fields and screenshot it, then closed it without clicking Create -- no credential was generated.
Editing a credential
Click Edit in the Actions column to open the Edit OAuth Application panel. It shows the same Authorization URL, Token URL, and Client ID (API Key) as read-only reference, and lets you change the Redirect URIs and Grant Types -- at least one of each is still required. The Application Name cannot be changed here, and the Client Secret is never shown again after creation; editing a credential does not regenerate it.
Disabling and enabling a credential
Use Disable in the Actions column to turn off a credential -- any integration using it stops working immediately. A disabled credential's status changes to Disabled, and the row's action button changes to Enable to turn it back on. There is no delete action; disabling is the way to revoke a credential.
How a credential is used (public API)
A credential created here authenticates against Appello's public API -- the OAuth flow uses the Authorization URL / Token URL shown at creation, and the Zapier integration described below is one consumer of it.
Zapier
Appello does not have a dedicated Zapier settings screen. There is no Zapier entry in the Settings sidebar. The integration works through two pieces:
- An API Credential you generate from Settings → API Credentials (see Creating a credential above).
- The Appello app on Zapier's platform, where you paste that credential's details to connect your account and then build Zaps against Appello's triggers and actions.
The Zapier app's own "Connect Account" screen lives on Zapier's platform rather than in Appello, so it isn't screenshotted here. What follows describes what Appello makes available to Zapier, not the exact wording you'll see in the Zapier editor.
Authentication
Zapier connects to Appello using your Appello username and password, not the Client ID / Secret pair from an API Credential. Appello hands Zapier a pair of access tokens that Zapier stores and reuses on later requests, and re-validates or refreshes them as needed.
Because Zapier signs in with an Appello username and password rather than an OAuth Client ID and Secret, it isn't clear whether an API Credential from Settings → API Credentials is used by the Zapier app's connection screen at all. Check the fields Zapier's "Connect Account" screen actually asks for before generating a credential for it.
What the Zapier app exposes
Once connected, the Appello Zapier app can:
| Capability | Purpose |
|---|---|
| Subscribe to an event | Watches an Appello event so a Zap can start when it happens (this is what backs a trigger). |
| Unsubscribe from an event | Stops watching a previously subscribed event. |
| Create or update a record | Writes to an Appello data model (this is what backs a write action). |
| Create a location | Creates a Location record, as a dedicated action. |
| List a model's fields | Populates the dynamic field pickers in the Zapier editor. |
| Look up a property value | Finds a specific property value. |
| List property types | Lists the available property types. |
These are the capabilities Appello makes available, not necessarily the exact trigger and action names shown in Zapier's editor -- those display names are set on Zapier's platform.
Permissions
Each of the three tabs on this page is gated independently -- having one does not grant the others.
| Tab | View permission | Edit permission |
|---|---|---|
| Integrations (Twilio) | System Settings: View | System Settings: Edit |
| Accounting Integrations | Instance Settings: View | Instance Settings: Edit |
| API Credentials | API Credentials: View | API Credentials: Edit |
Without the edit permission for a tab, its fields are disabled and a banner reads "You don't have the permission to modify this setting." The related Human Resources Integration tab (Dropbox Sign, mentioned above) uses System Settings: View as well, but only appears at all when Dropbox Sign is enabled for your instance.
Related pages
- Connecting QuickBooks Online — setting up the QuickBooks Online connection surfaced by the Select Accounting System dropdown above.
- Accounting — the chart of accounts (account types and categories), a separate Settings screen from Accounting Integrations.
- Notification Control System — turns SMS (and in-app) notifications on or off per notification type; Twilio above only supplies the credentials that make SMS sending possible.