Create a Project
Projects are the top-level container for all work in Appello. Each project groups related jobs, financials, schedules, and documents under a single record.
Prerequisites
- You must be signed in with a role that has project creation permissions (e.g. Admin or Project Manager).
Steps
1. Open the Projects list
Navigate to Operations → Projects in the left sidebar.
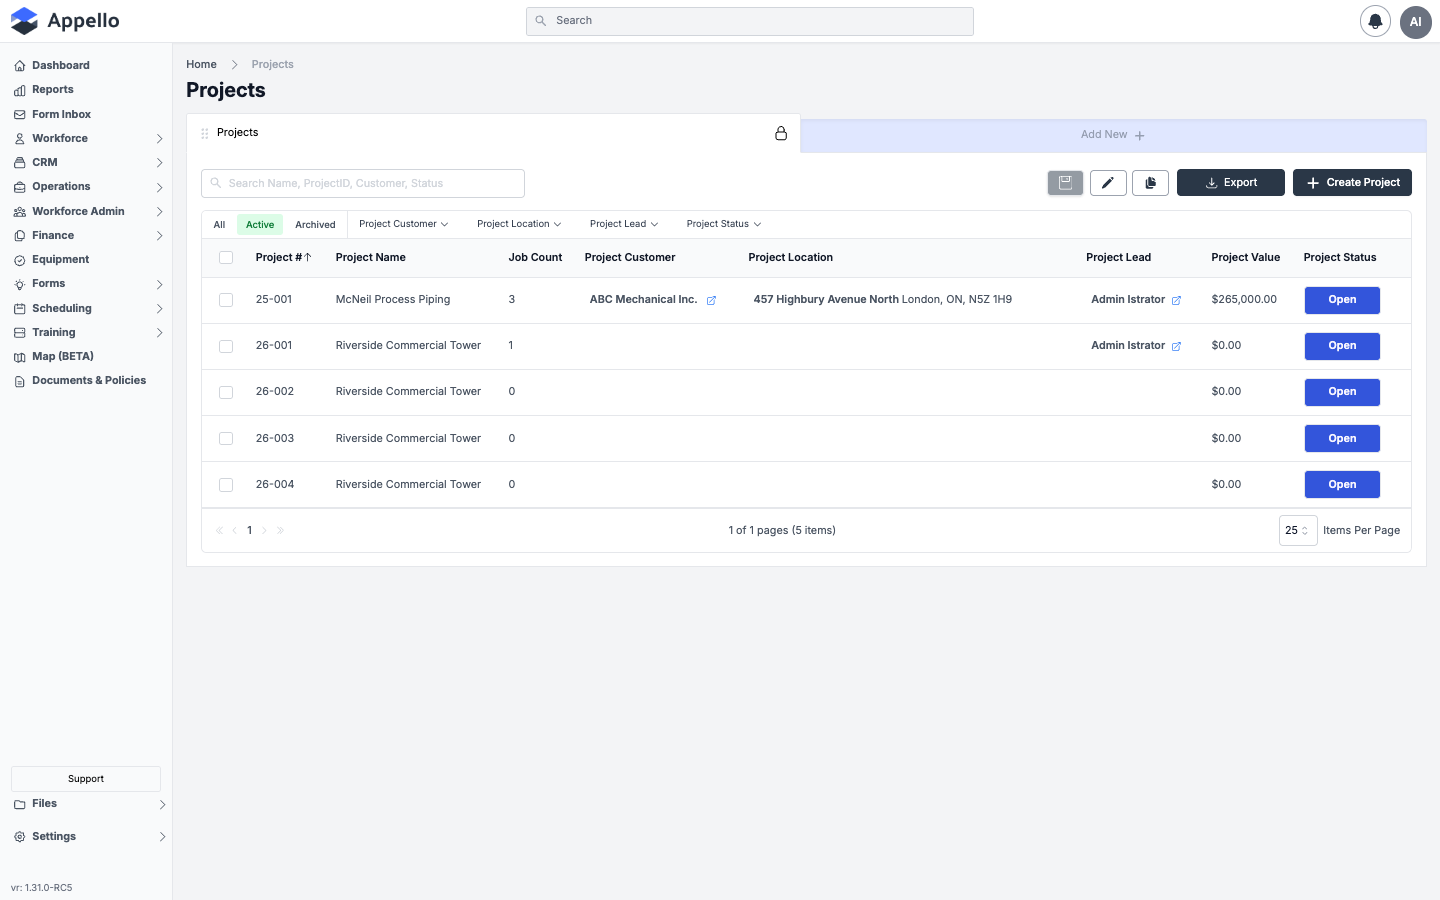
2. Click Add New
Click the green Add New bar at the top of the table. The Create a Project panel slides open on the right.
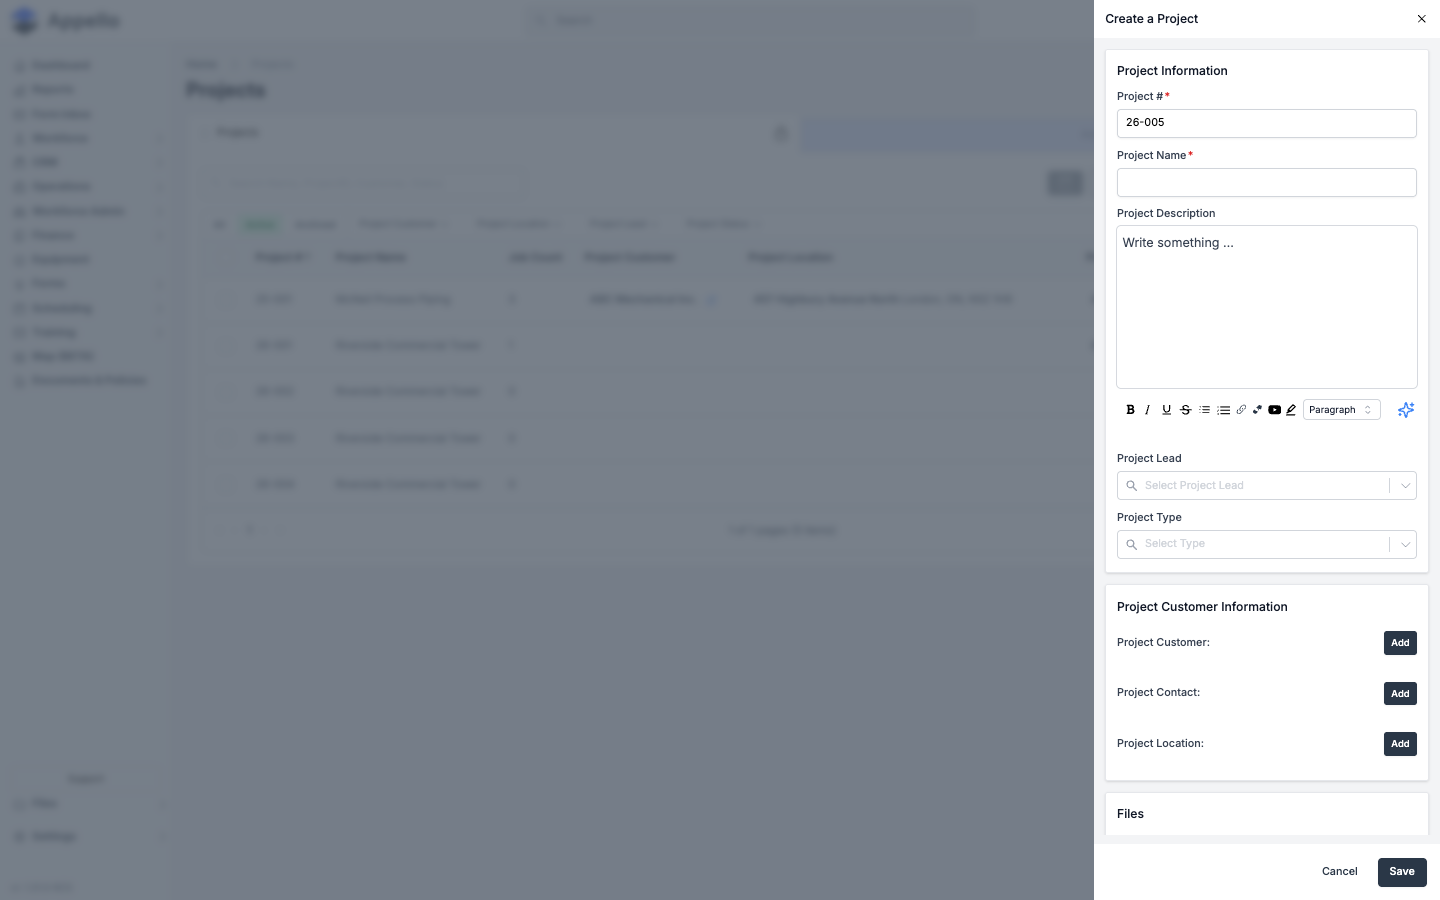
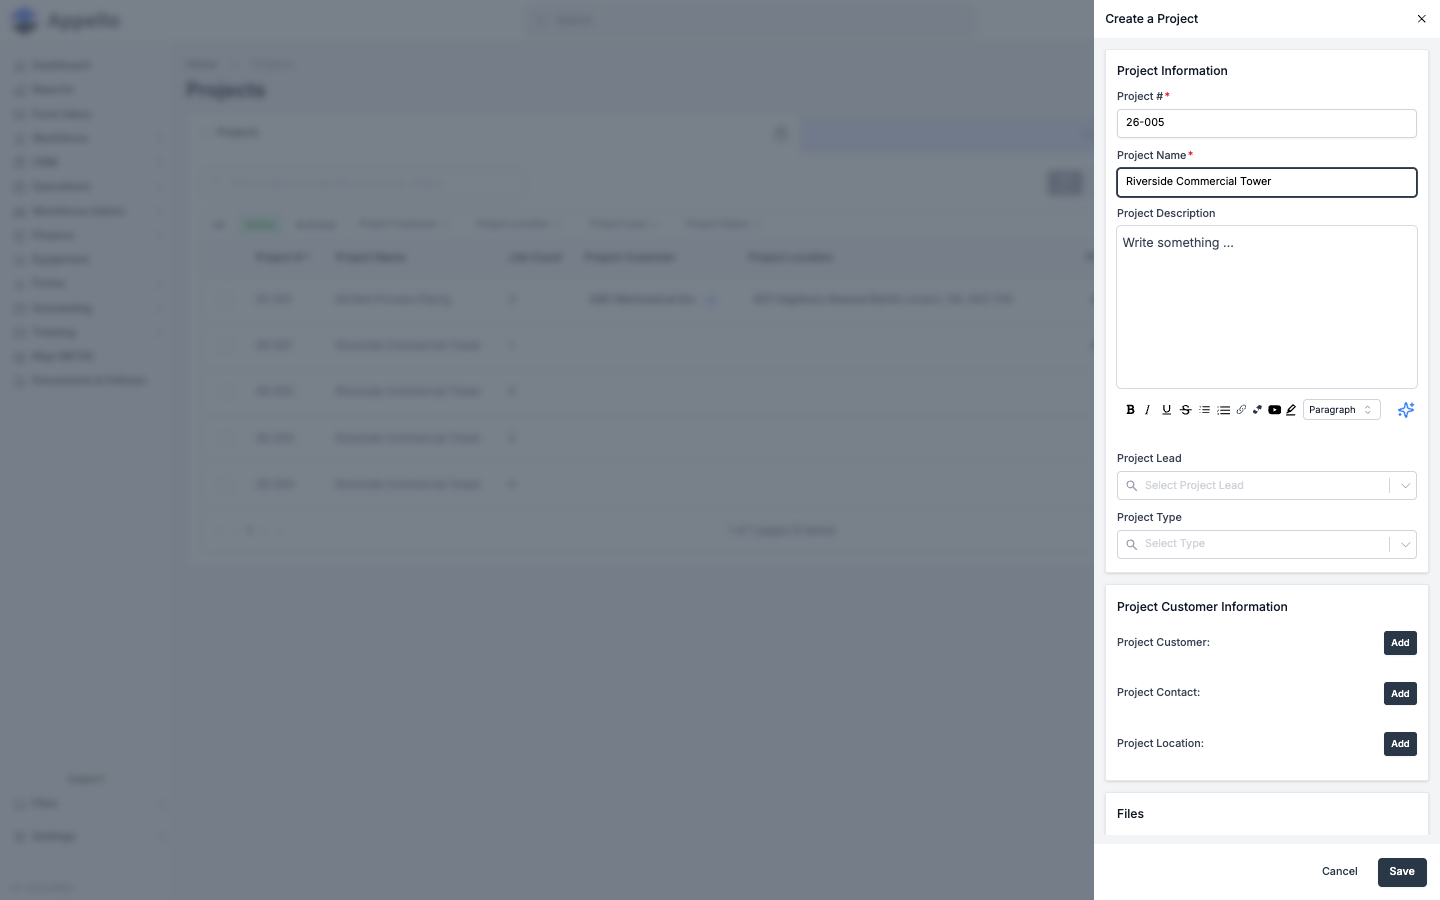
3. Fill in the project details
| Field | Required | Description |
|---|---|---|
| Project # | Yes | Auto-generated (e.g. 26-001). Editable before save. |
| Project Name | Yes | A descriptive name for the project. |
| Project Description | No | Rich-text description with formatting toolbar. |
| Project Lead | No | Select an existing user from the dropdown. |
| Project Type | No | Categorize the project (e.g. Commercial, Residential). |
| Project Customer | No | Link a CRM customer via the Add button. |
| Project Contact | No | Link a CRM contact via the Add button. |
| Project Location | No | Link or create a location via the Add button. |
| Files | No | Drag-and-drop or browse to attach documents. |
4. Save
Click Save. Appello redirects you to the new project's Overview tab.
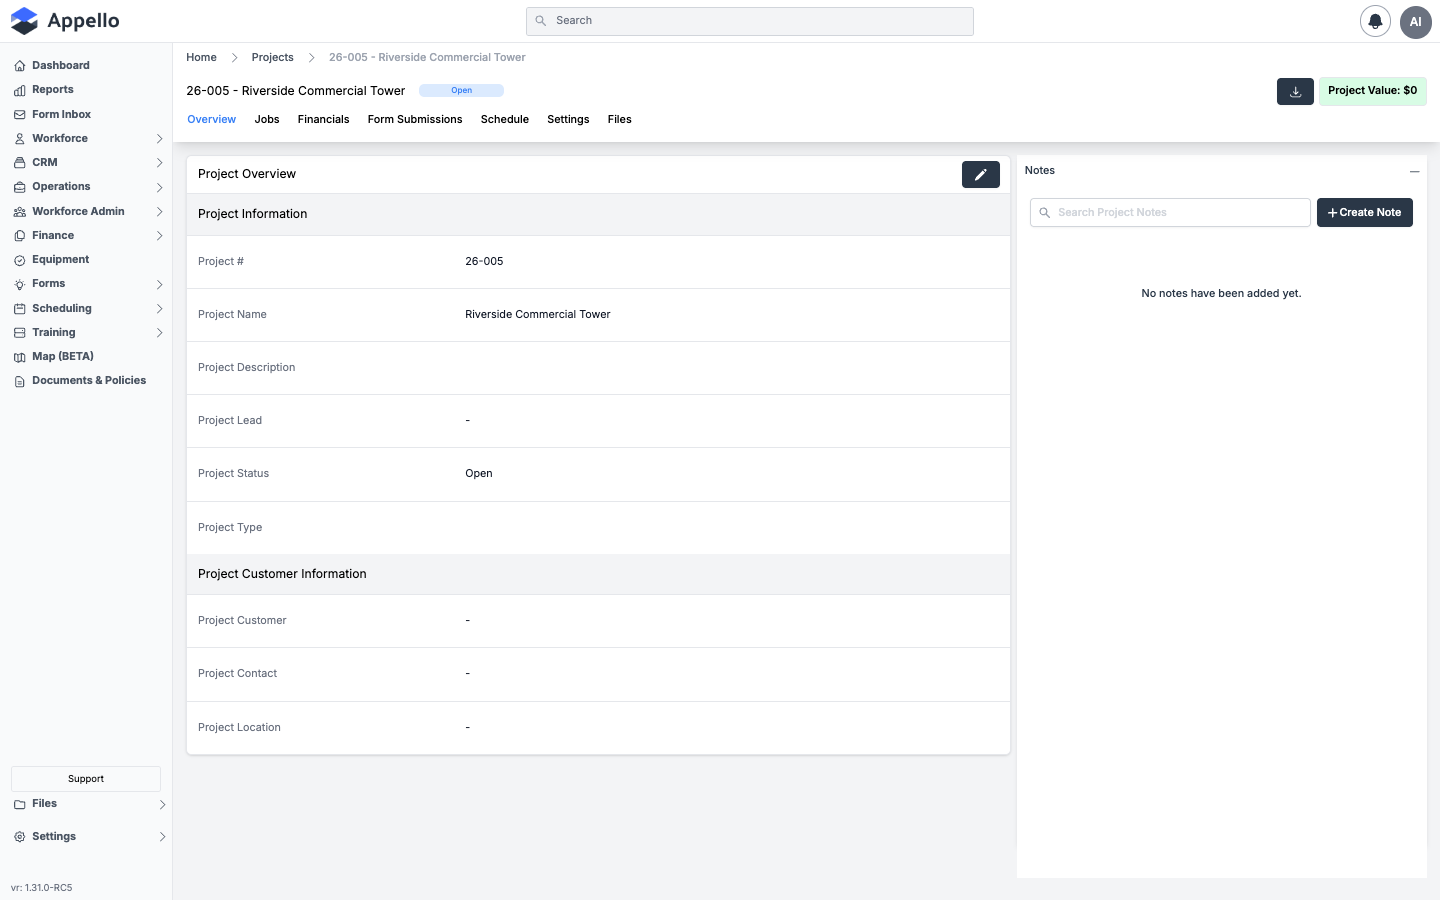
What's next?
- Create a Job under this project to begin tracking individual scopes of work.
- Add customer information, financials, or files from the project overview.
- Use the Schedule tab to manage timelines.