Schedule, Directions and Clock In
Screenshots on this page are from app version 1.71.0 on an iPhone simulator.
This page covers the home tab (My Schedule or Jobs, depending on instance settings), the Jobs list and Create Job form, opening a job from a schedule card or the Jobs list, every tab on Job Details, getting directions to a job site, and clocking in and out with GPS geofence verification. It also covers the Clocked In Users map and background location tracking while clocked in.
Home Tab
Bottom Tab Bar → first tab shows either My Schedule or Jobs as your landing screen, depending on the instance's Mobile Landing Page setting:
- Mobile Landing Page = Schedule (the system default) -- lands on My Schedule, covered next.
- Mobile Landing Page = Jobs -- lands on the Jobs list instead (see Jobs List below), restricted to whichever job workflow states the instance's landing-page settings allow.
The demo instance used for every screenshot on this page has Mobile Landing Page set to Schedule, so the home tab lands on My Schedule.
My Schedule / Schedule
Bottom Tab Bar → Schedule shows your own schedule. The same screen also powers the company-wide Company Schedule view reachable from the main nav drawer, covered further down this section.
At the top, a date navigator lets you step through days:
- ‹ and › arrows step one day at a time.
- Tapping the date itself (with the calendar icon) opens a month calendar to jump to any date.
- A Today pill appears whenever the selected date isn't today, to jump straight back.
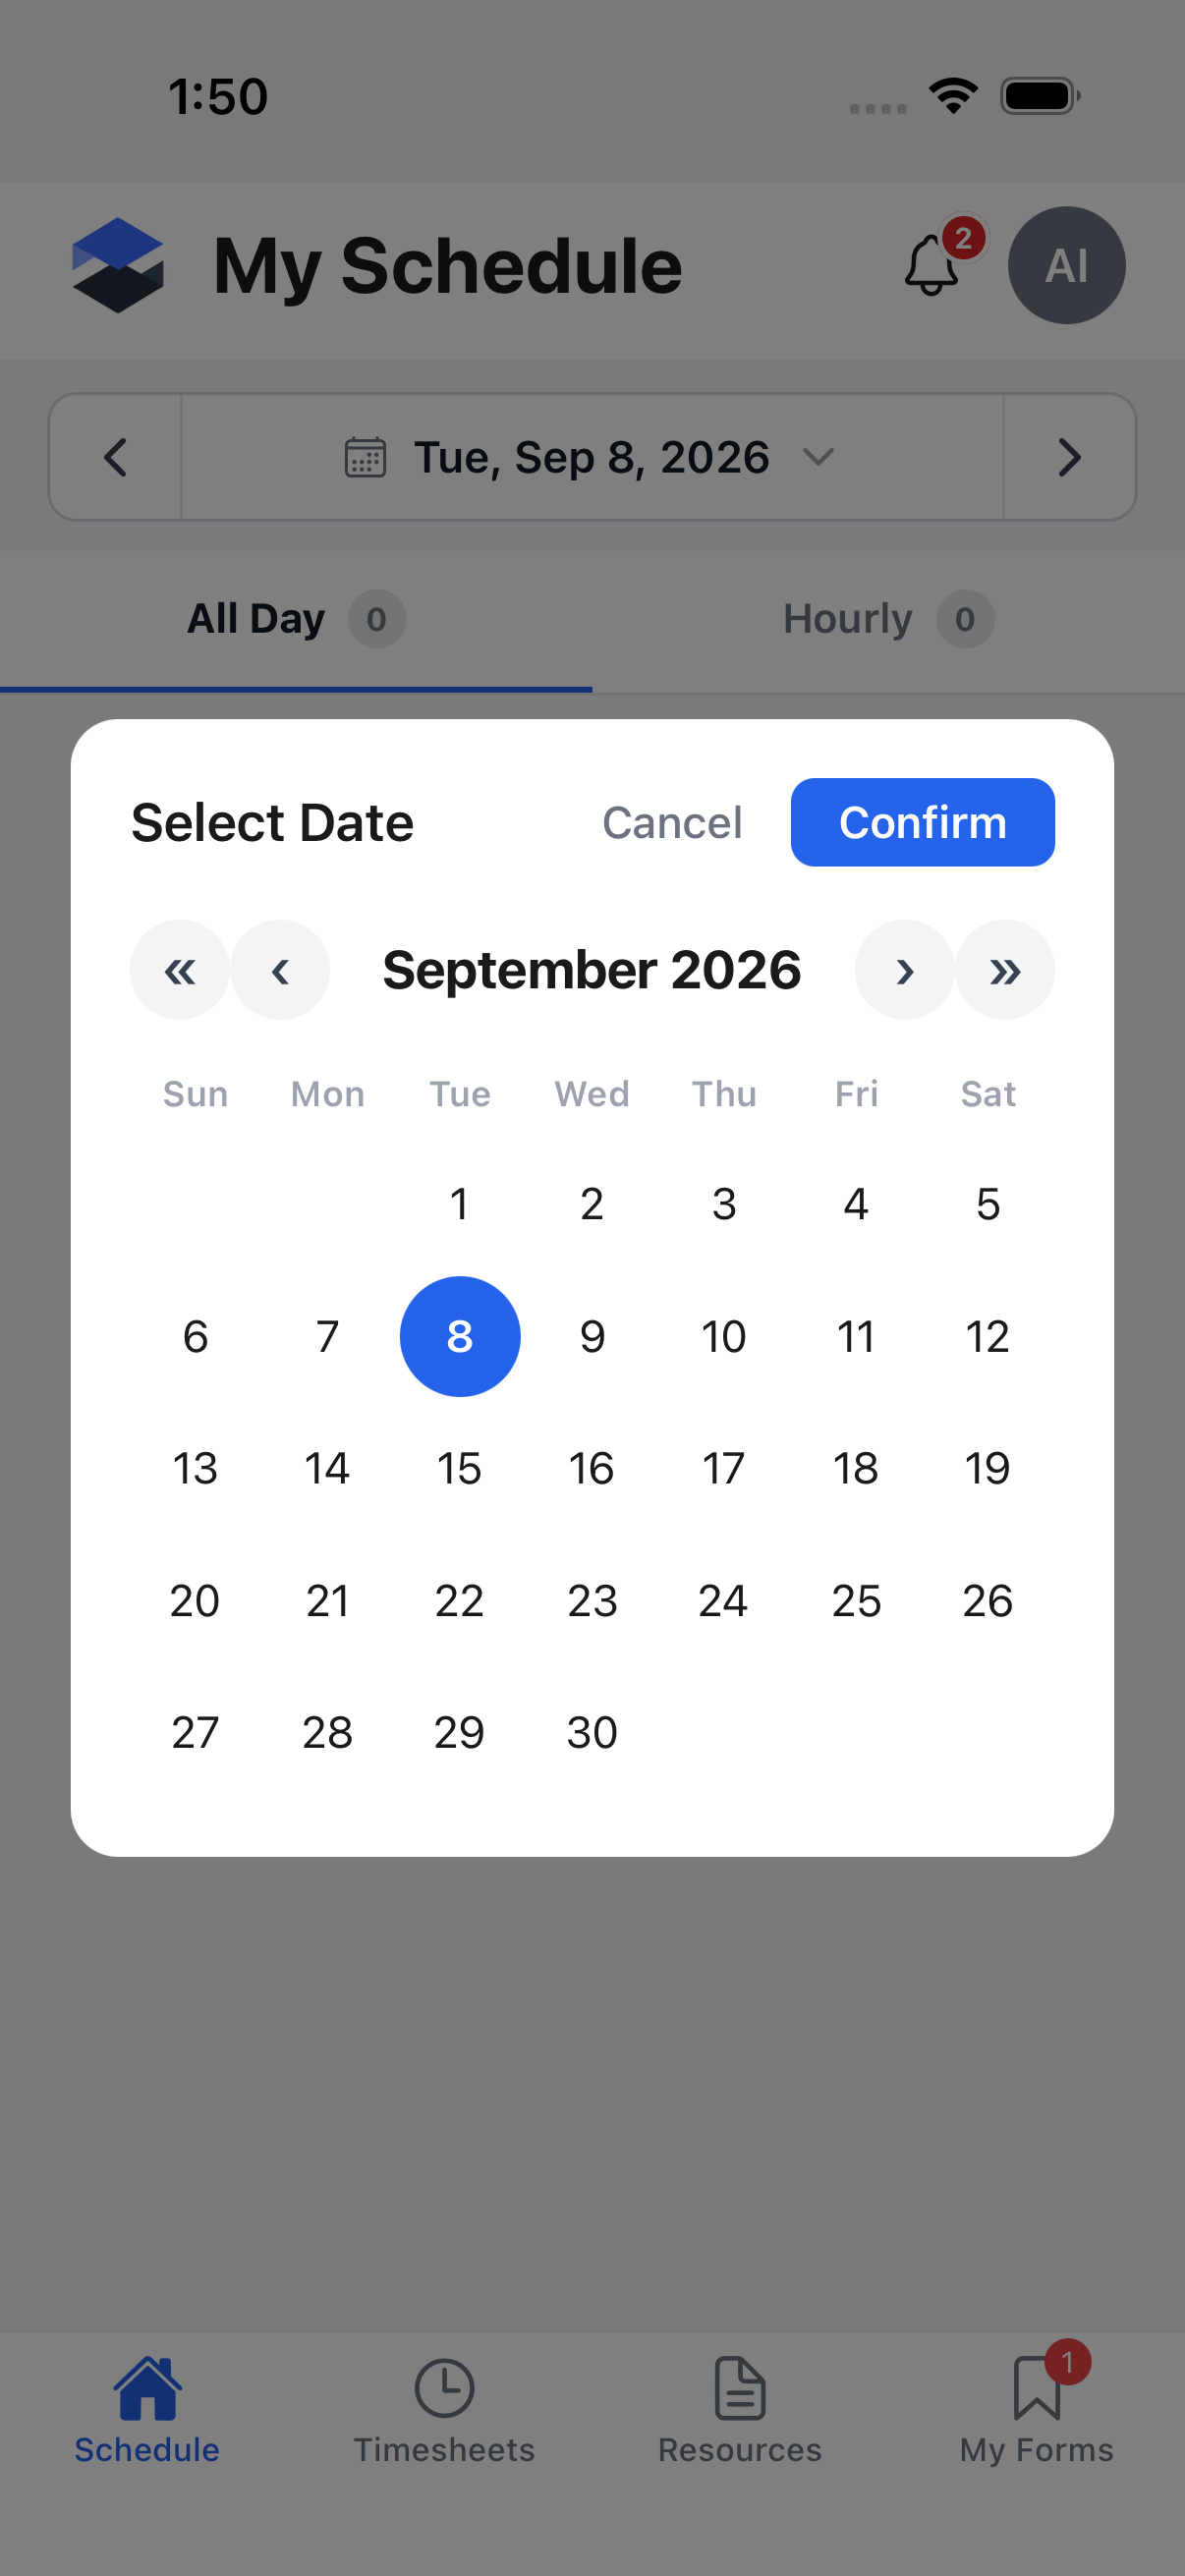
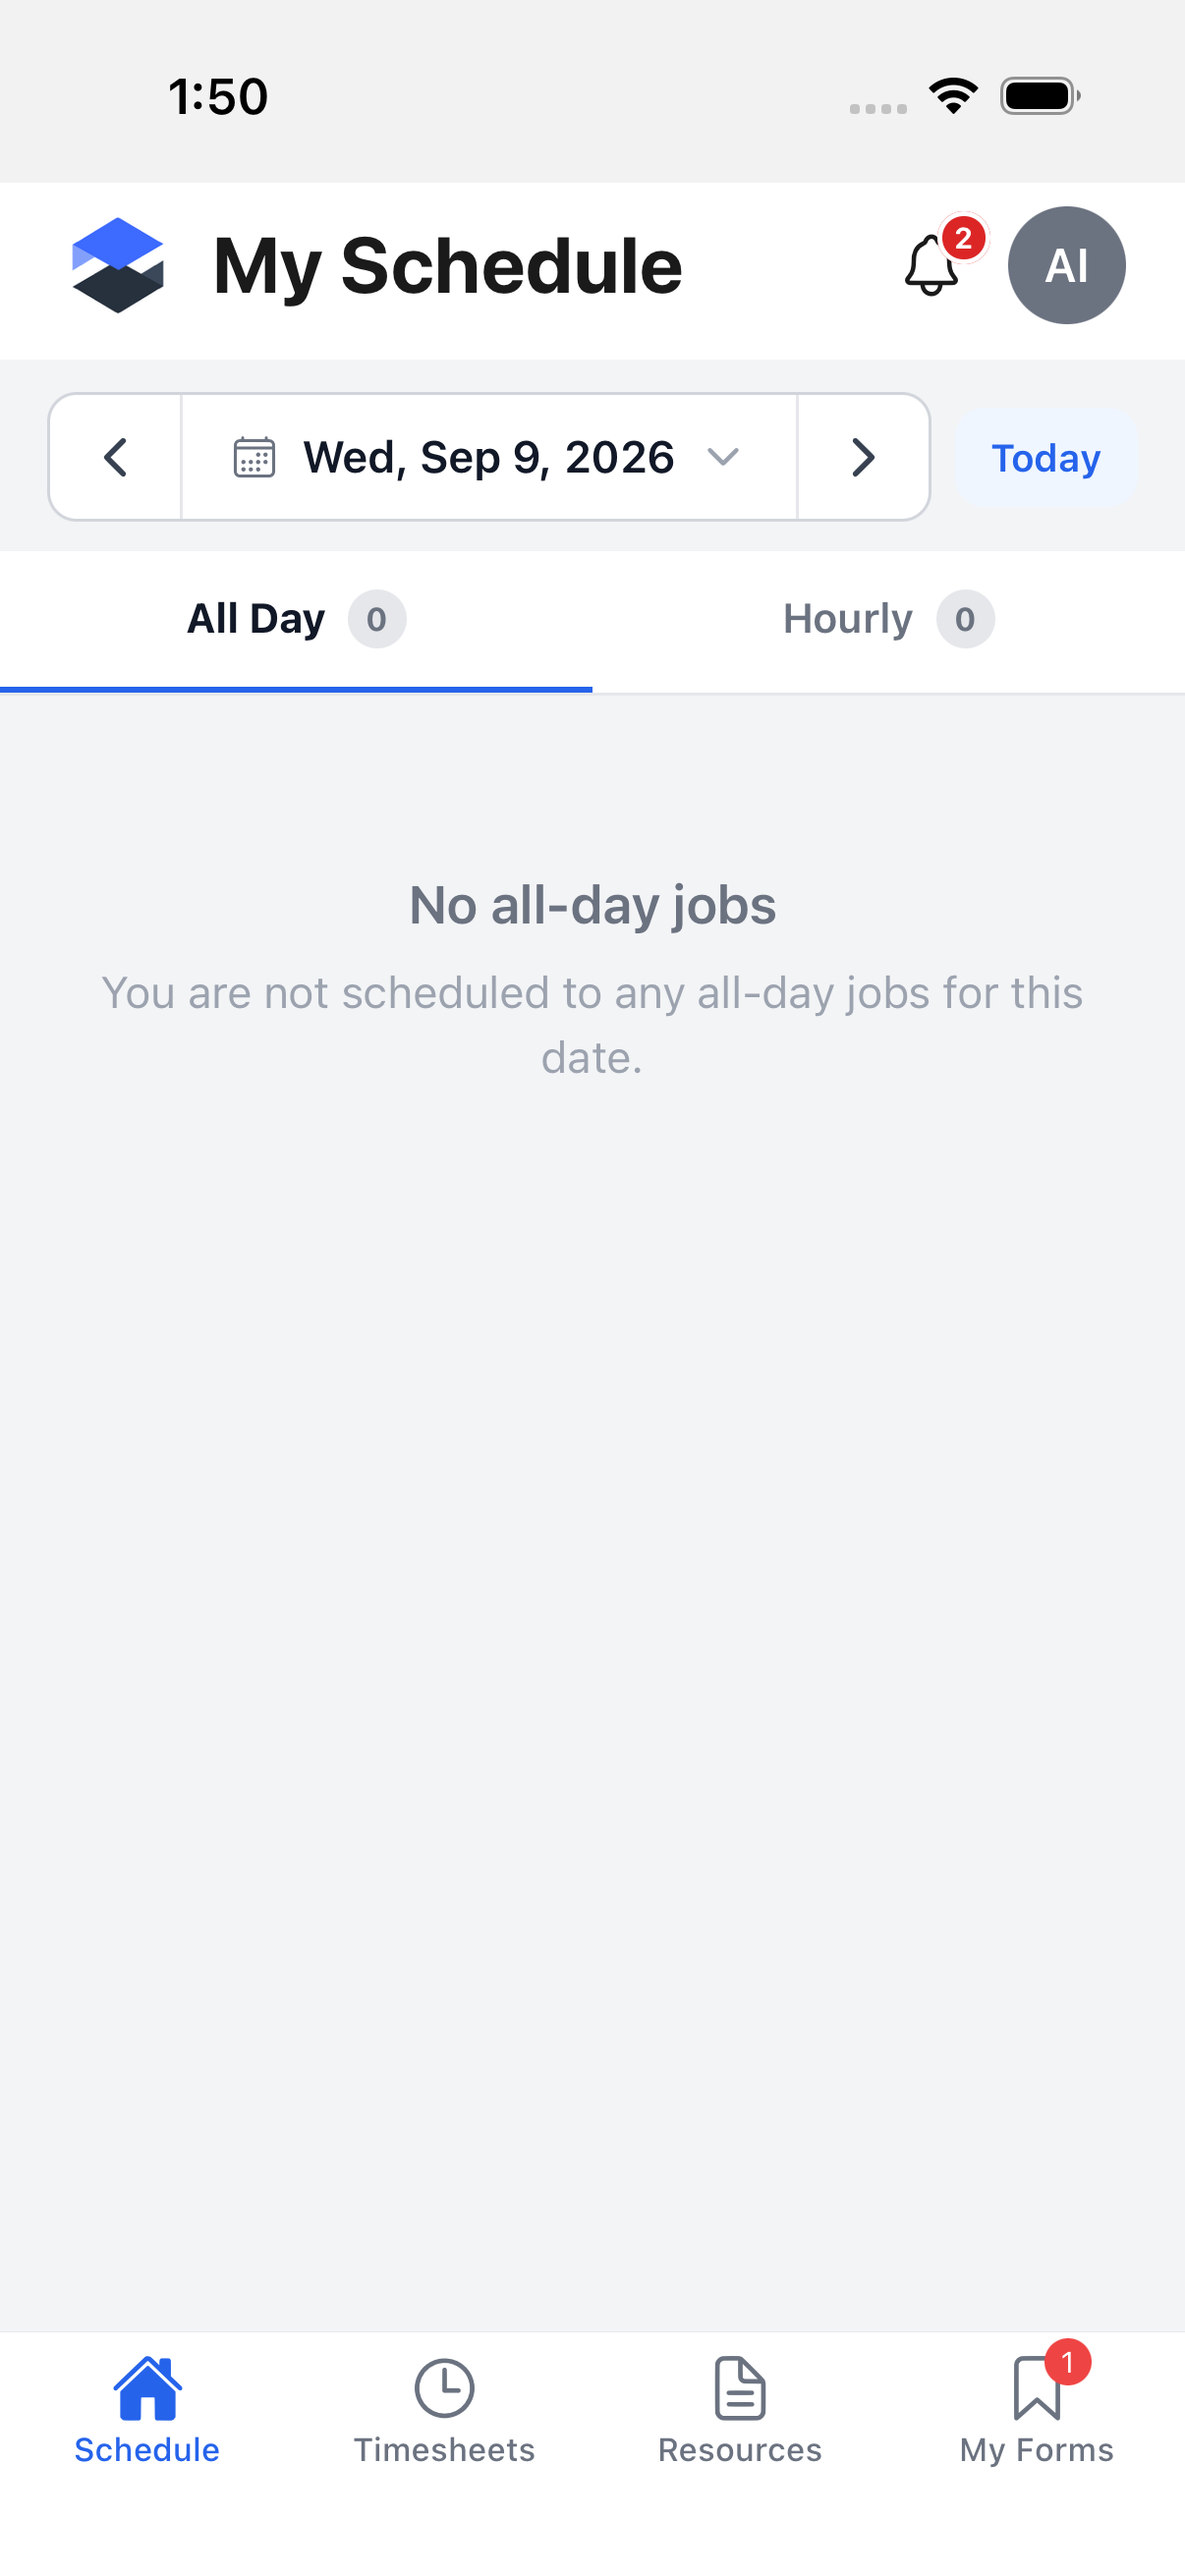
Below the date navigator, All Day and Hourly tabs split the day's jobs by scheduling type, each with a live count badge. If the day has jobs on only one of the two tabs, the app automatically switches to whichever tab has jobs (your own choice of tab is never overridden once it has something to show).
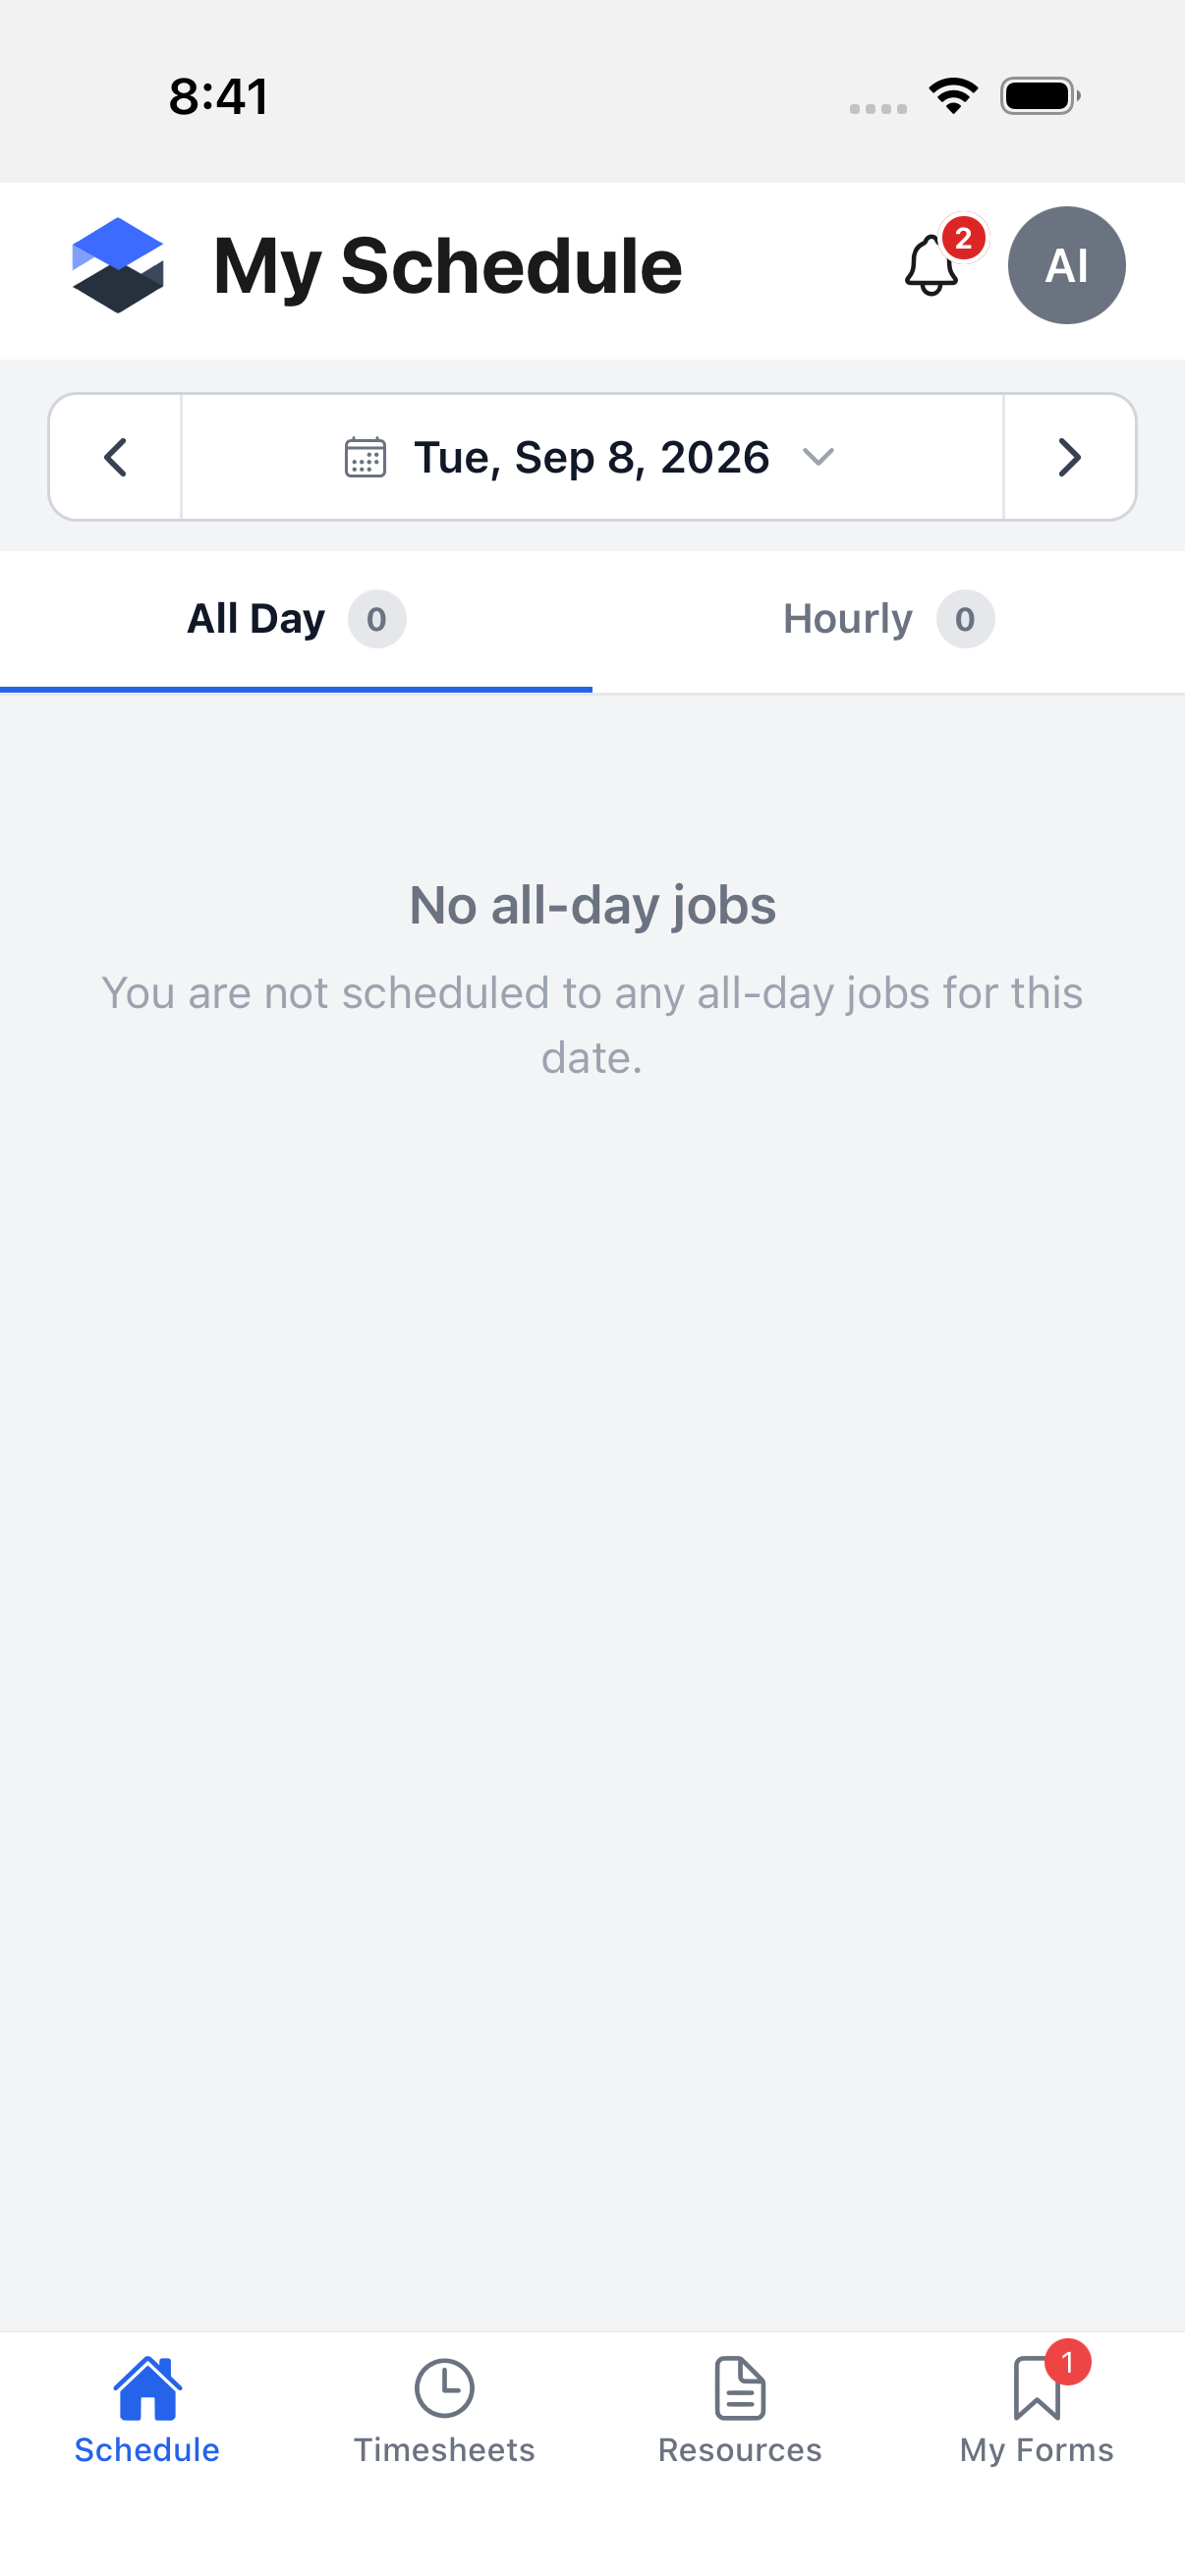
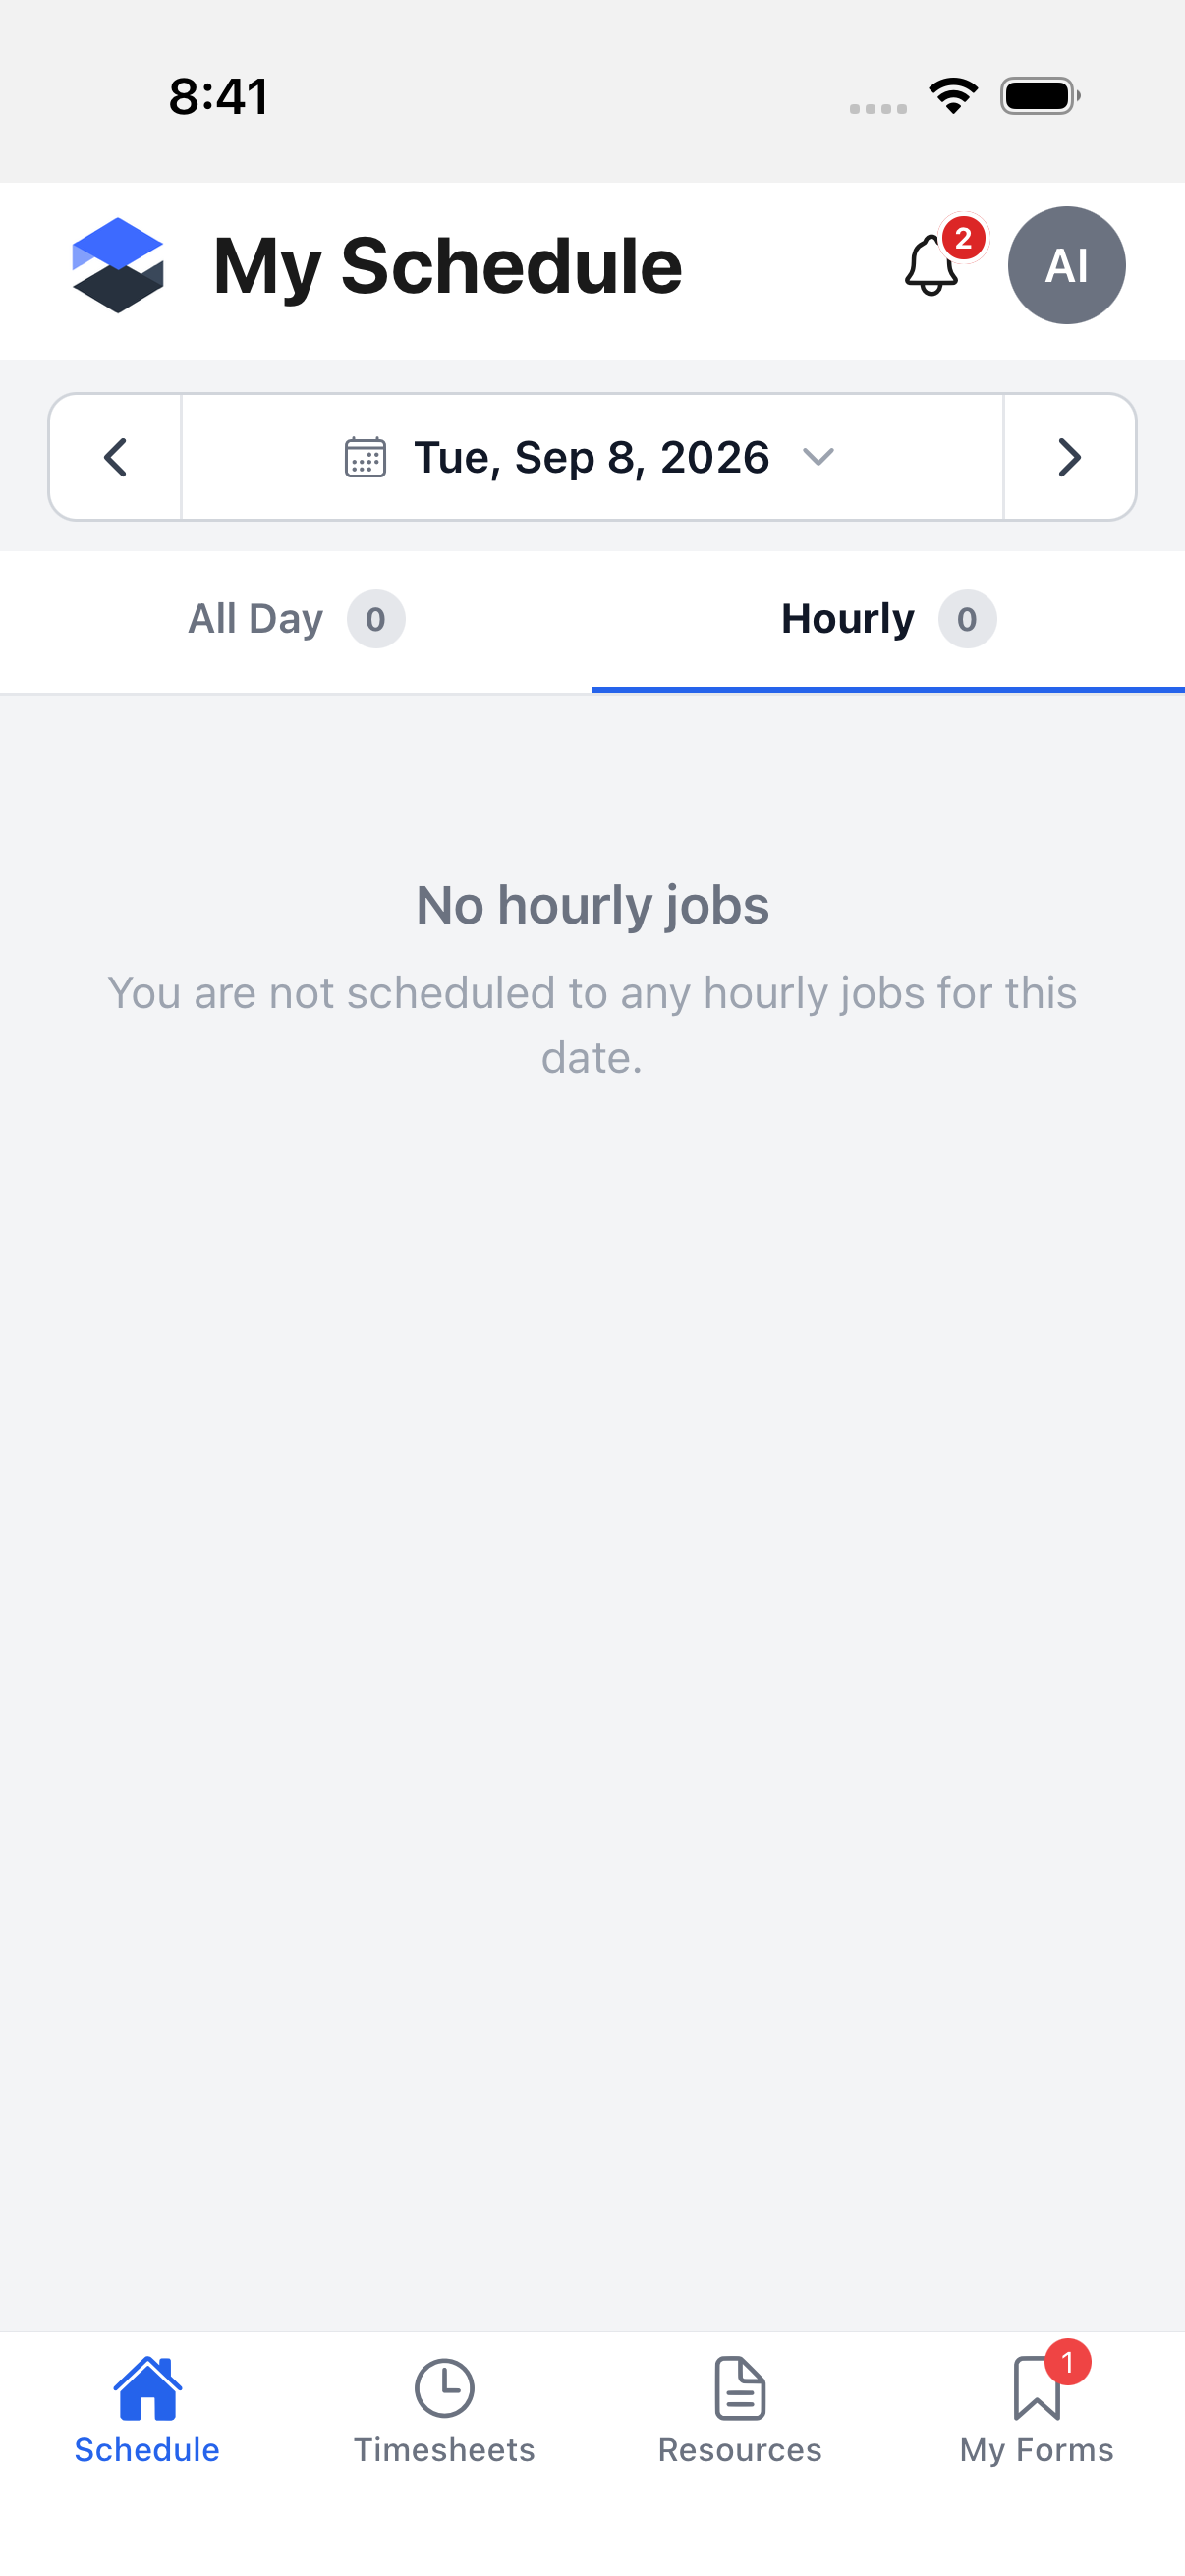
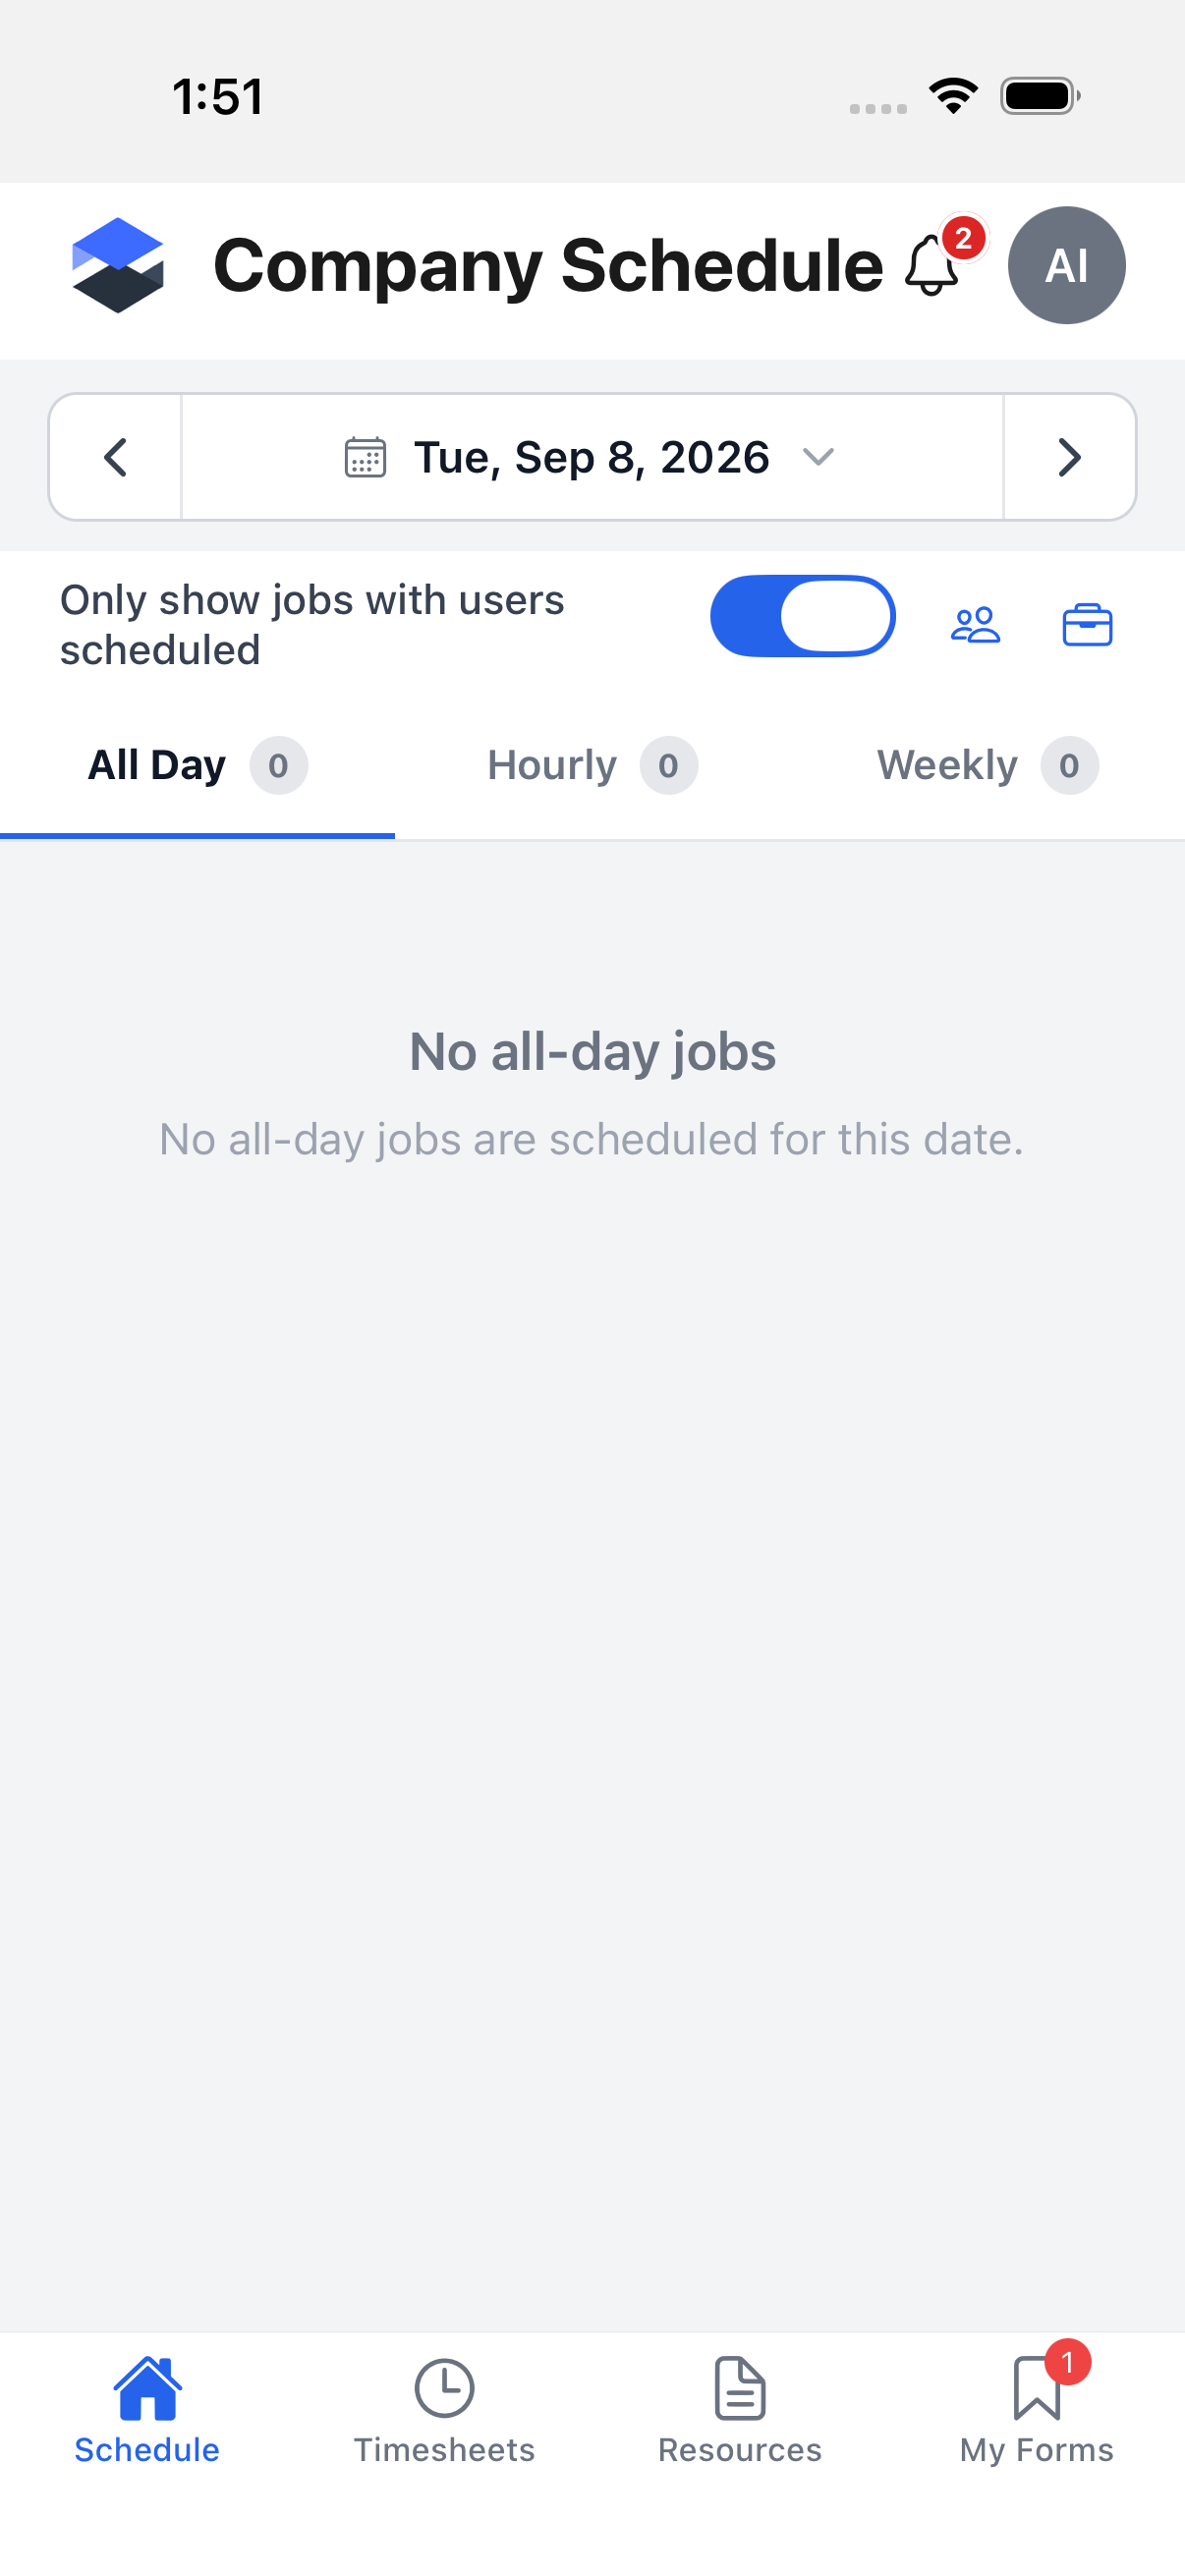
The demo admin account used for these screenshots had no jobs scheduled on My Schedule for any date checked, so the screenshots above show the empty state rather than a populated day. When a day does have scheduled jobs, each one renders as the same job card used on the Jobs list (see Jobs List below) -- job number and name, customer, status pill, worker count (Company Schedule only), distance from your current location when available, address, and a Directions button. Tapping a card opens that job's Job Details screen, the same as tapping it from the Jobs list.
Weekly view and Company Schedule
A third Weekly tab, and the whole company-wide (not just your own) schedule, are reached from Menu (logo, top left) → Company Schedule in the main nav drawer -- only shown if your Mobile → View Schedules permission is scoped to All. This company mode adds a filter row above the view tabs:
- An Only show jobs with users scheduled toggle (on by default) hides schedule rows with no workers assigned.
- A people-icon button opens a Filter Users sheet.
- A briefcase-icon button opens a Filter by job sheet.
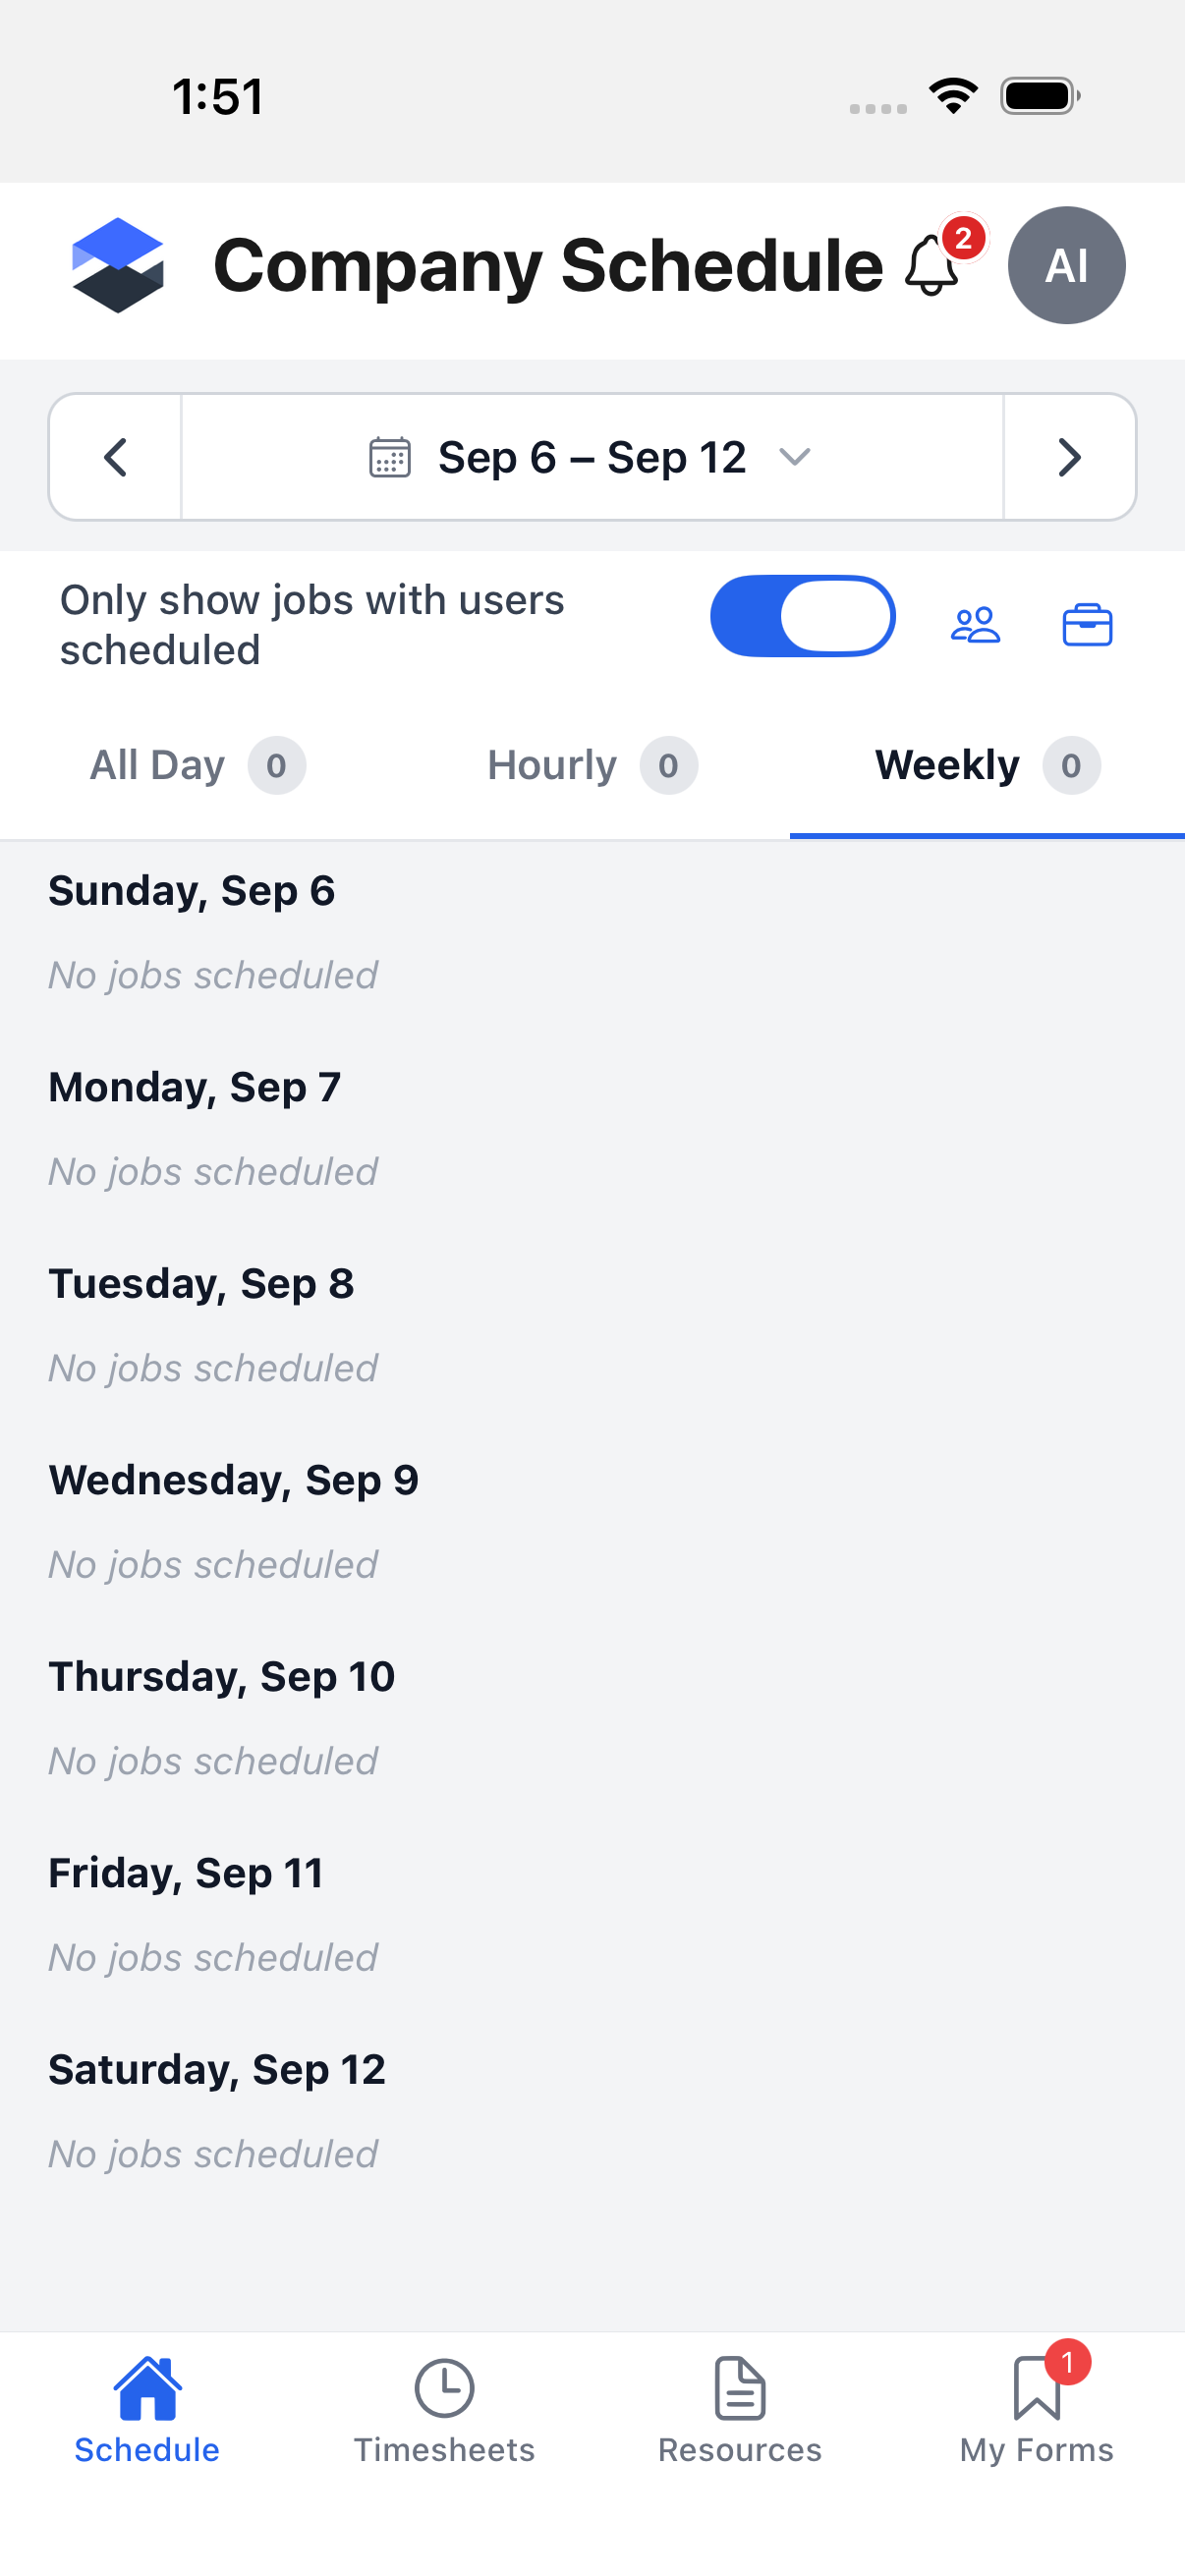
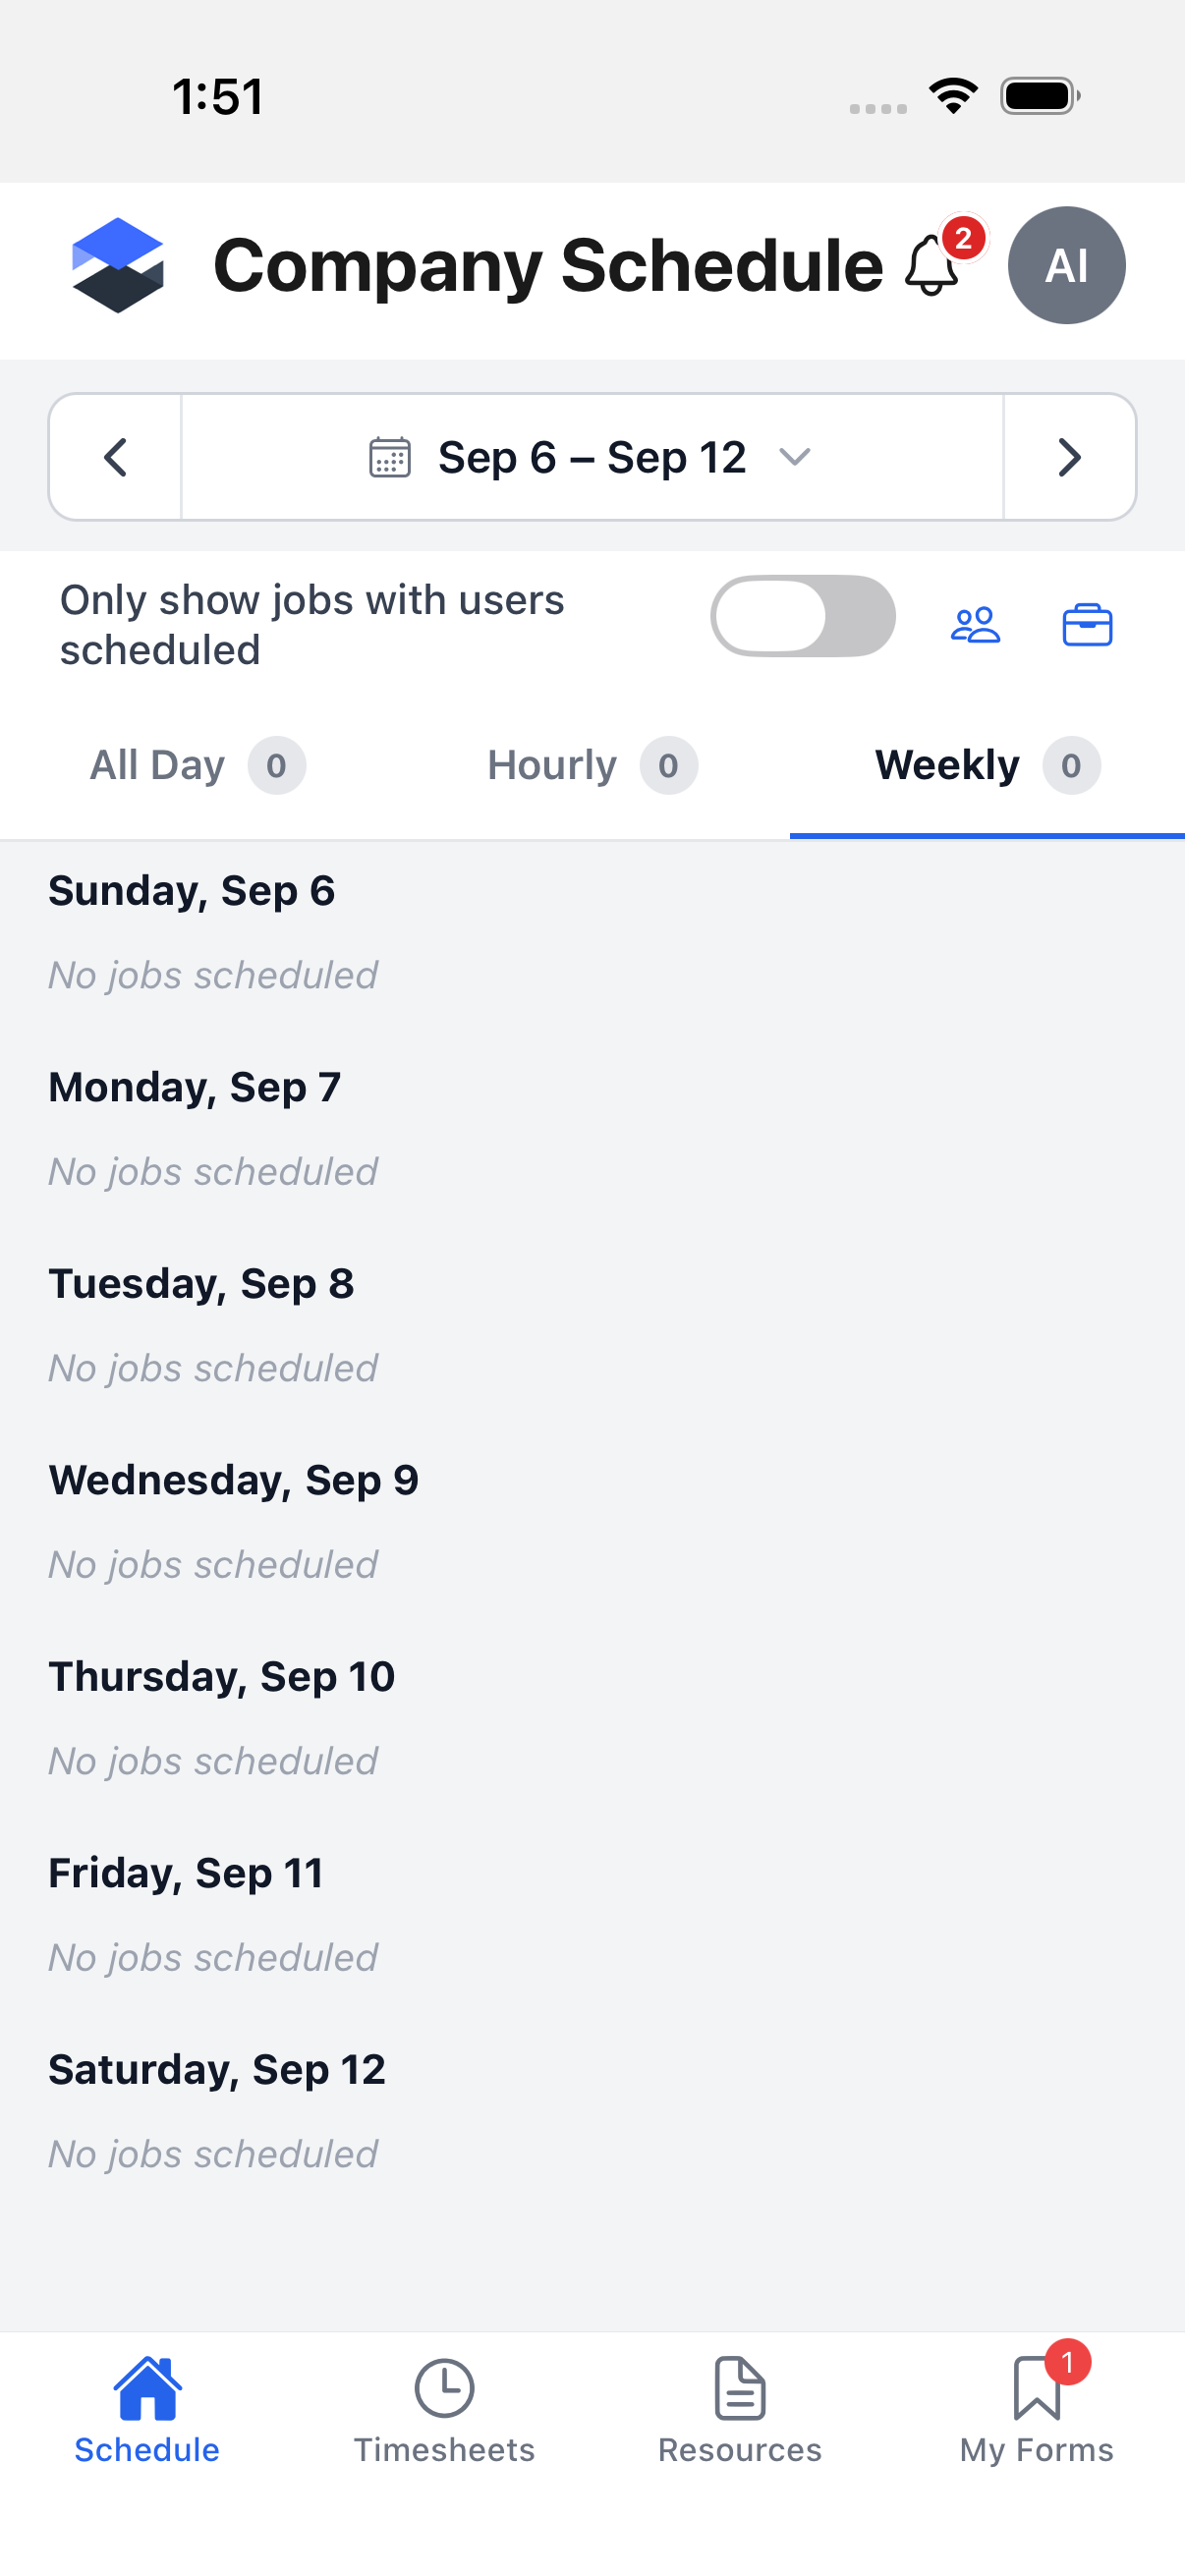
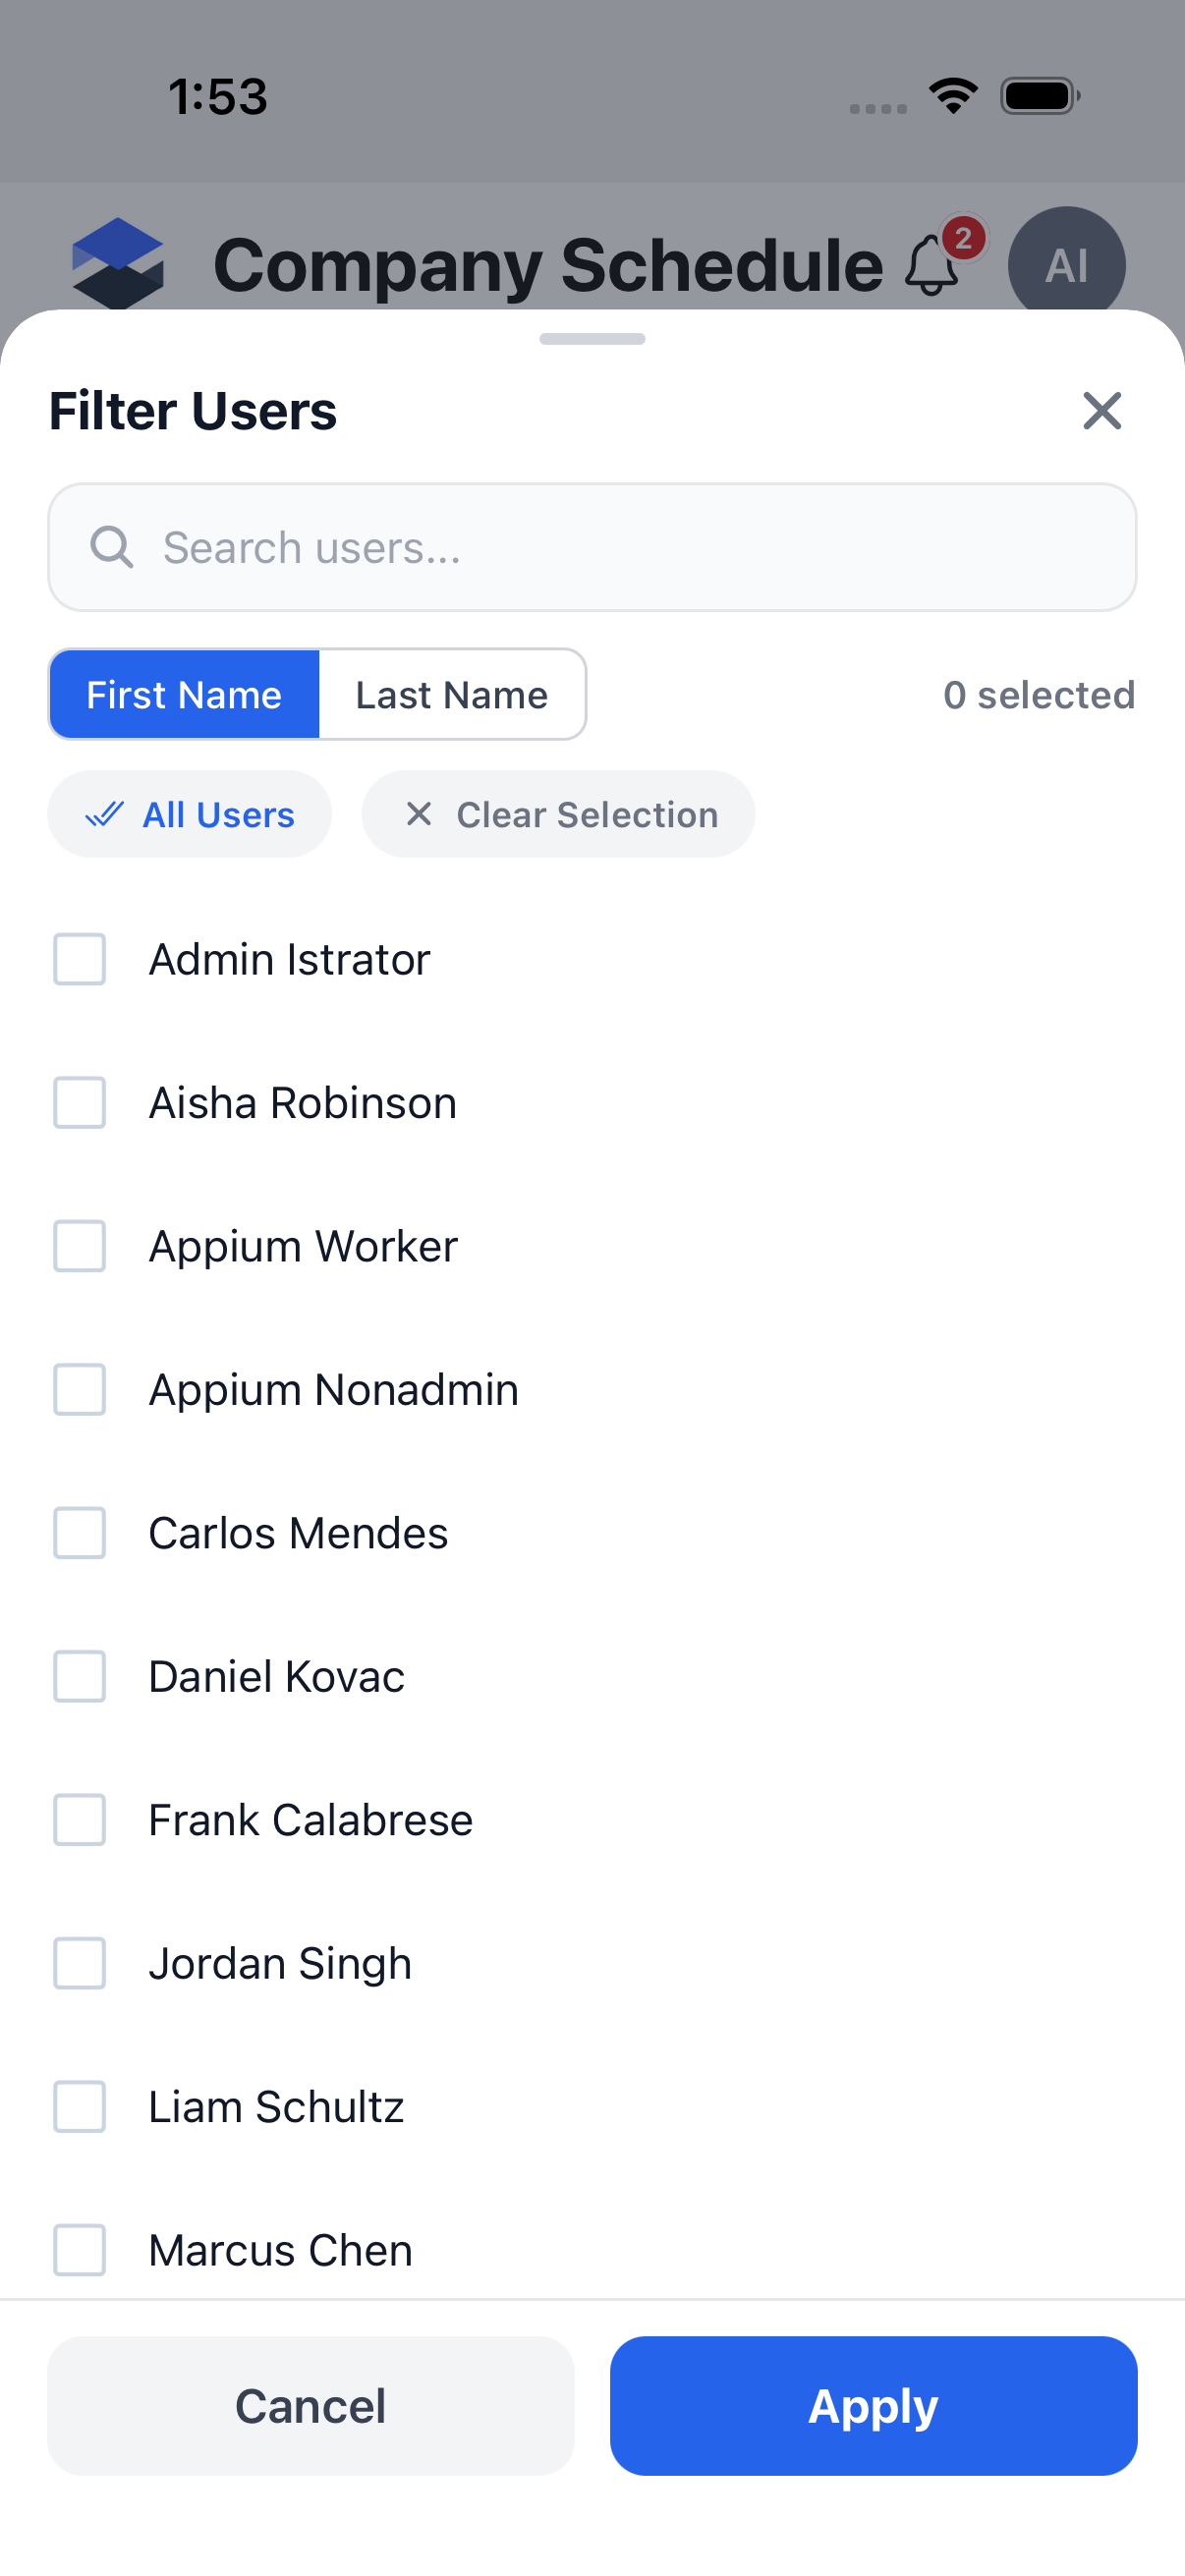
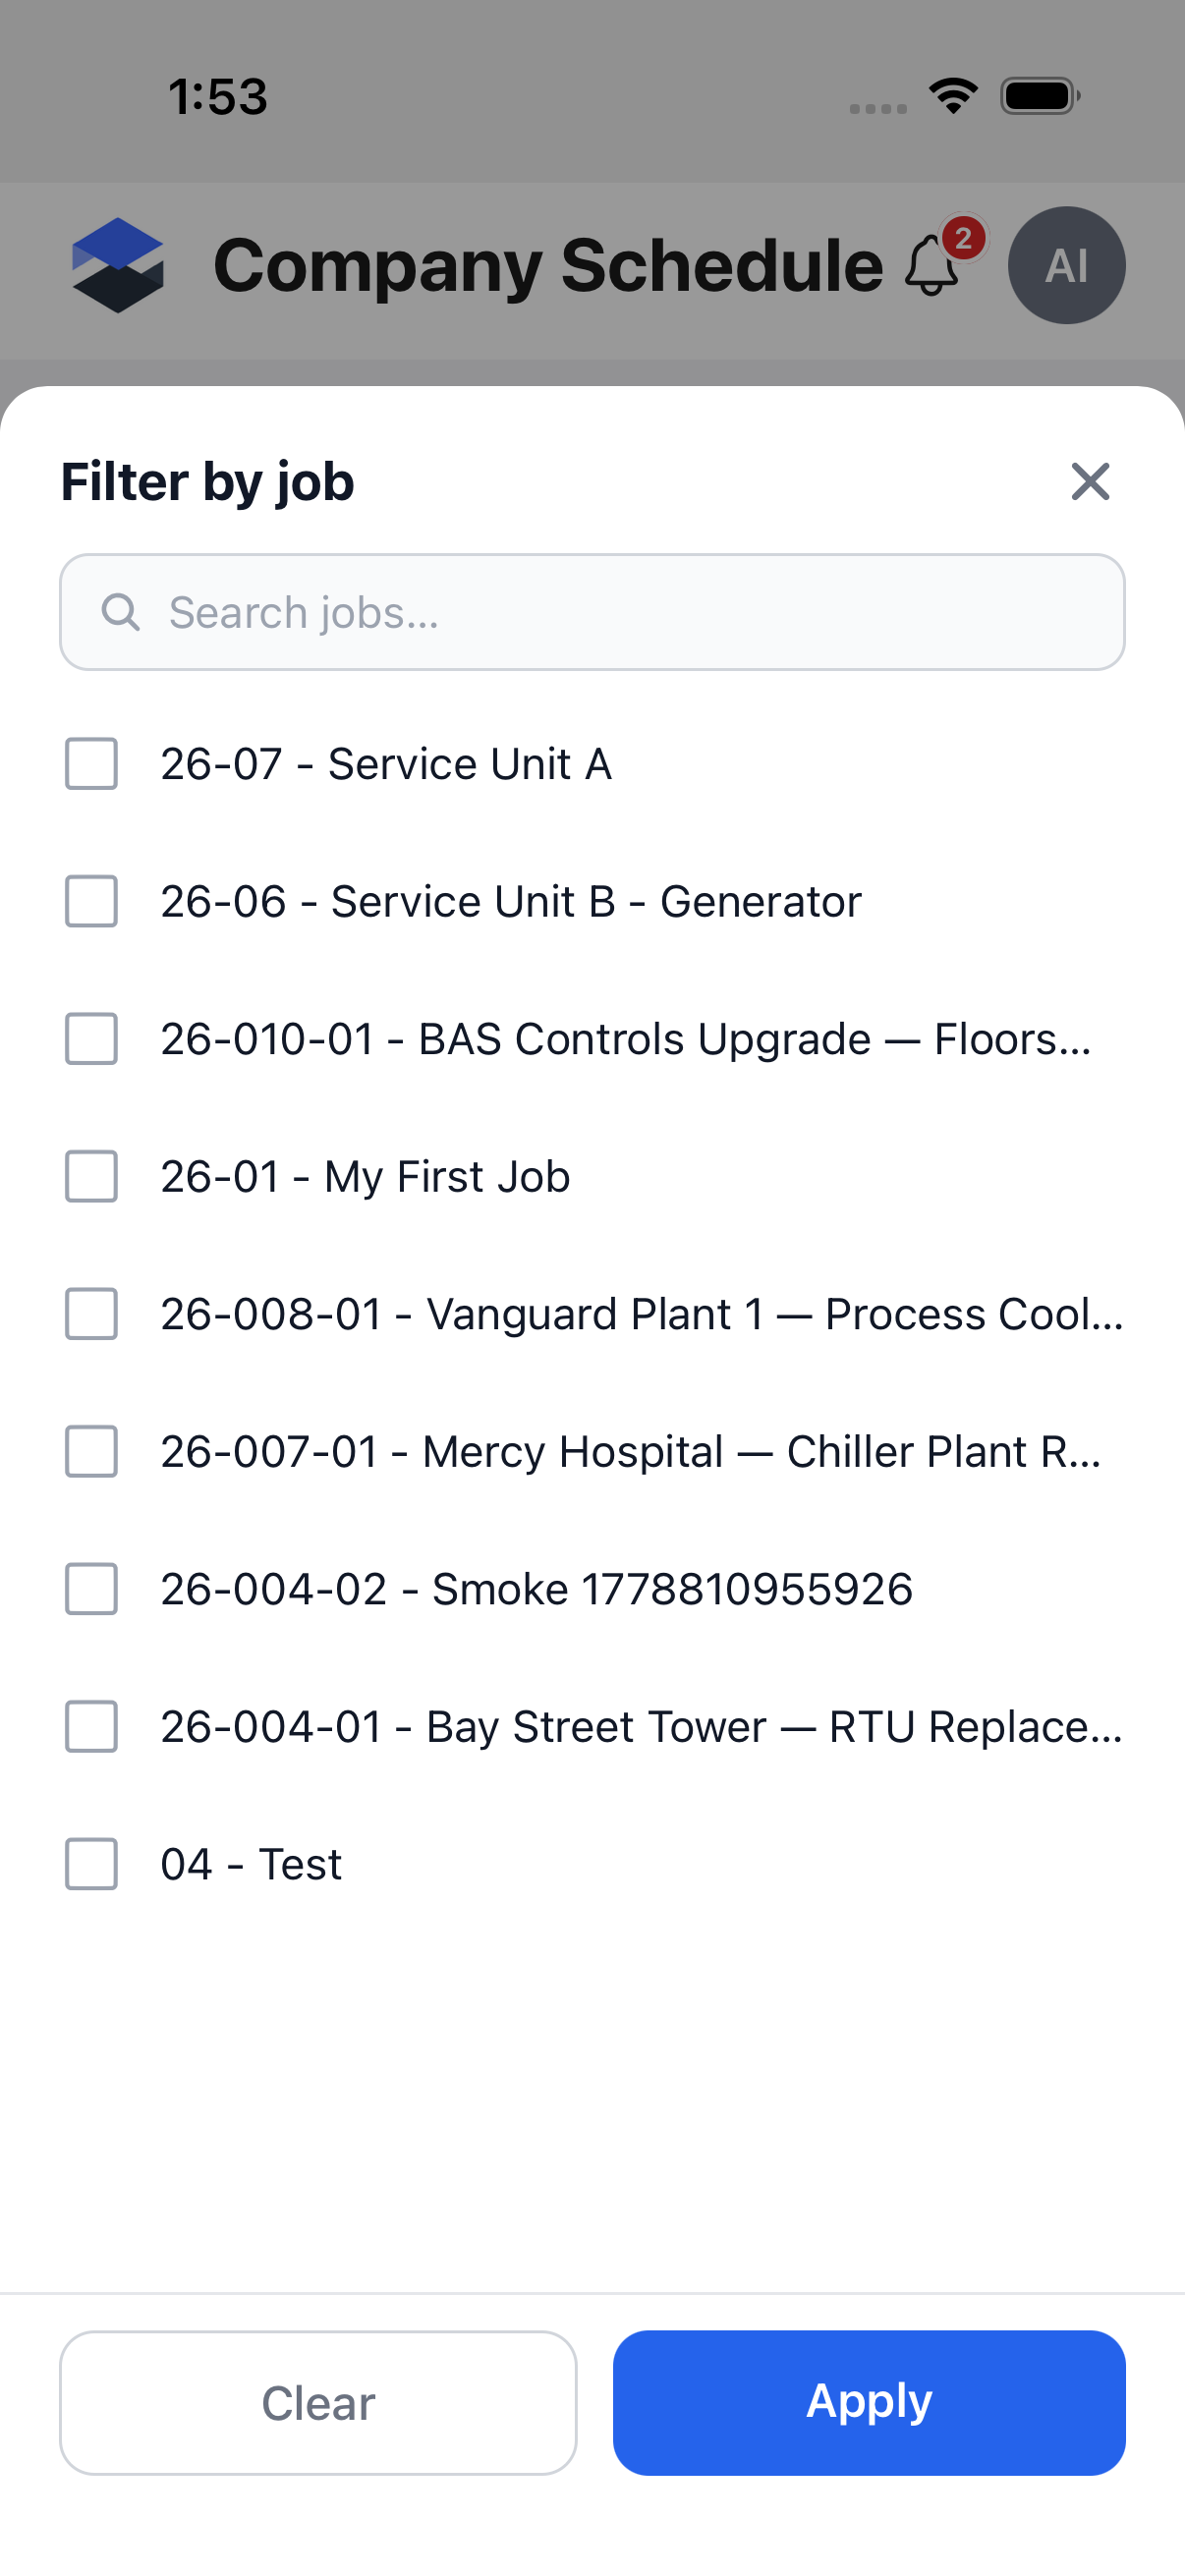
Both filter sheets are edit-then-commit: picking users or jobs and tapping Apply re-runs the schedule query scoped to that selection; Cancel (or the X) discards the change.
Instance Settings has a related toggle, Allow mobile users to view their weekly schedule (Instance Settings → User Display Settings, default Disabled). In the current native app the Weekly tab appears purely because you are in Company Schedule mode, which itself requires Mobile → View Schedules scoped to All -- that instance setting does not appear to gate the Weekly tab on mobile. The exact relationship between the two wasn't confirmed further.
Jobs List
Bottom Tab Bar → home tab → Menu (logo, top left) → Jobs, or directly on the home tab when Mobile Landing Page is set to Jobs. A search row sits above the list with four controls: a search field, a Sort button, a Filter button (with a badge showing the number of active filters), and a blue + Create button.
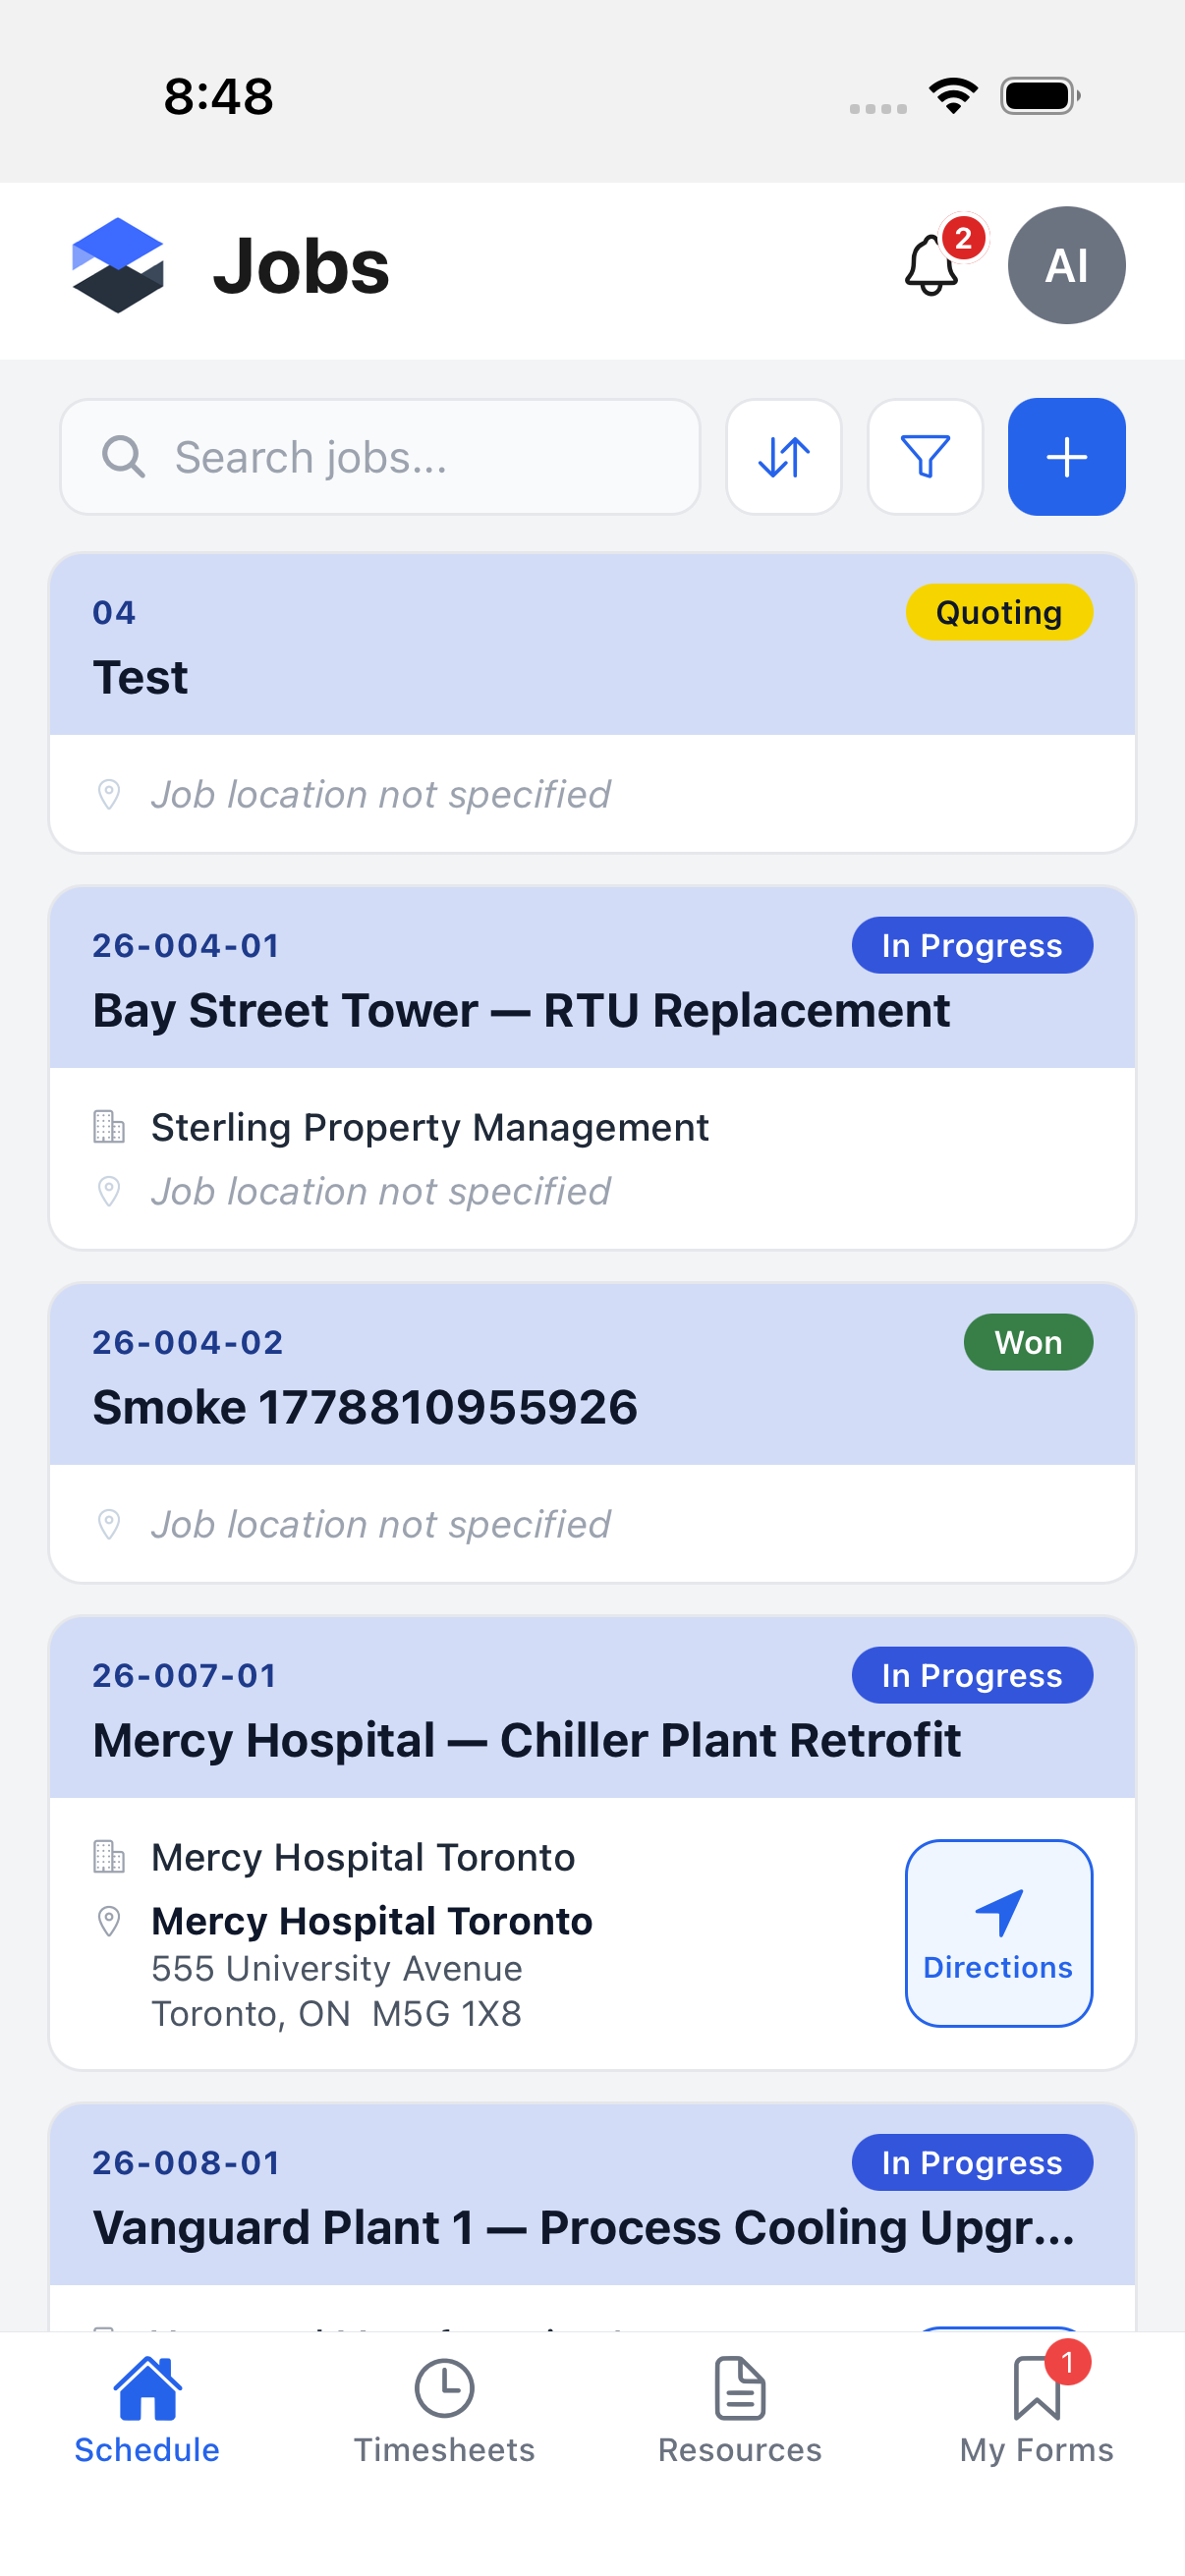
Typing in the search field filters the list after a short (300ms) debounce, matching job number, name, or customer name. The Sort button opens a bottom sheet to choose the sort field and direction:
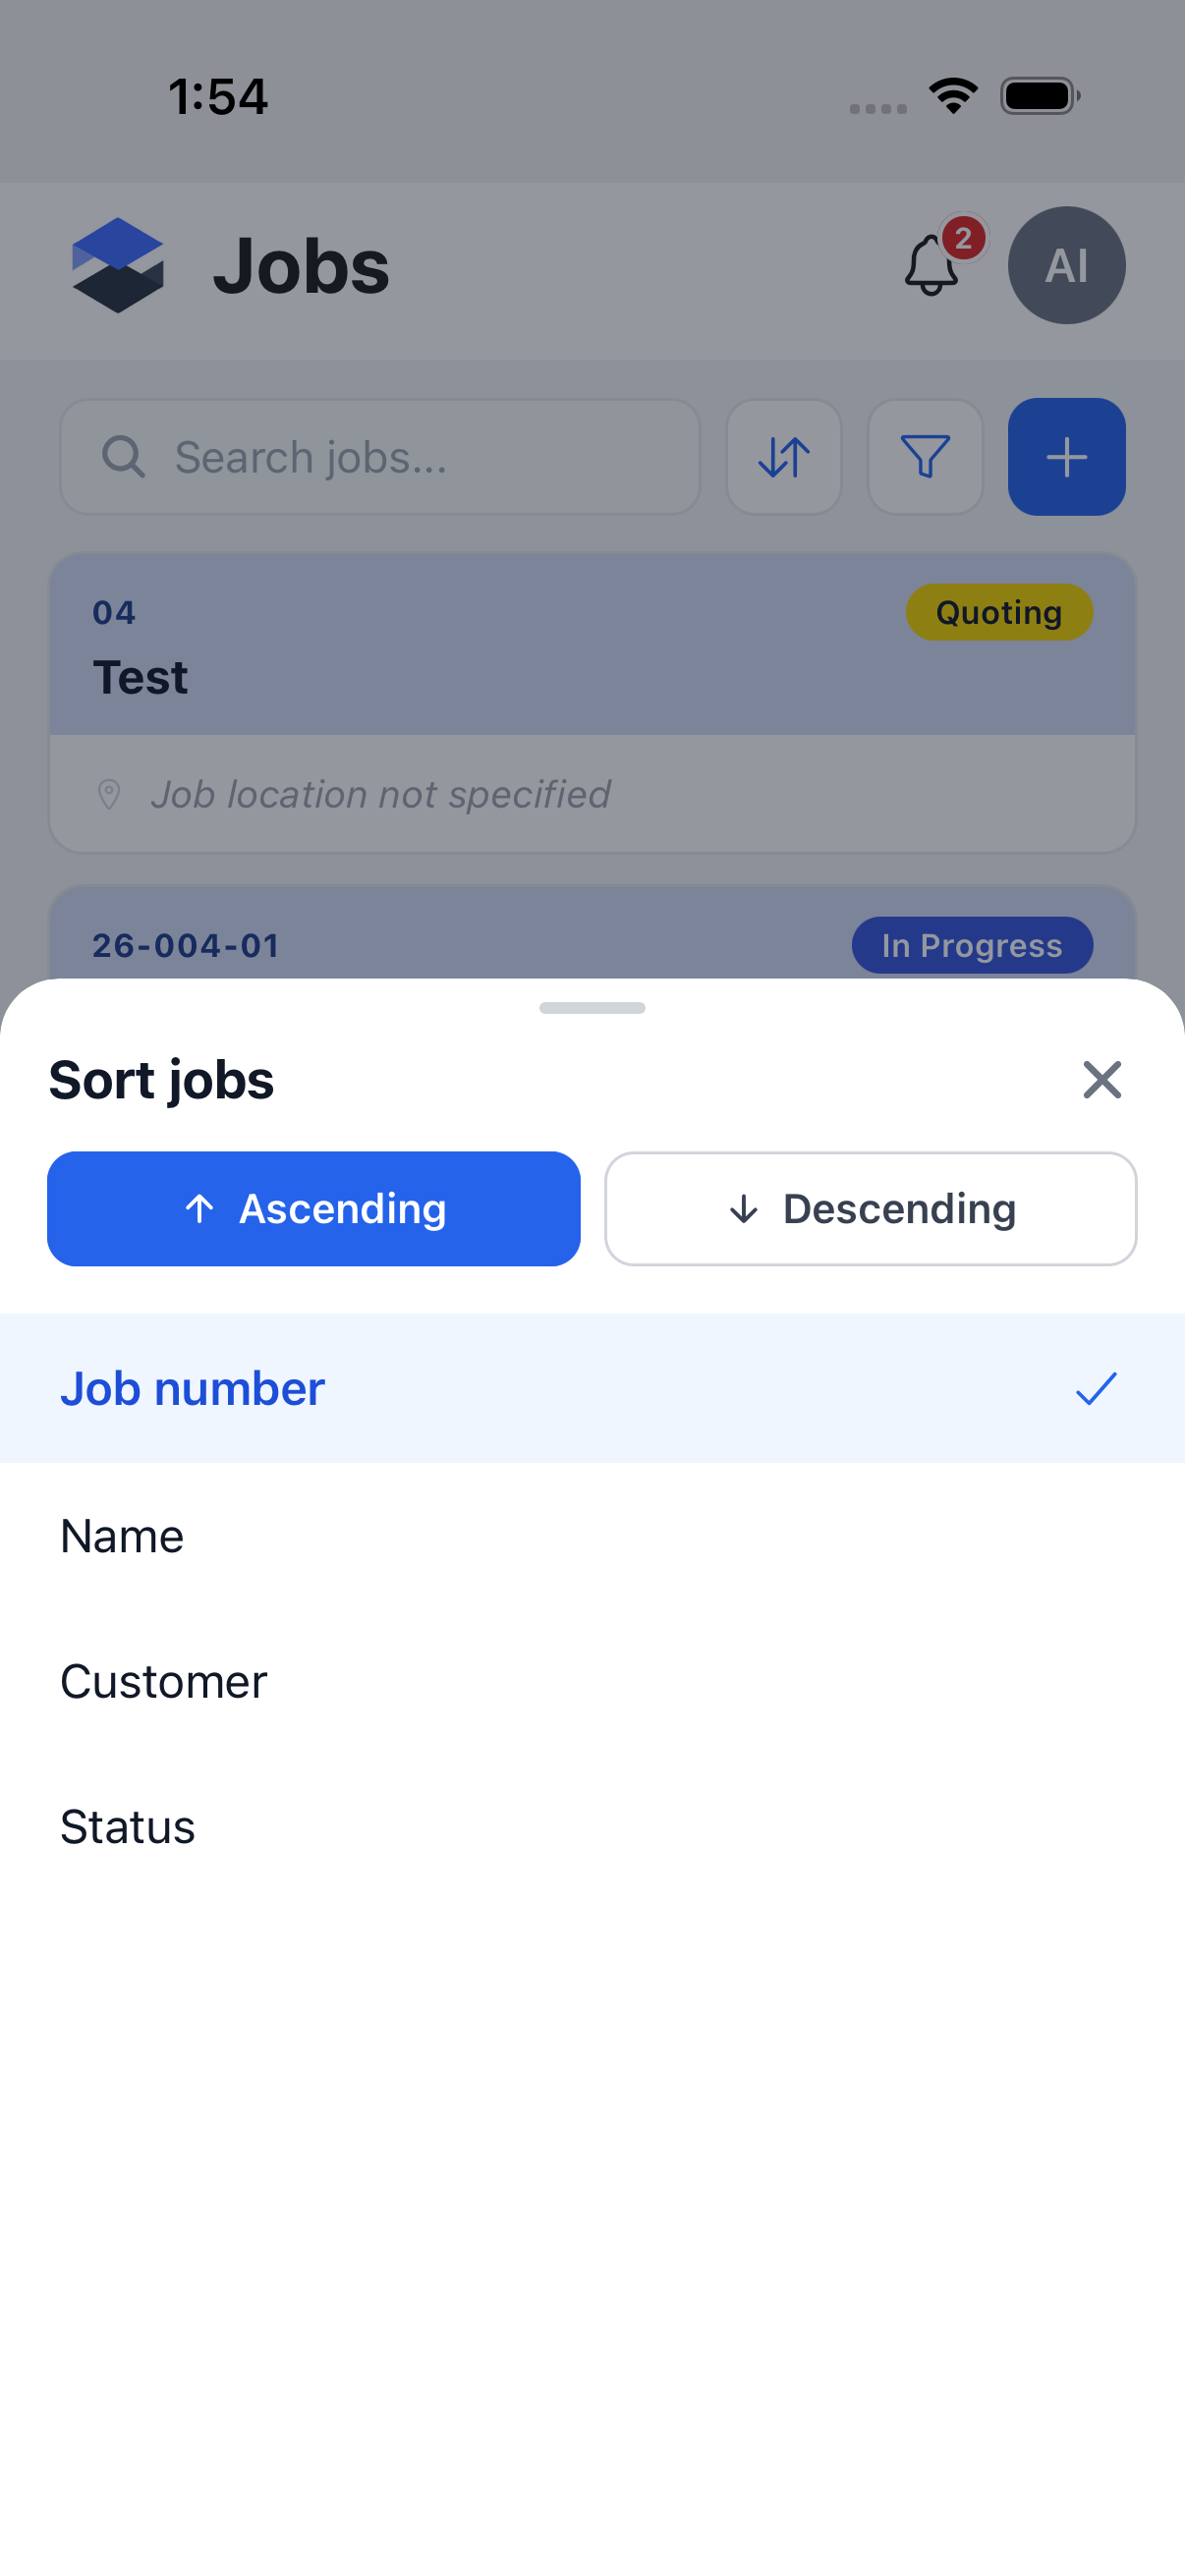
A Distance sort option also exists, but only appears once your device's location is available. It isn't in the screenshot above because location wasn't resolved during this capture.
The Filter button opens a sheet with six fields -- Status, Customer, Project, City, State/Province, and Job lead -- each opening its own searchable multi-select picker:
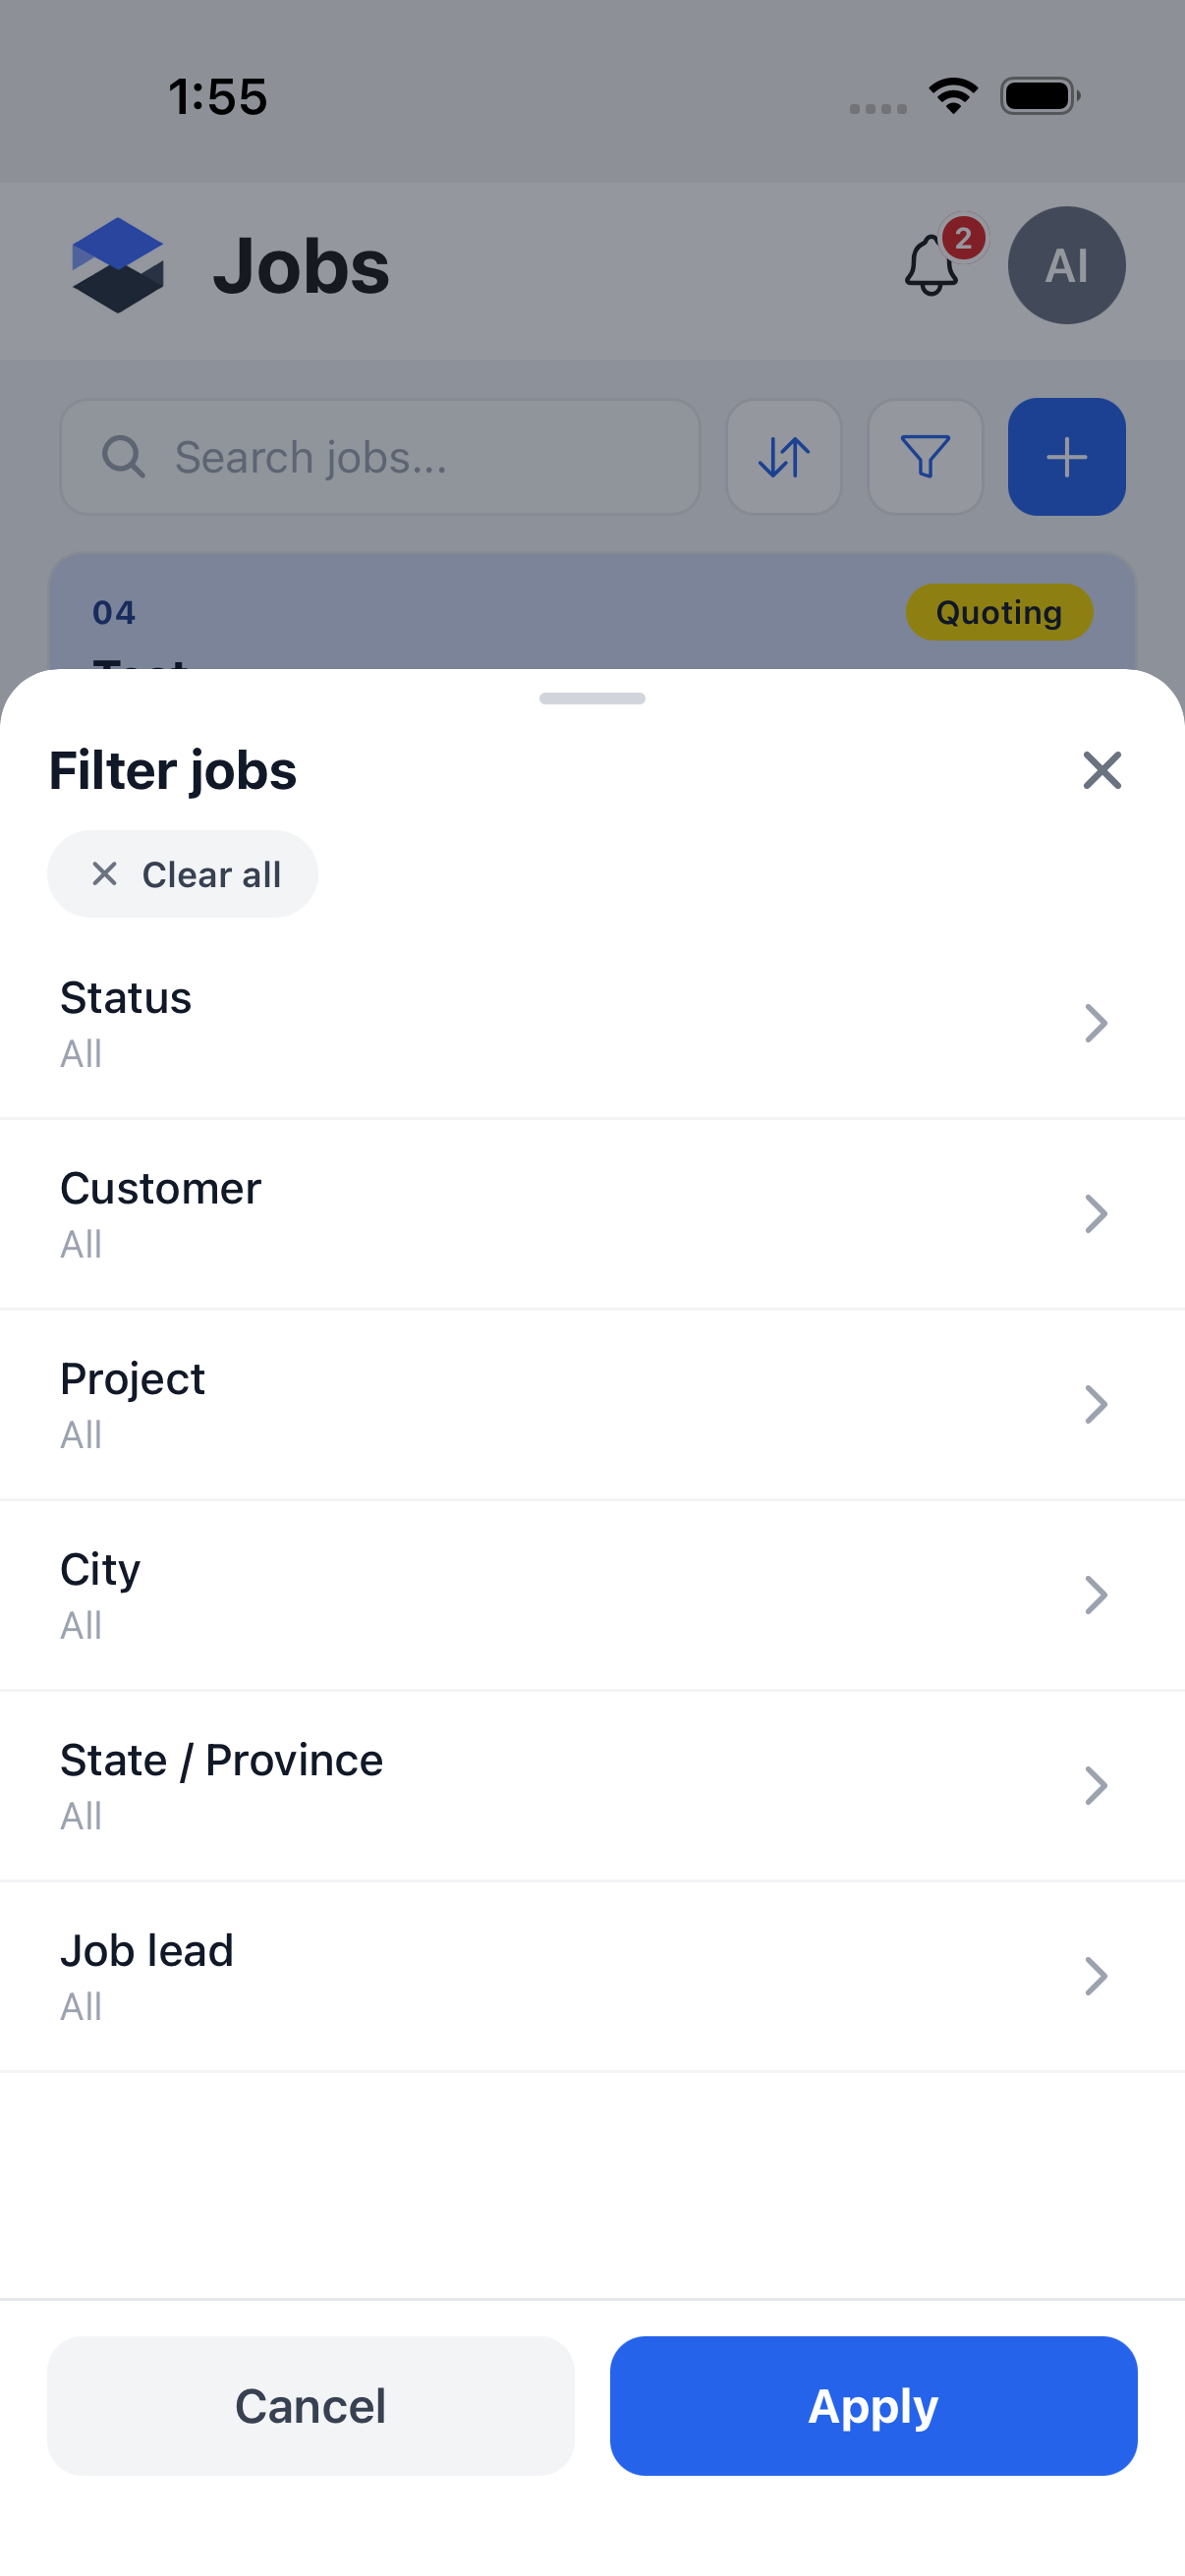
Both sheets follow the same edit-then-commit pattern as the Company Schedule filters above: changes only take effect on Apply.
The Create (+) button navigates straight to Create Job below. It appears for anyone who can see the Jobs list -- the app does not hide it based on a create permission, though Appello still refuses the save itself if your role isn't allowed to create jobs.
Create Job
Tapping Create on the Jobs list opens a single-screen form with a Save control in the top bar (disabled until Job Name and Project are both filled) and the following fields, top to bottom: Job Name (required), Project (required), Company, Location, Status, Type, Job Lead, Start Date, End Date, and Description.
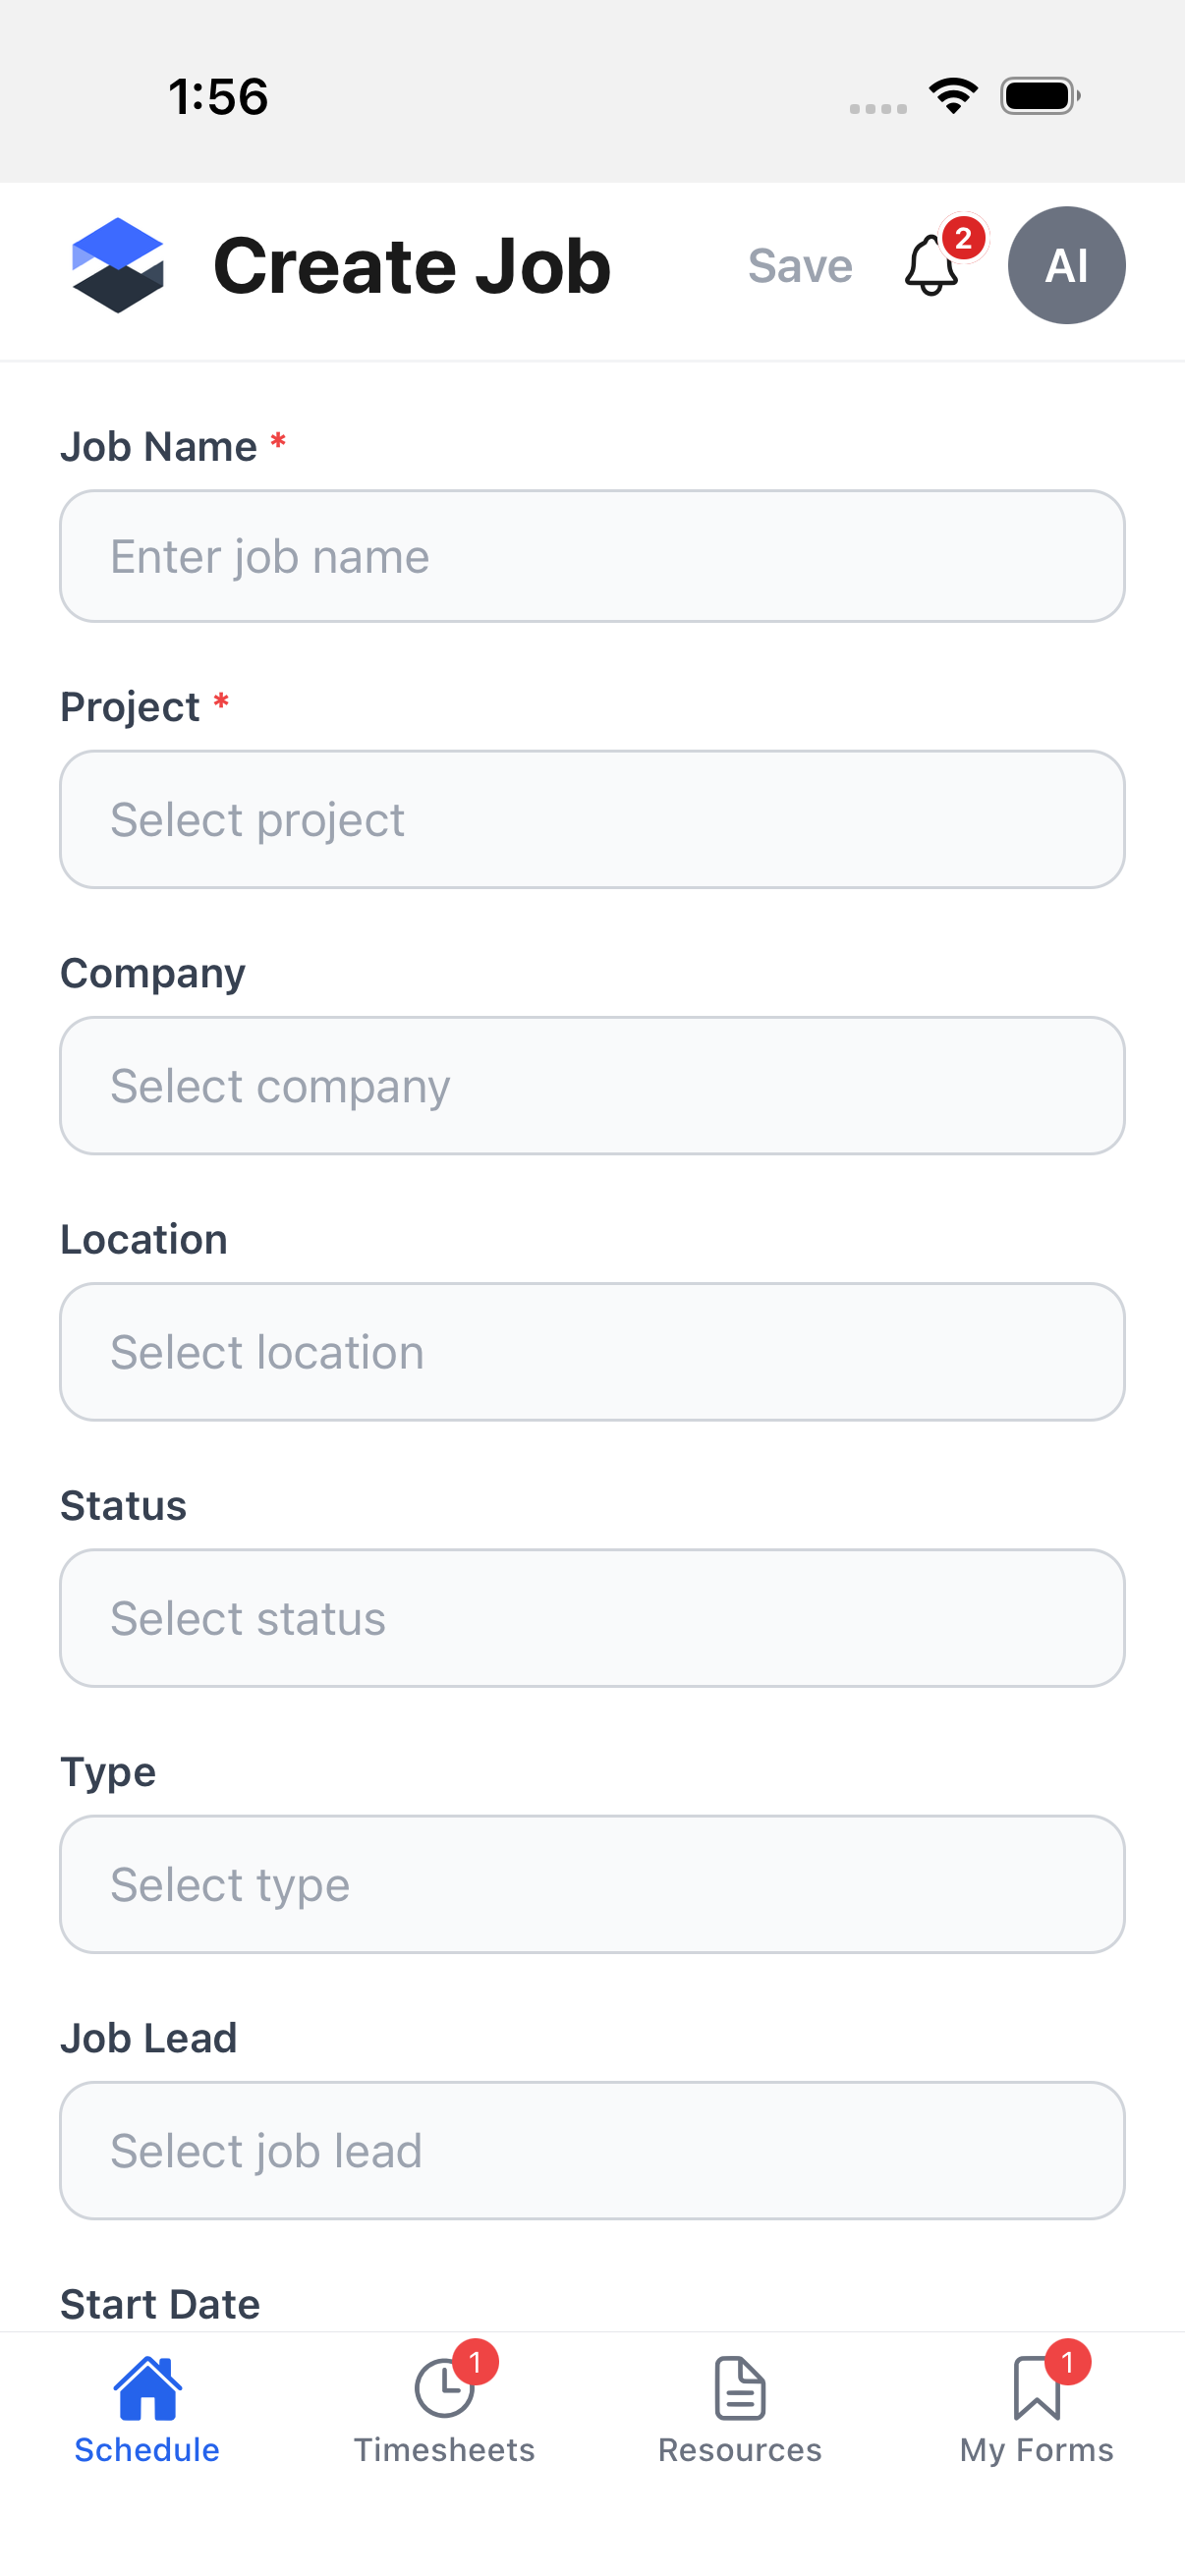
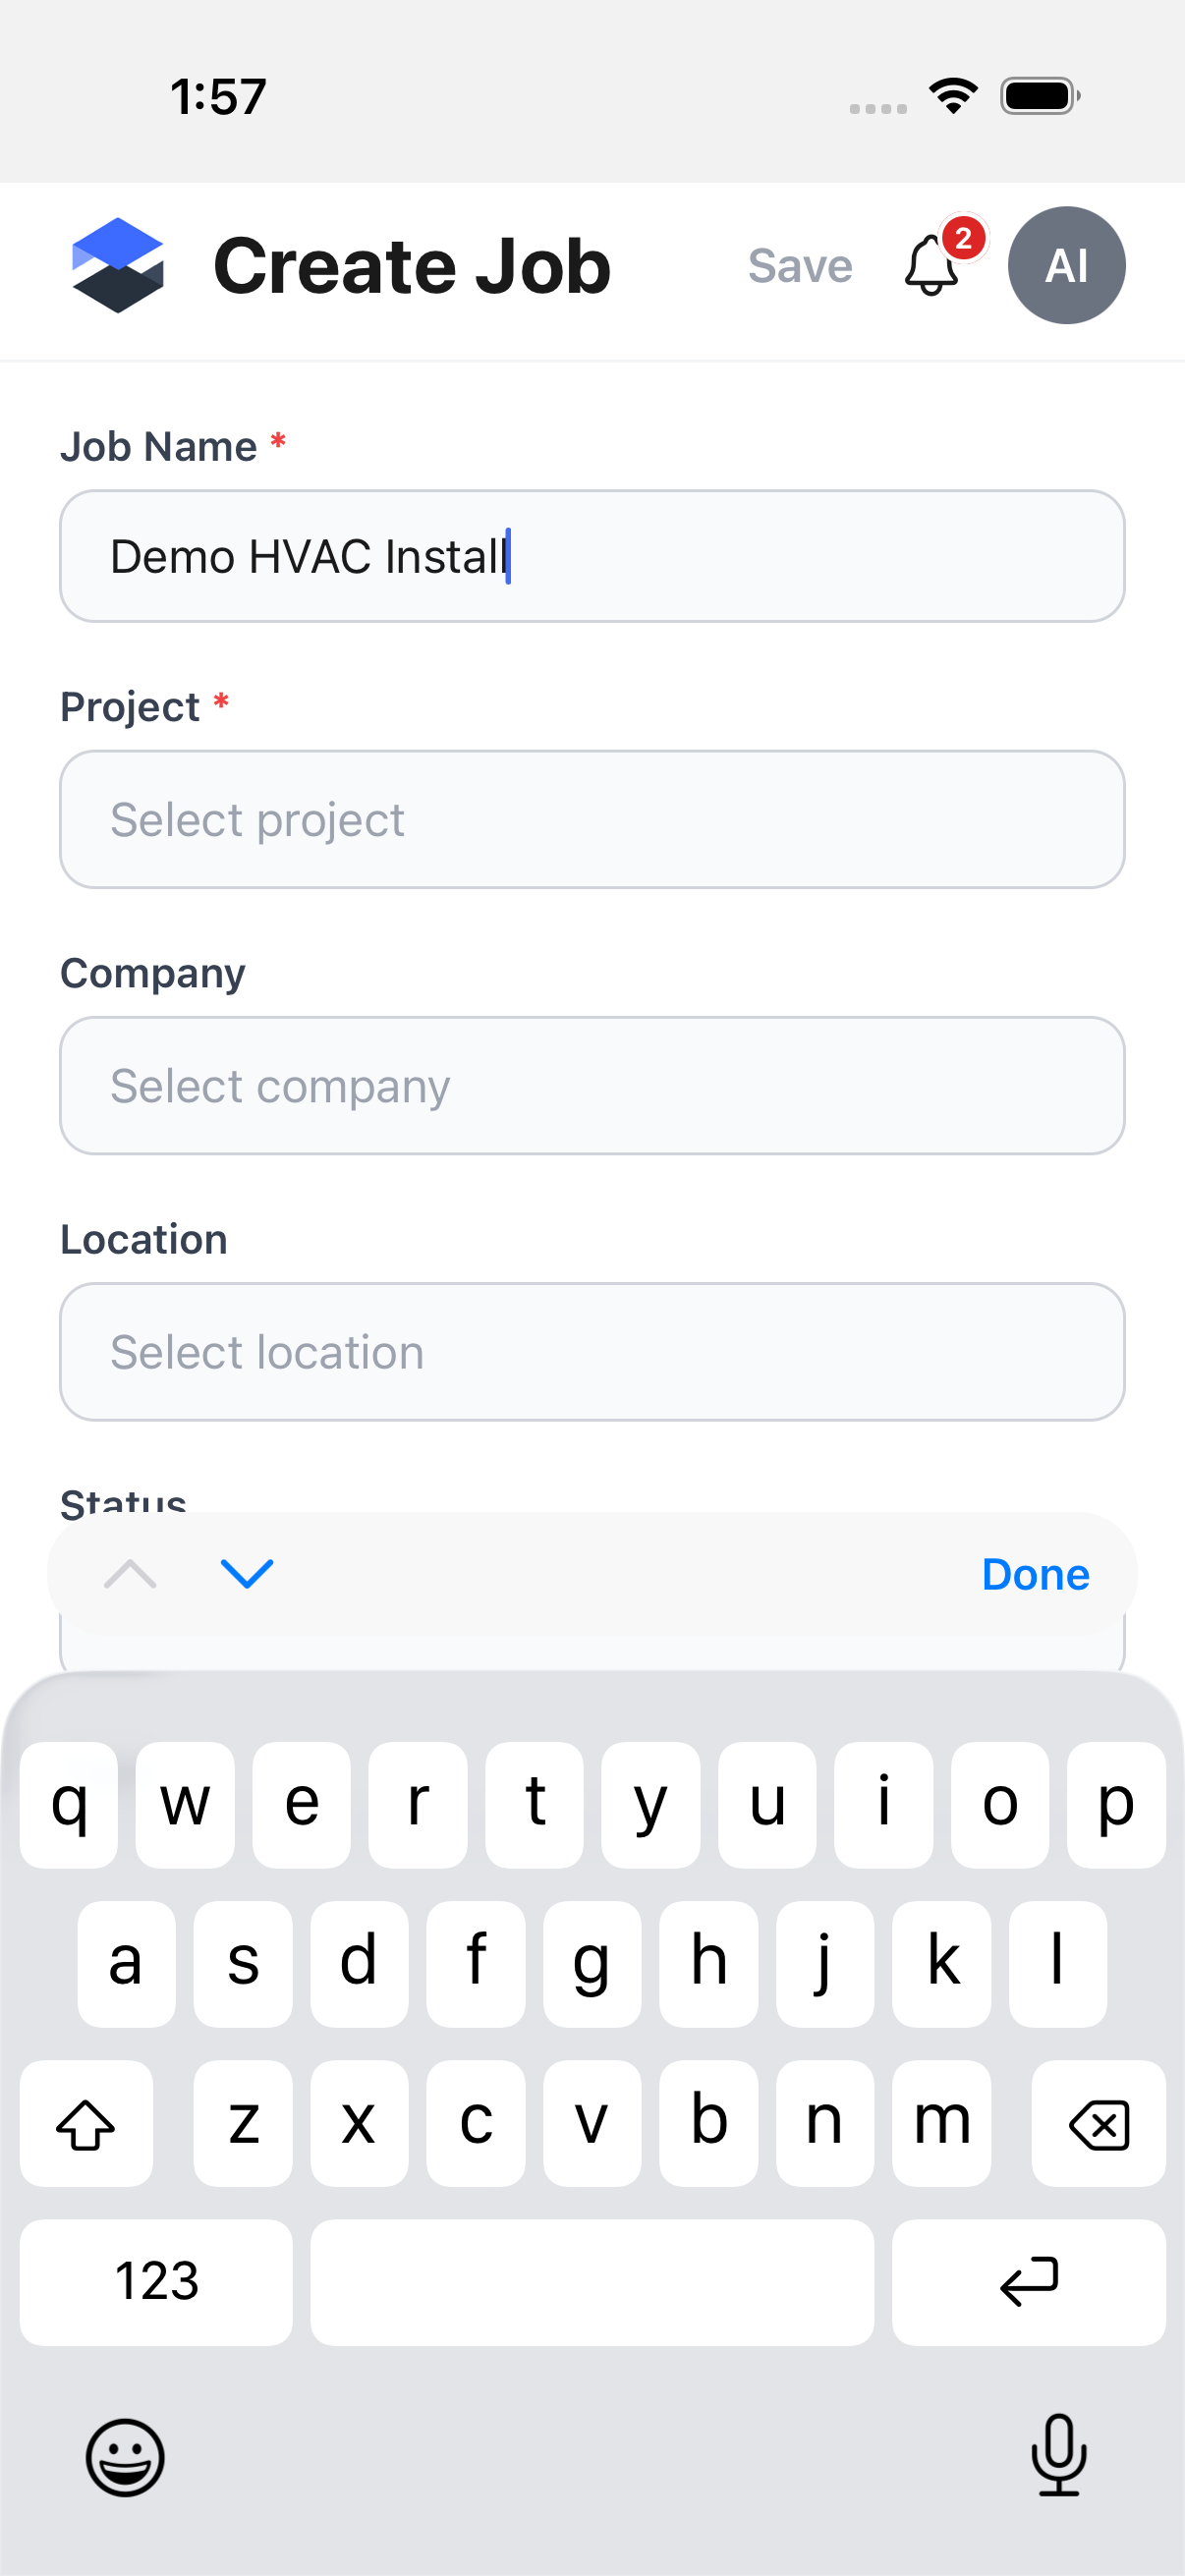
Job Name is a plain text field:
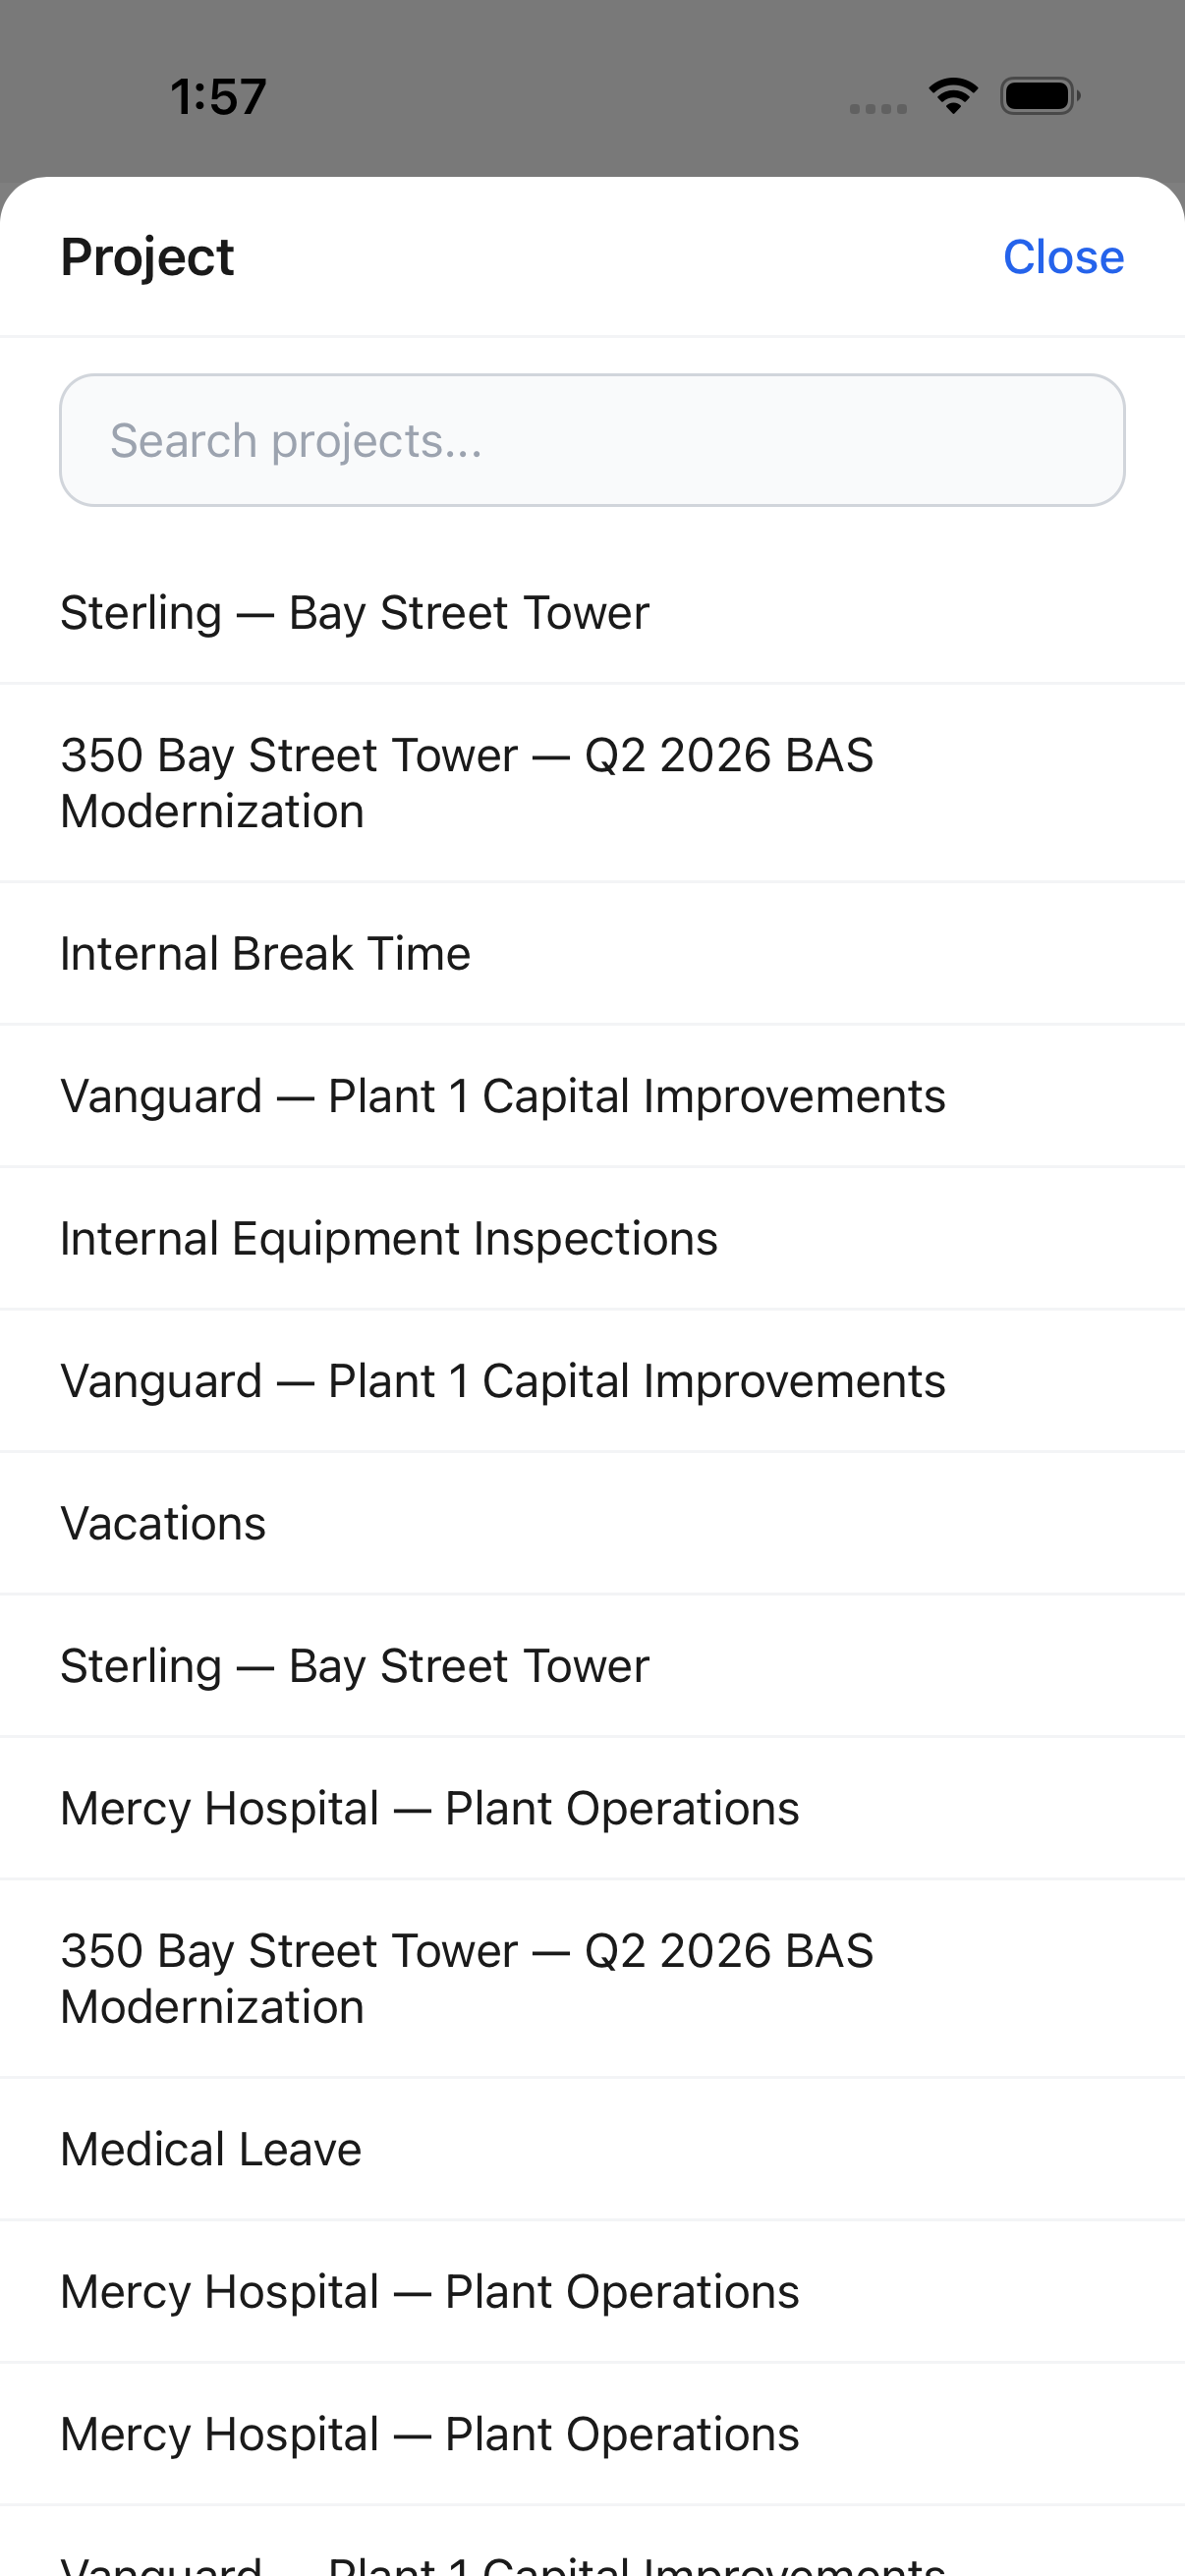
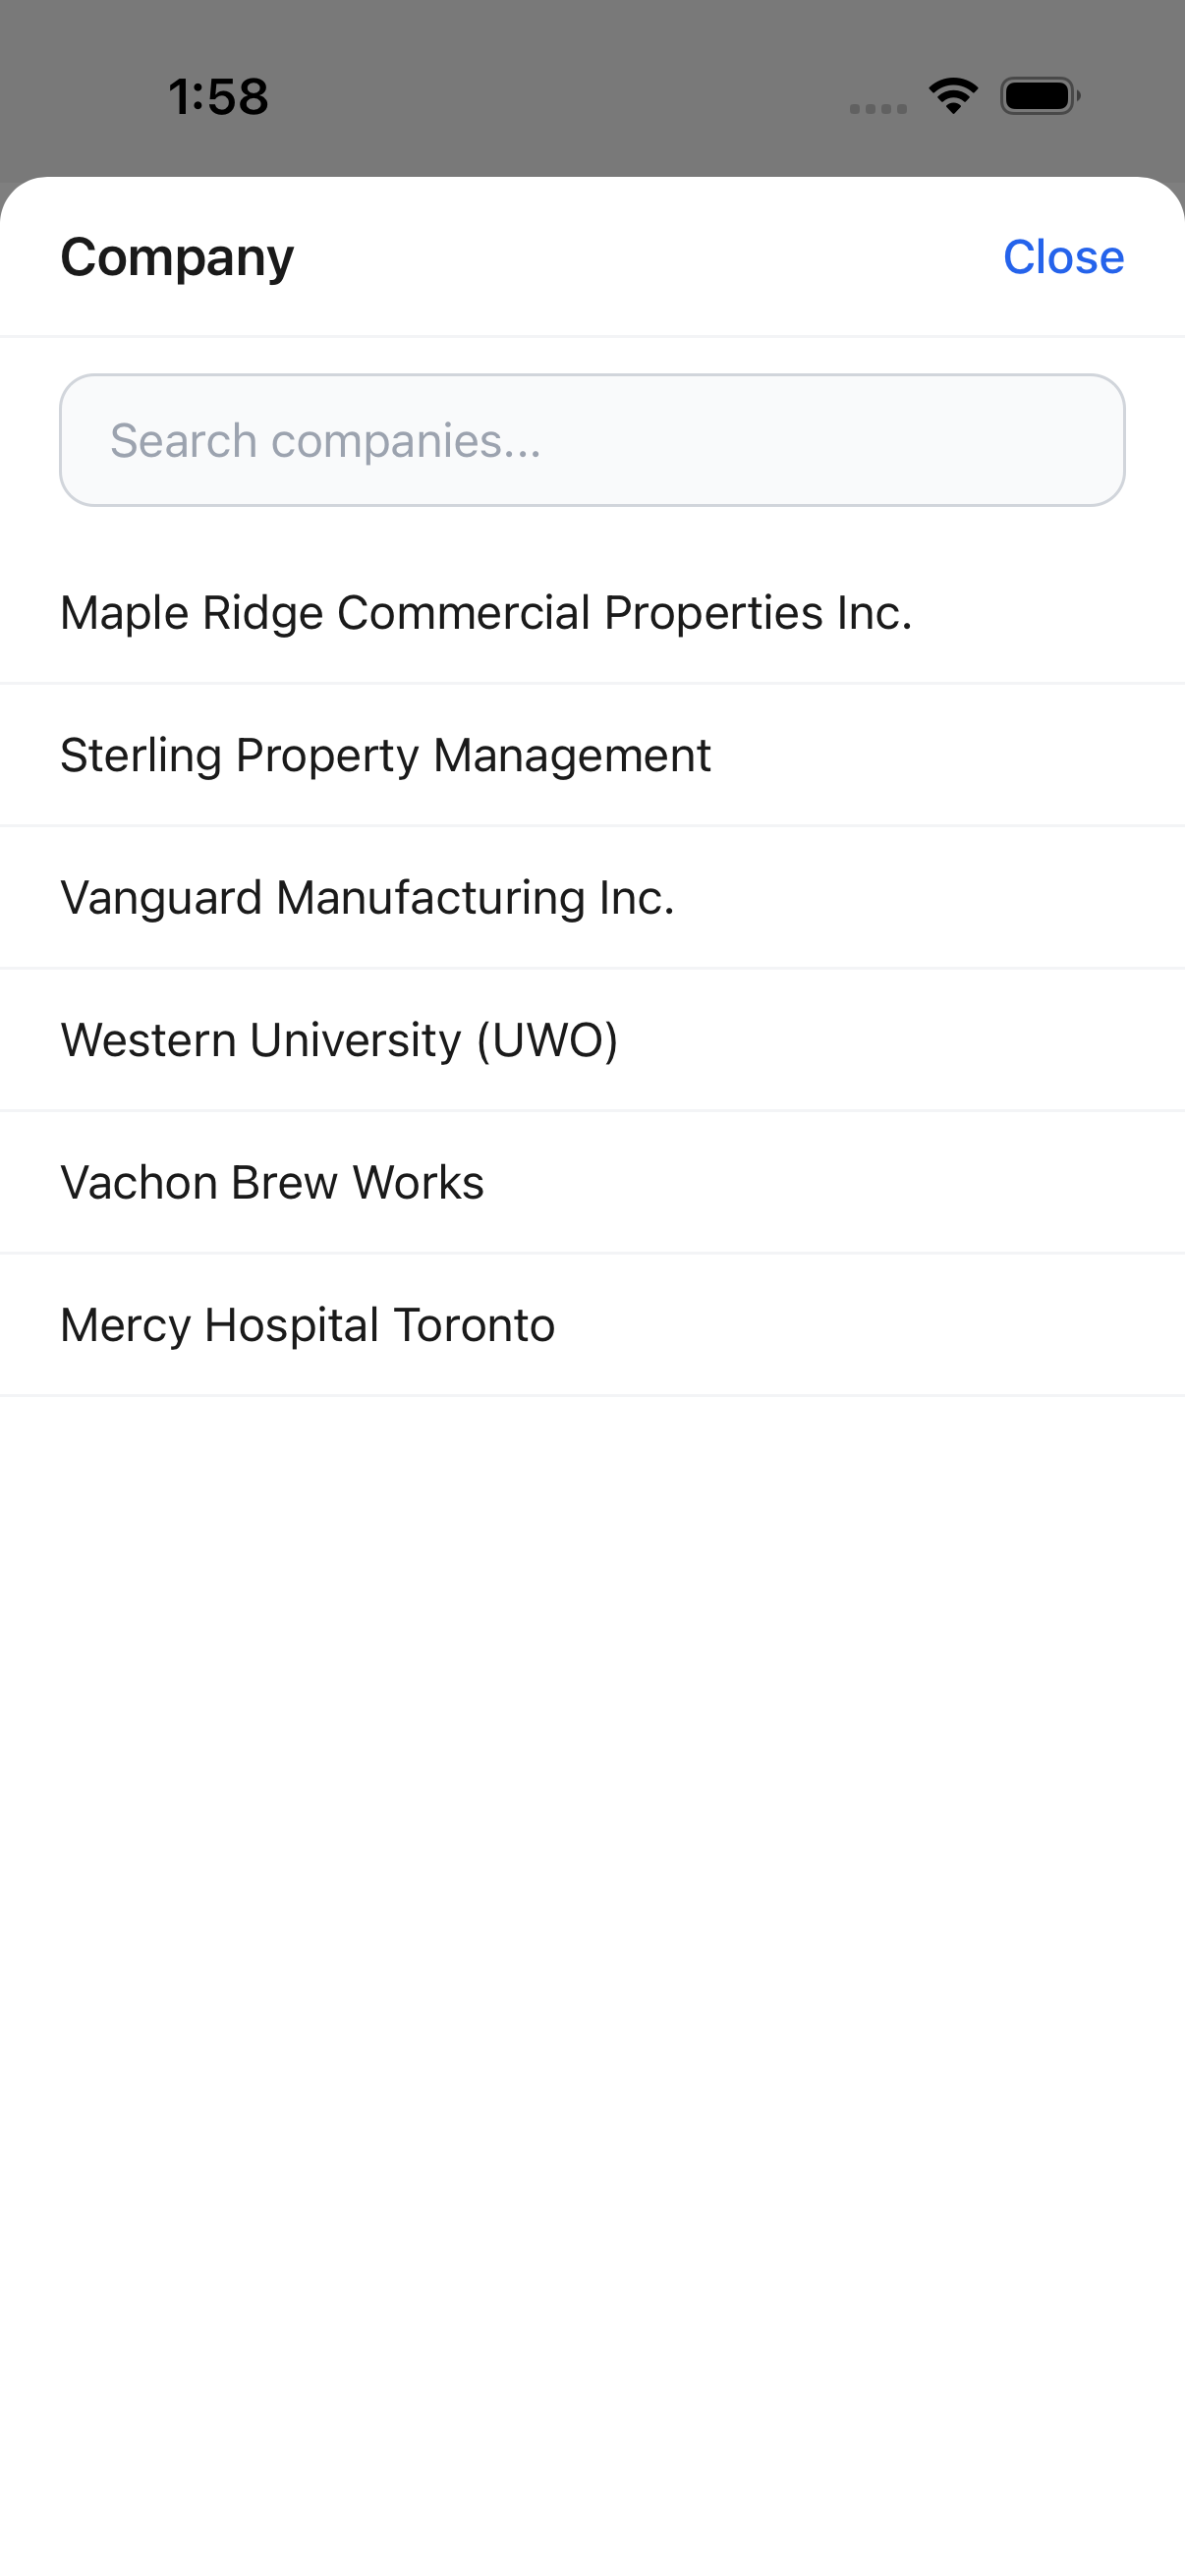
Project, Company, Location, and Job Lead each open a searchable picker modal listing the instance's projects, companies, locations, and users:
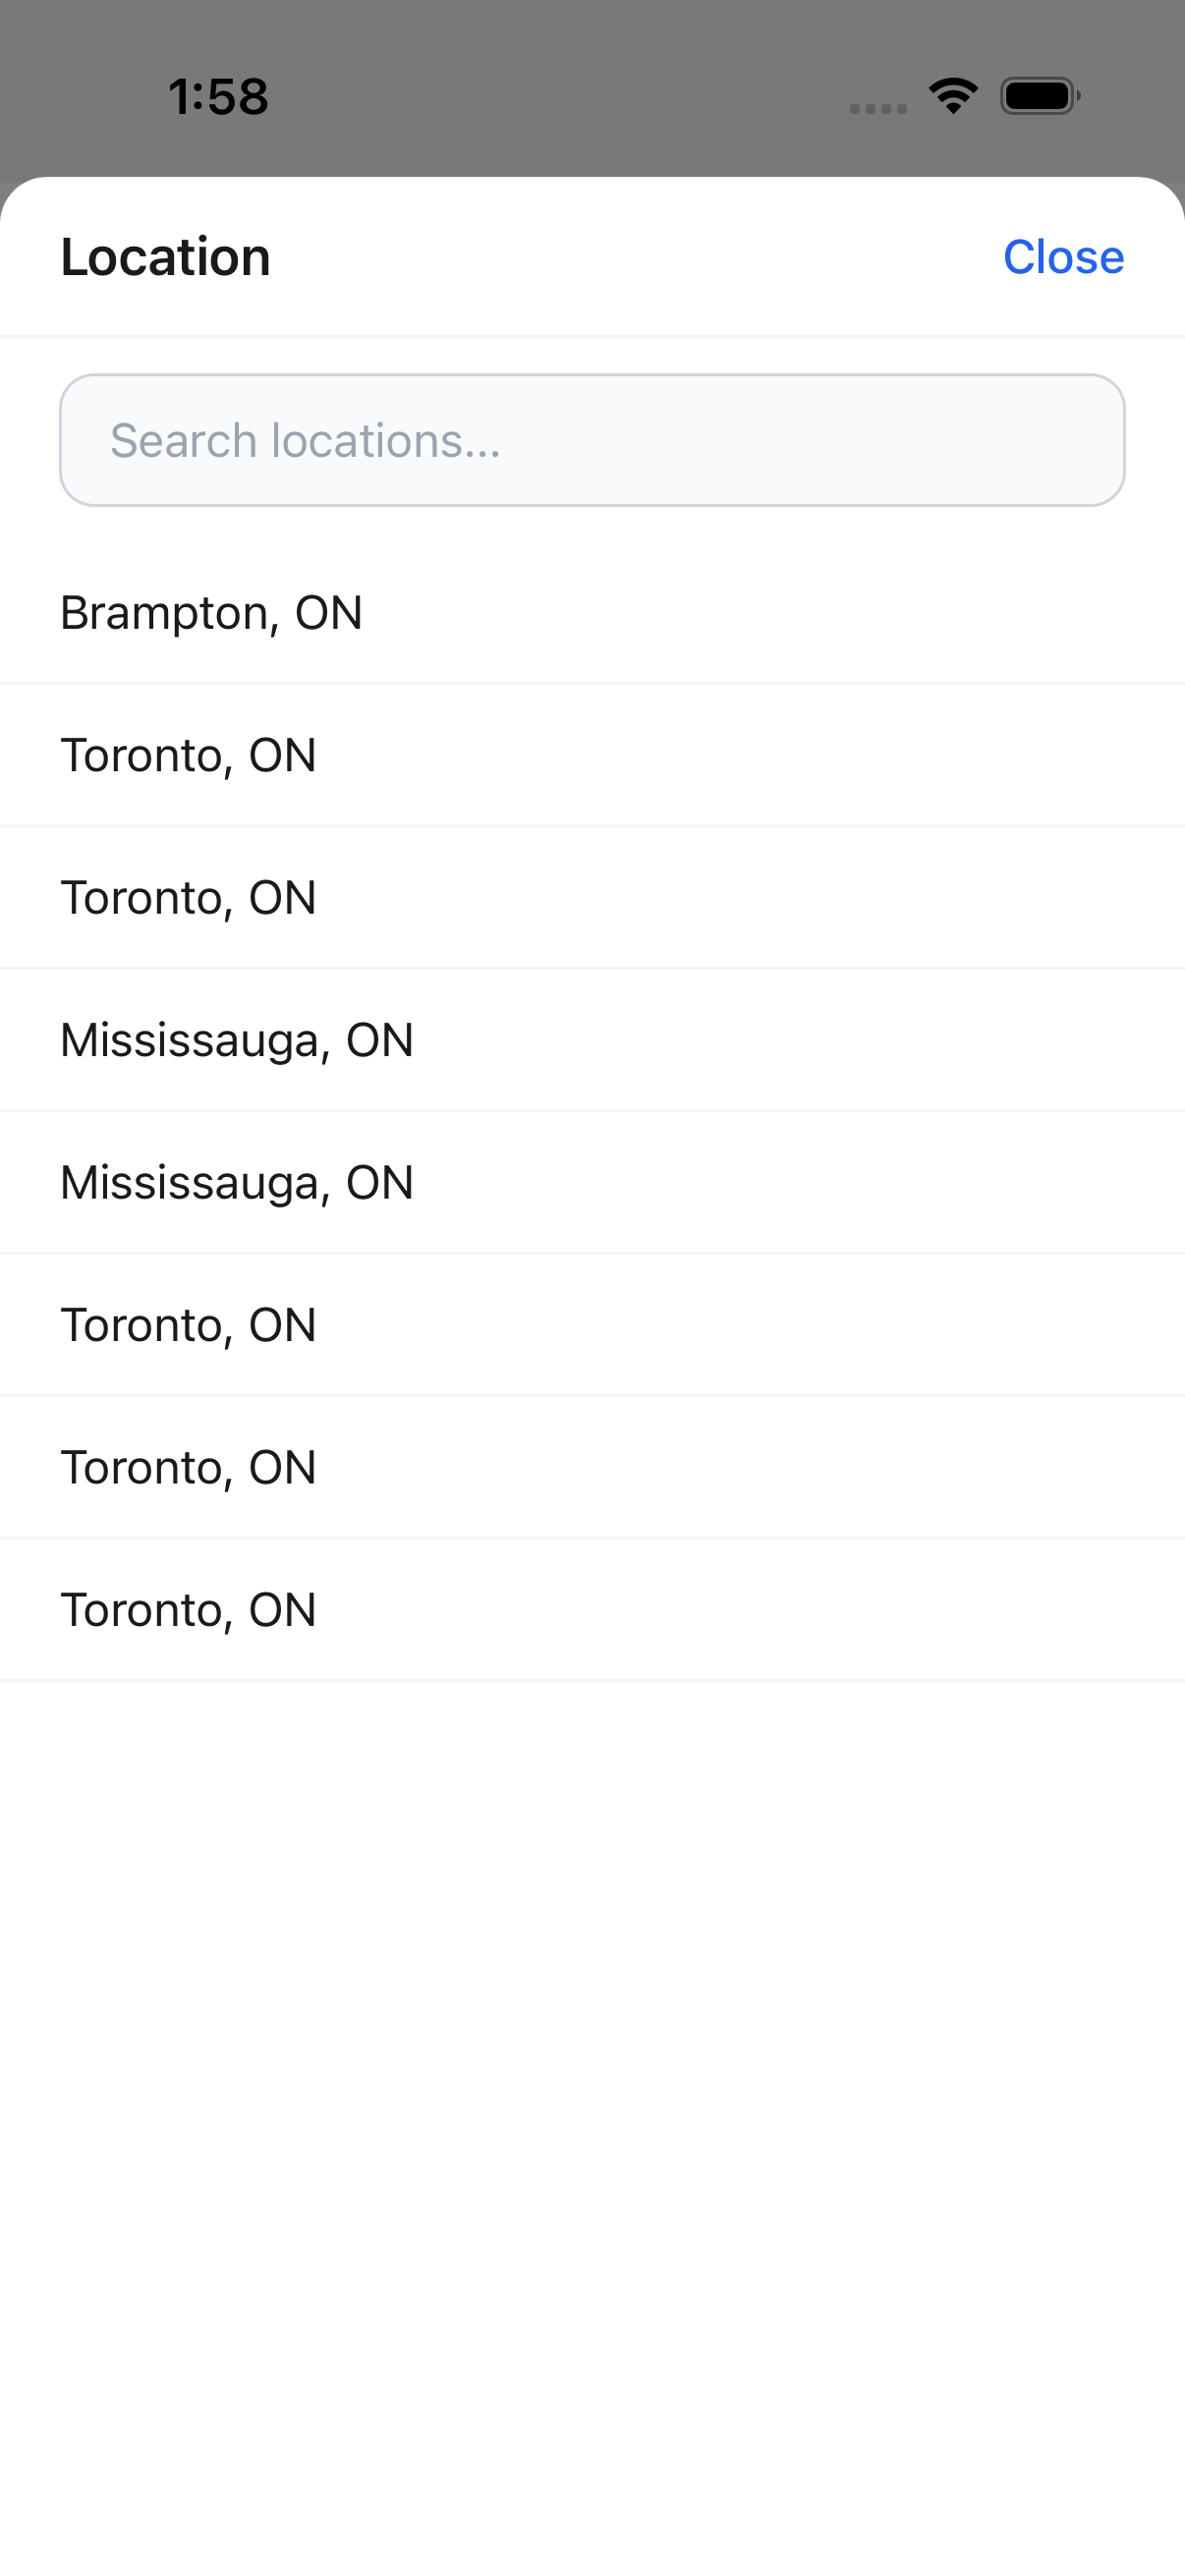
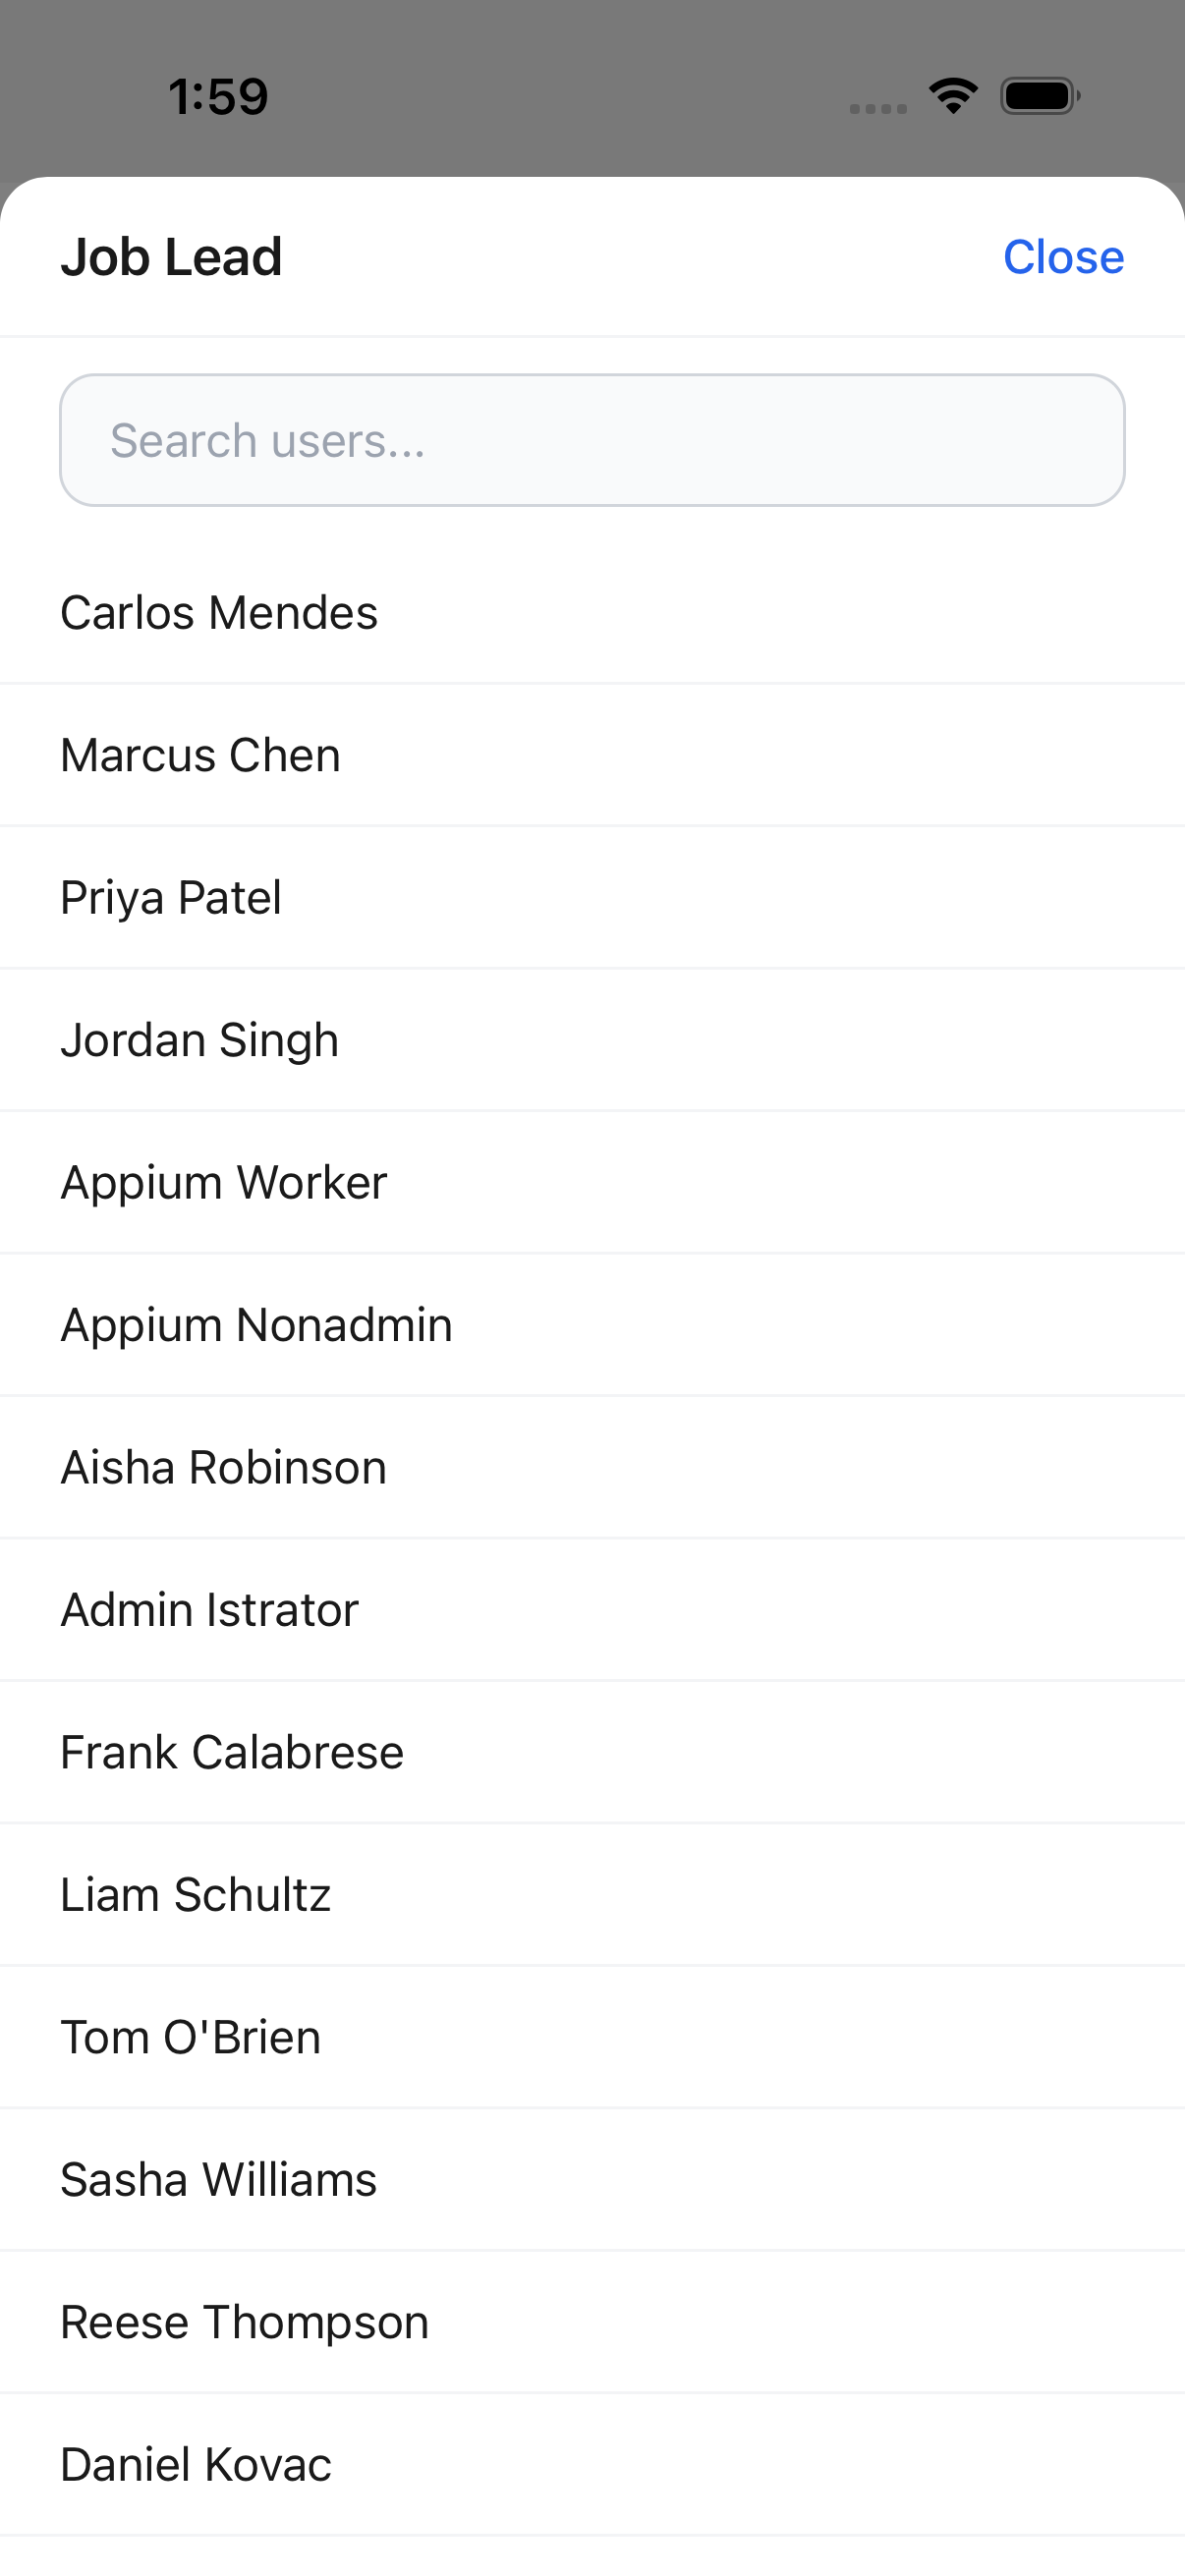
Status and Type are the same style of picker, sourced from the instance's job statuses and job types respectively. Start Date and End Date open the same calendar modal used throughout the app (see the My Schedule date picker earlier on this page), and Description is a multi-line text field.
Start Date, End Date, and Description sit low enough on this form that they fall outside the visible screen on first load (see the full-form screenshot above), and the test tooling used for this pass could not scroll the form. Attempting to tap Start Date in that state landed on the bottom tab bar instead of opening the calendar, and Description could not be reached at all. Both fields do exist -- they just weren't captured live.
This page never tapped Save -- every screenshot above was captured and then backed out of without submitting, since the demo instance was treated as read-only.
Job Preview and Job Details
Tapping a job card (from My Schedule or the Jobs list) opens Job Details for that job: job number, status, and name at the top, a Clock In button (see Clock In below), and a row of tabs. The full tab list -- in order, each shown only when its permission allows -- is:
| Tab | Always shown? | Gate |
|---|---|---|
| Info | Yes | -- |
| Notes | No | Notes → View, and (for users scoped to scheduled jobs only) you must be scheduled to the job |
| Forms | No | Form Submissions → Create |
| History | No | Mobile → View Form Submission History |
| Equipment | Yes | -- |
| Files | Yes | -- |
| RFIs | No | Request For Information → View |
| Clocked-In Users | No | Mobile → Can View Checked In Users |
The Info tab has a Job Details card -- Job Customer, Job Name, Job Start Time, Job Description, Job Estimator, Job Location, Job Site Contact, and Project Name -- and the Job Location value renders as a tappable blue link when the job has an address:
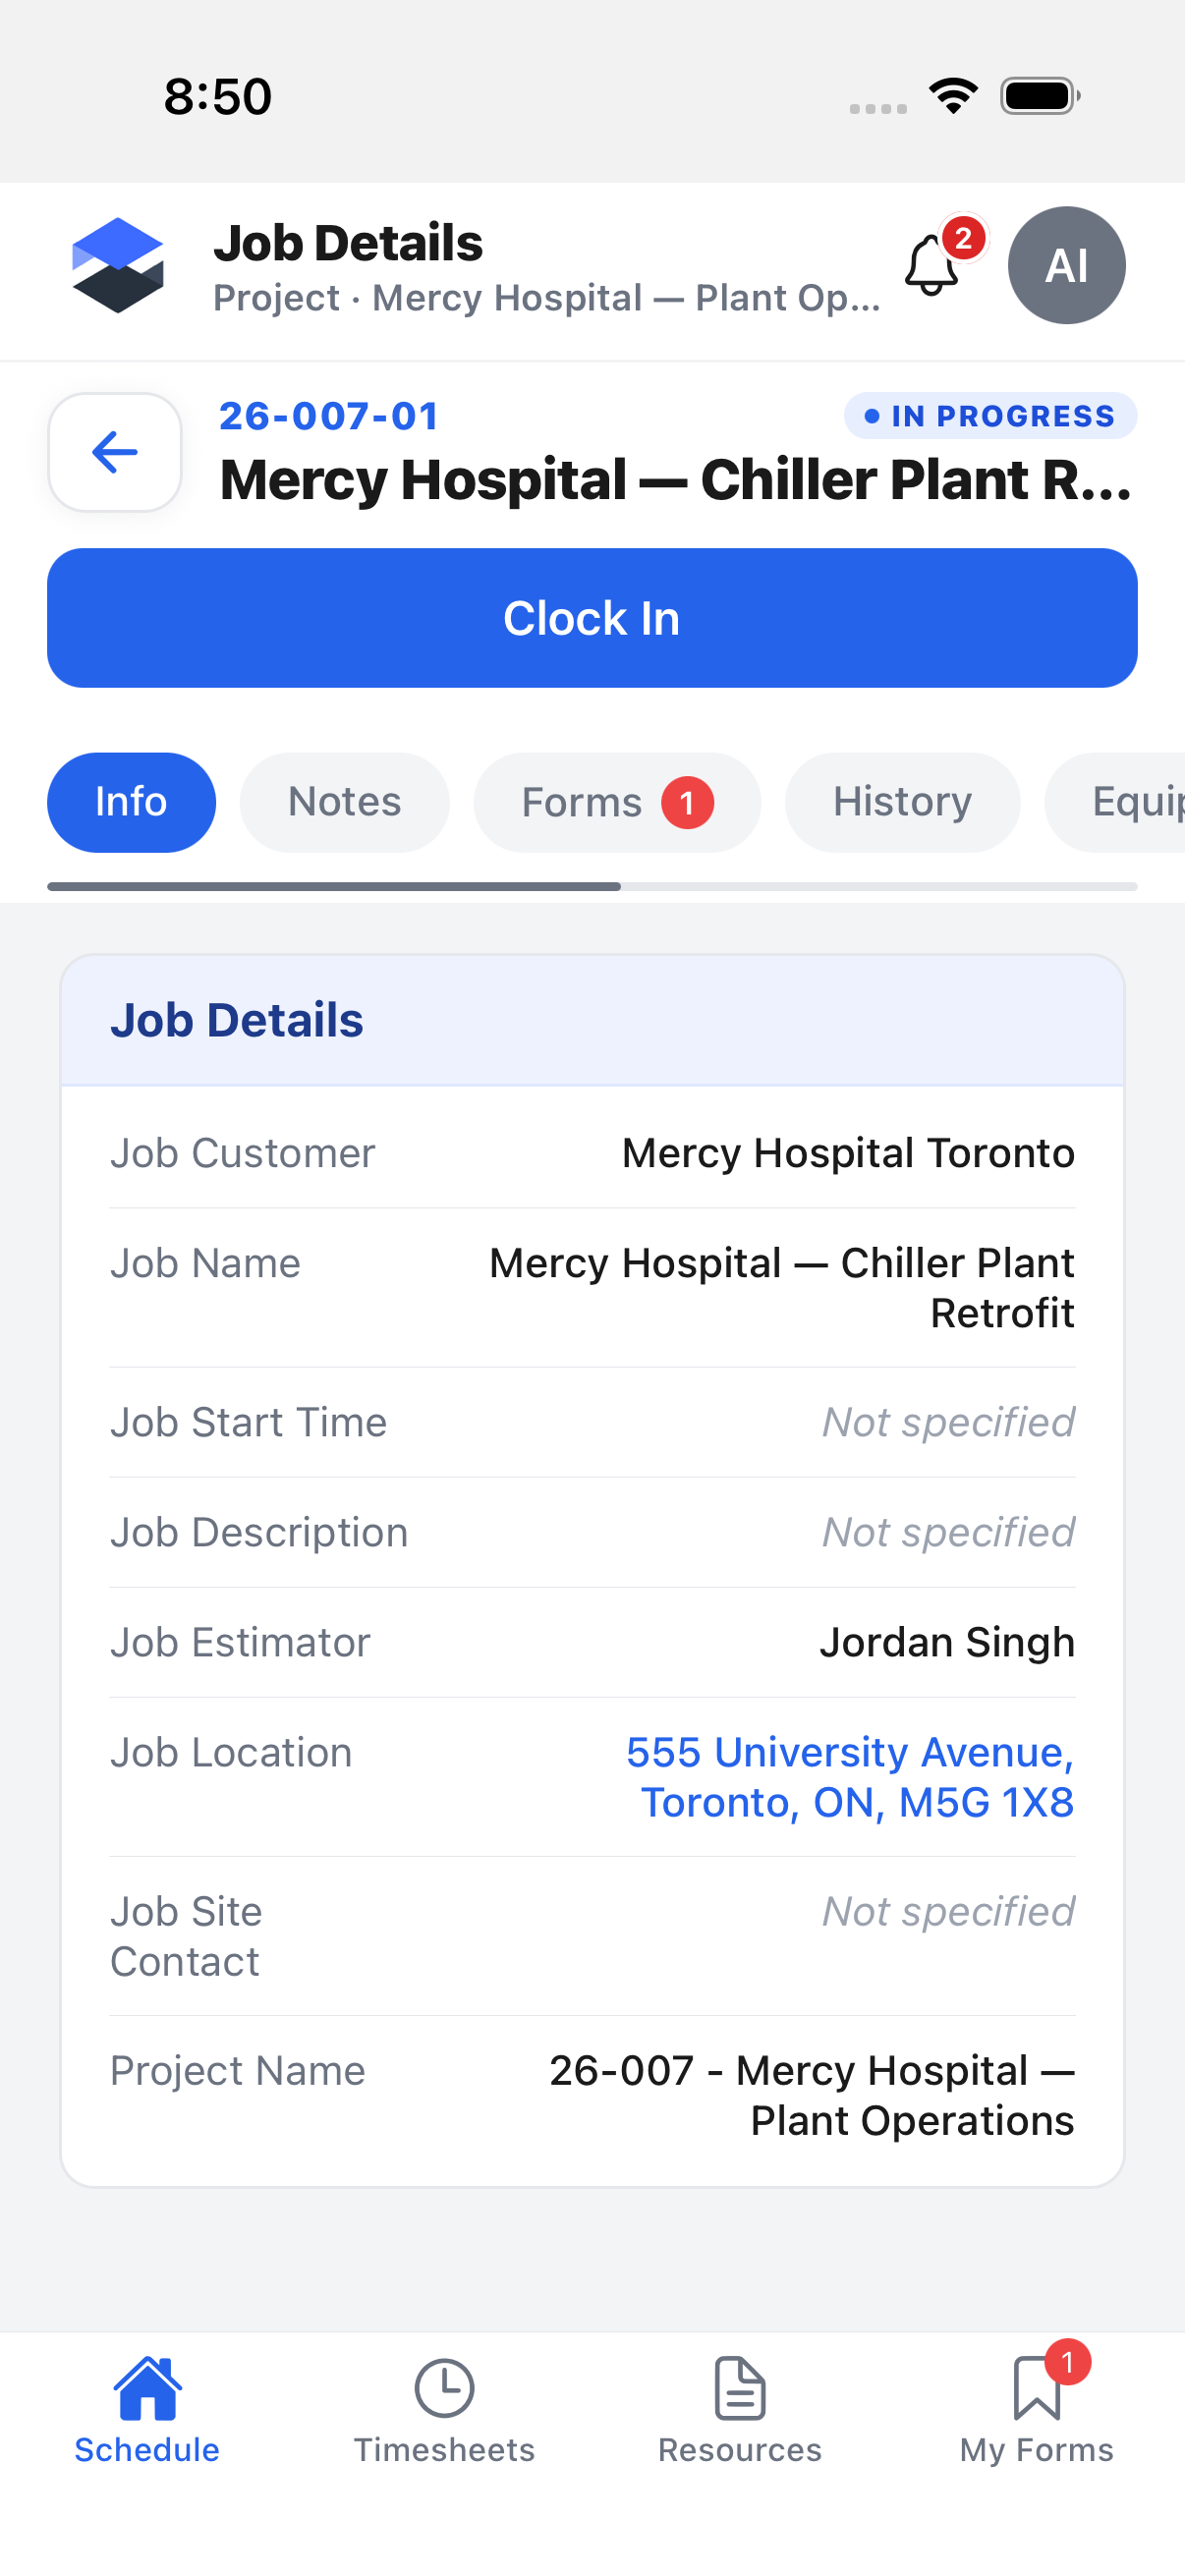
Info and Files are covered on their own pages rather than duplicated here -- see Resources and Files and Notes on Mobile for Notes. The remaining tabs:
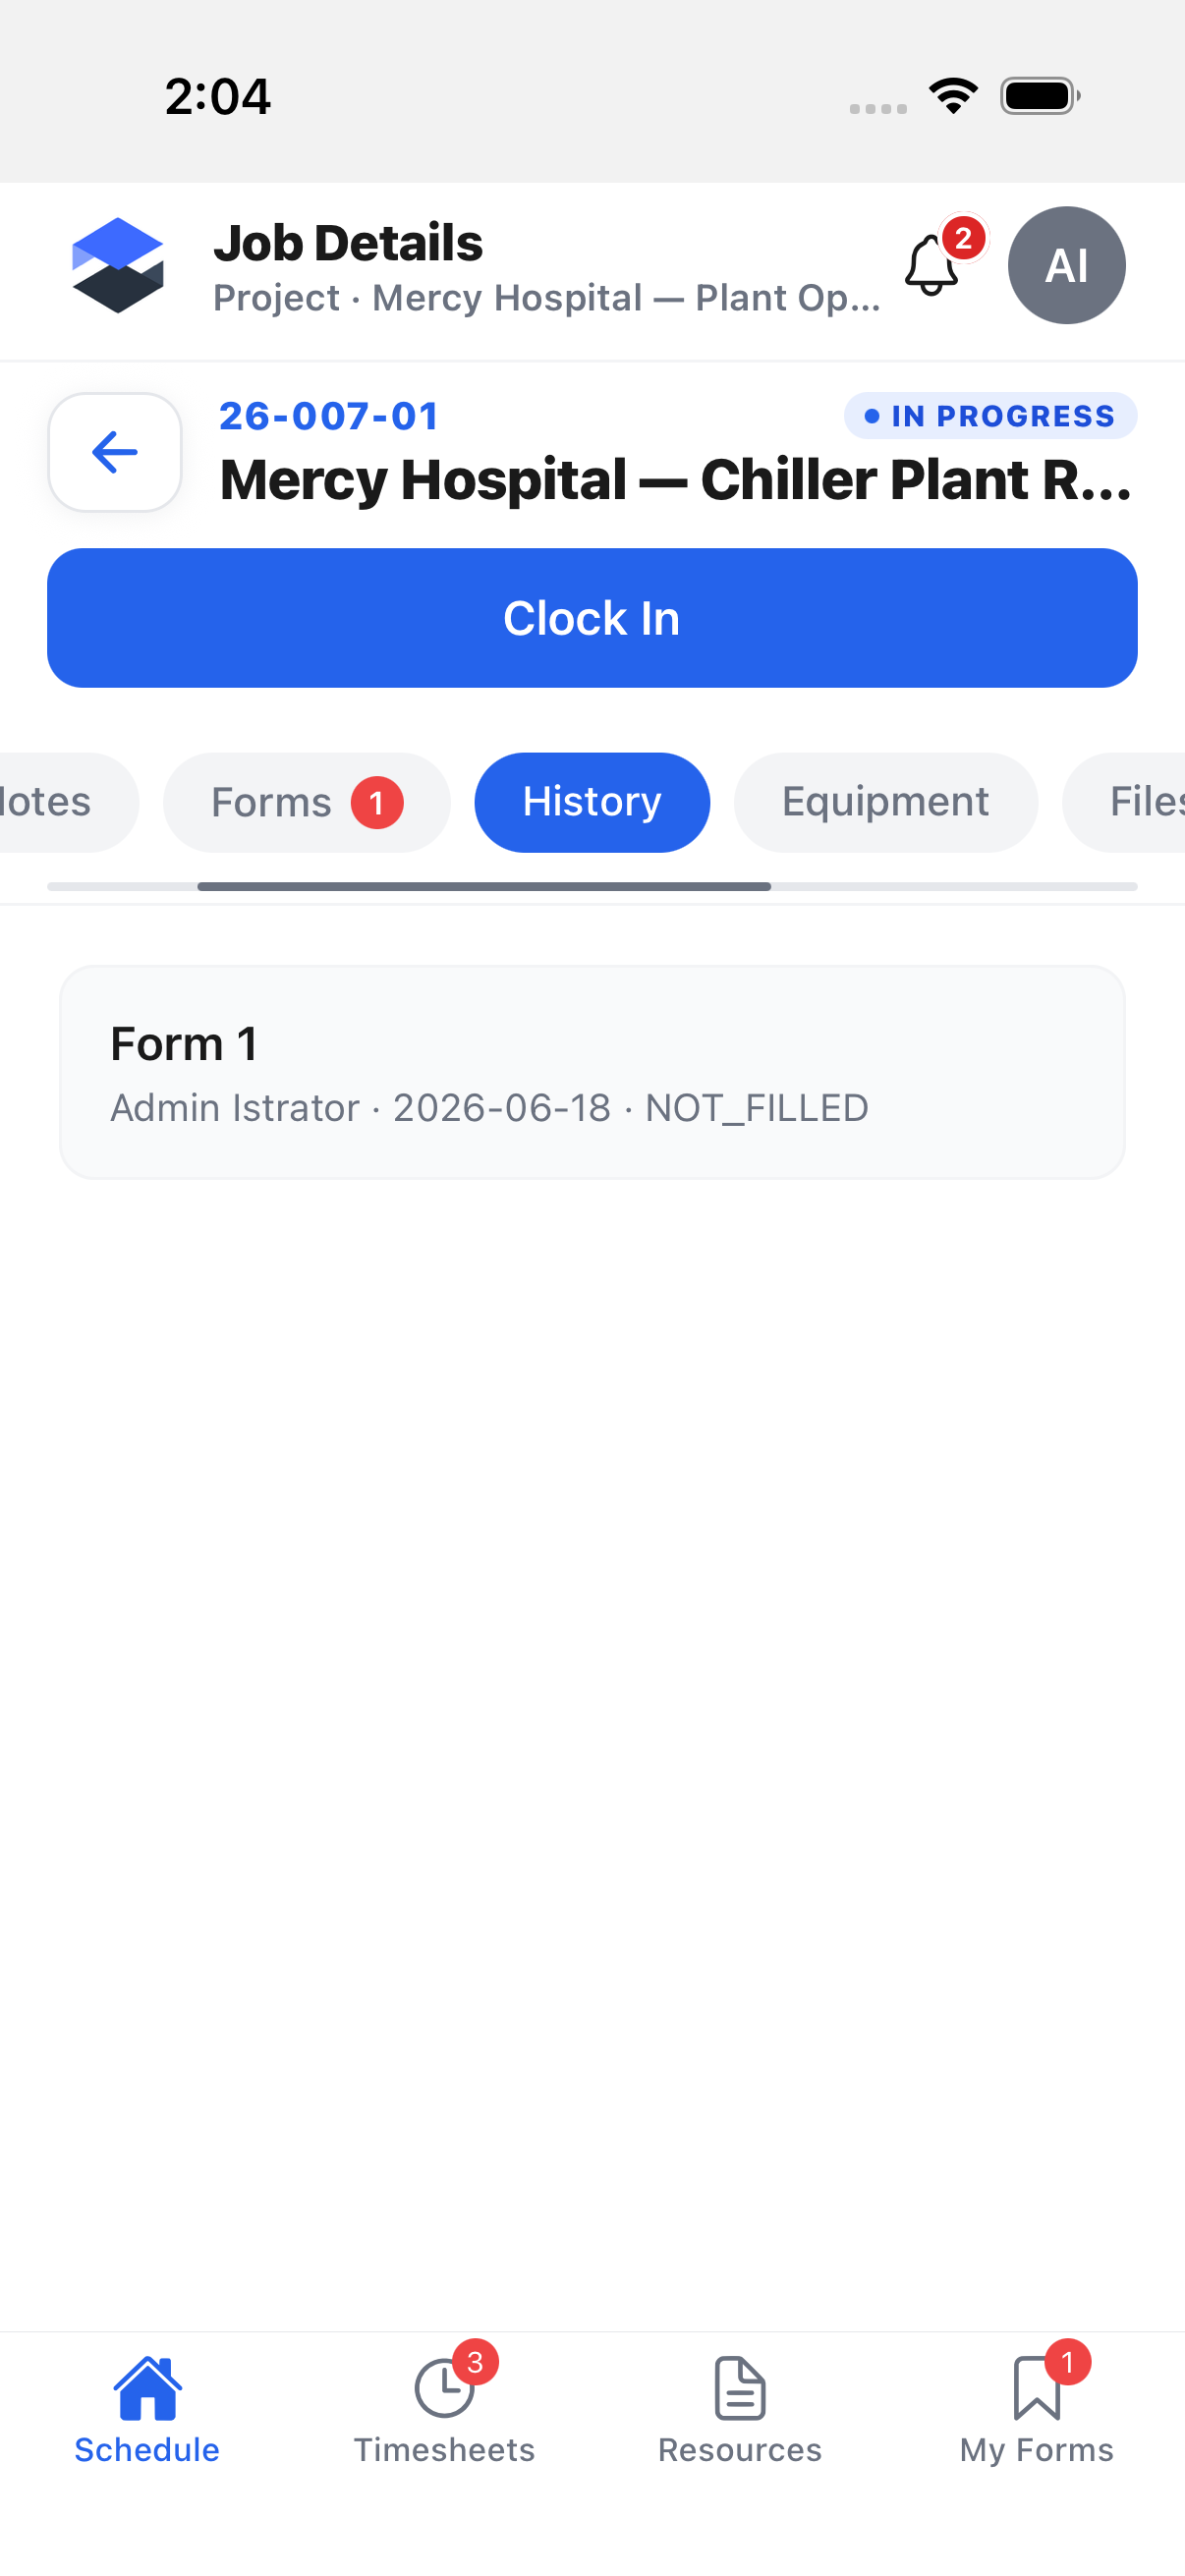
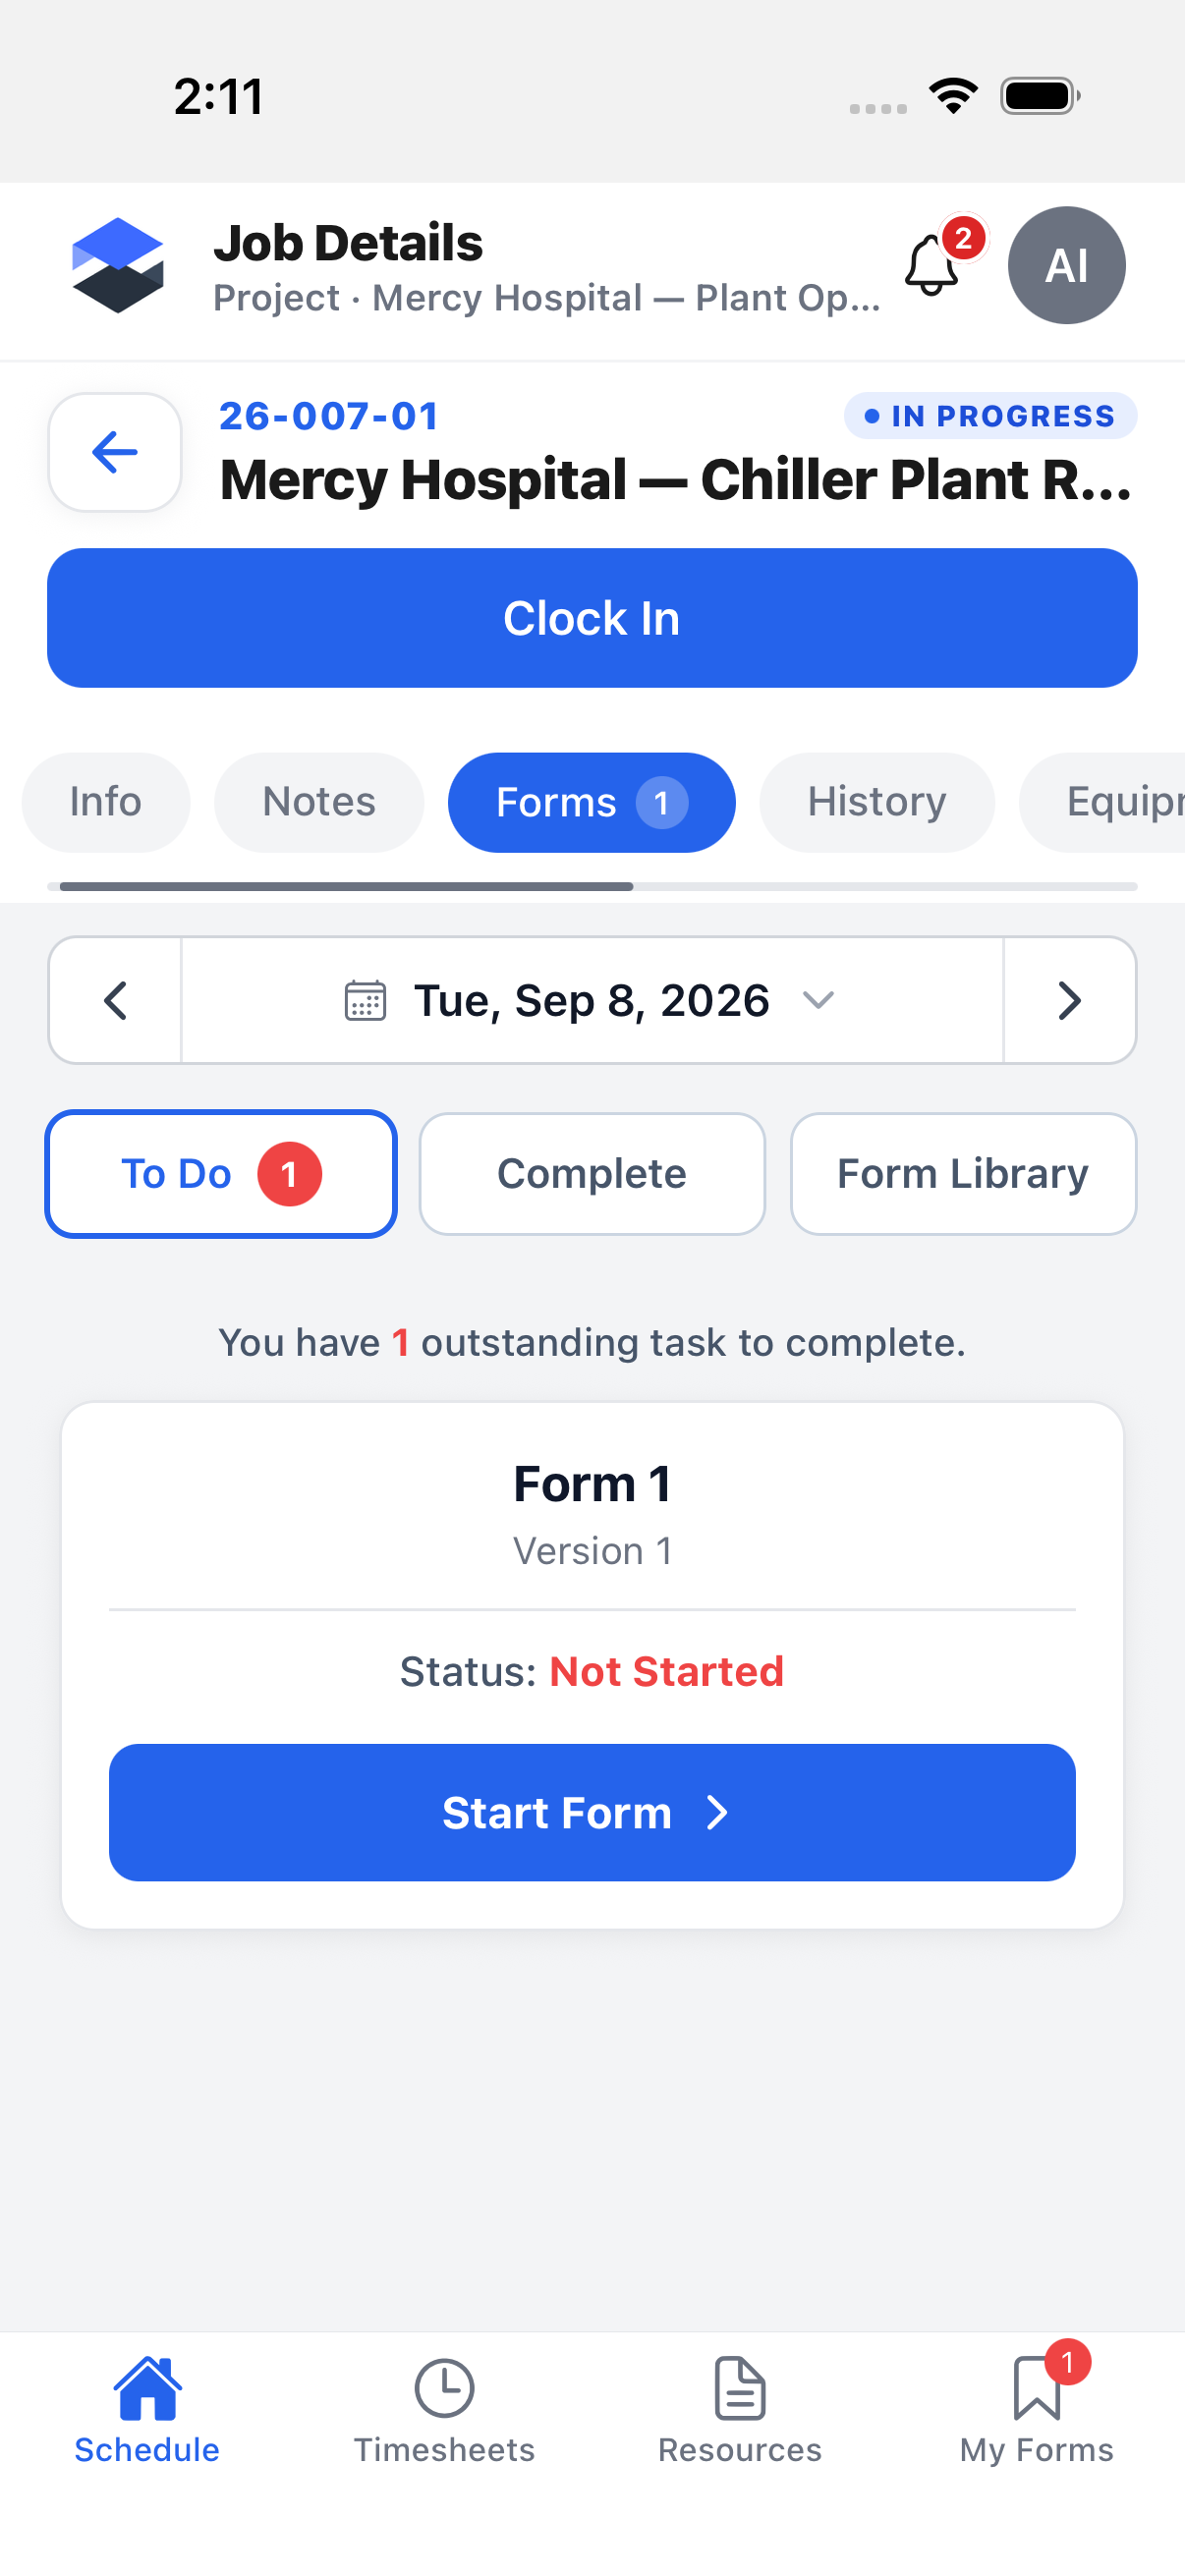
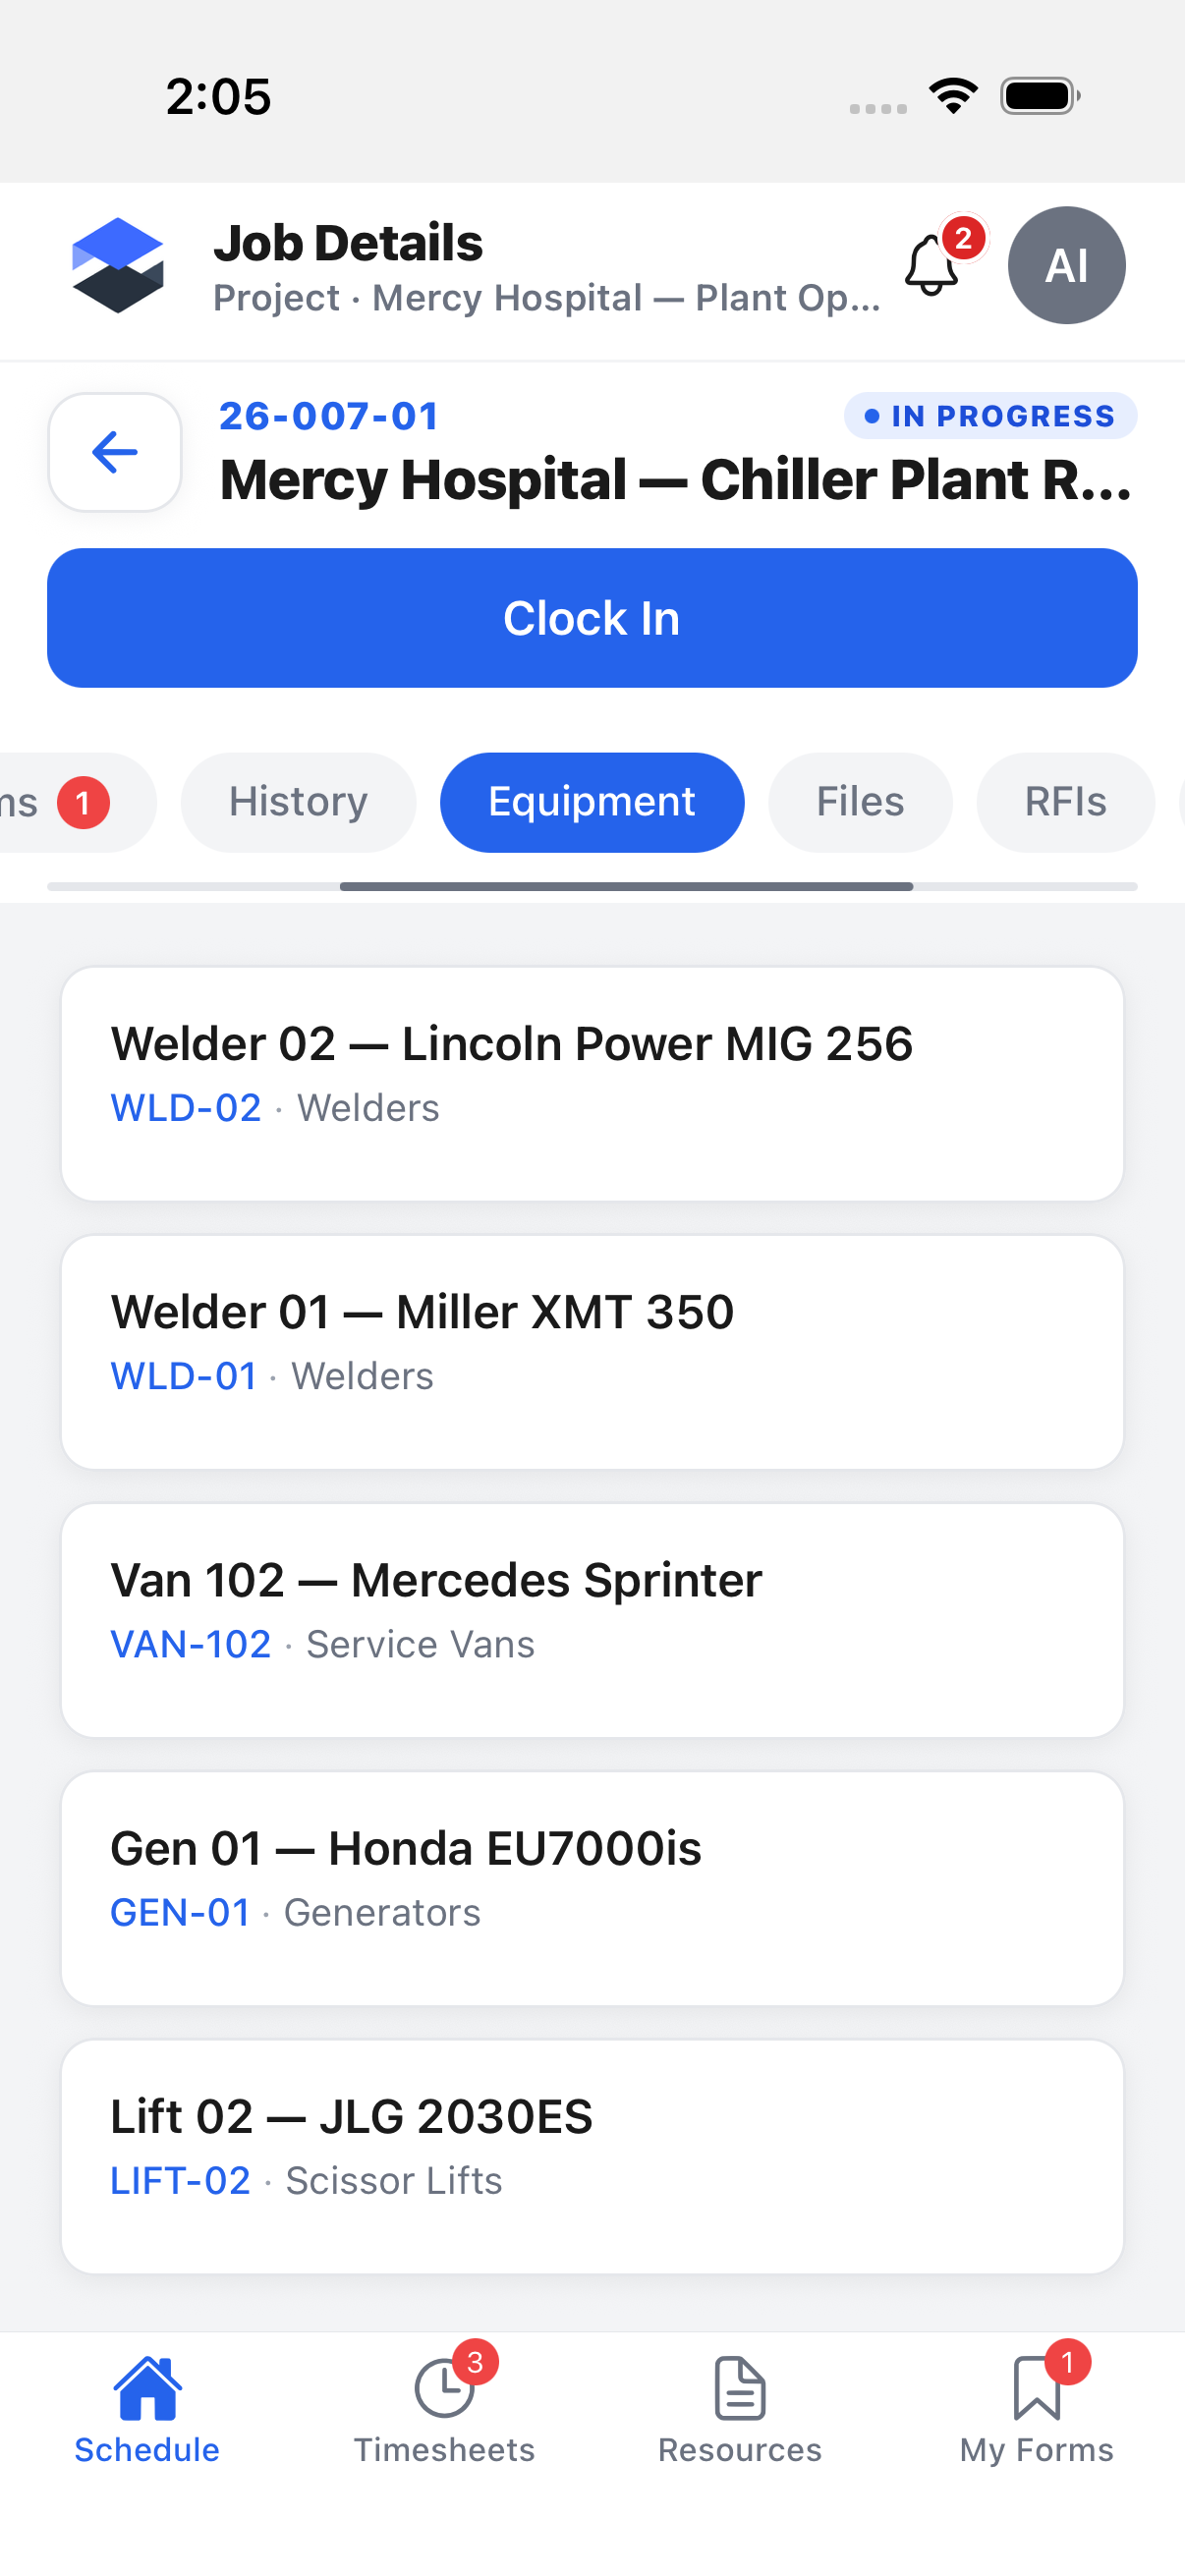
RFIs and Clocked-In Users are further right on this same horizontally-scrolling tab strip. The test tooling used for this pass cannot swipe, and tapping those two tabs landed back on whichever tab was already active rather than switching -- the same limitation as the Create Job fields above. Their gating permissions are listed in the table above; their tab content wasn't captured live for this page.
No-access state
Not captured live: a user whose Mobile → View Jobs permission is scoped to Scheduled, and who was never scheduled to a given job, is blocked from its Job Details screen entirely -- before the tab bar or any tab content appears. That screen shows a lock icon, a title, a body message, and a single Back button, replacing the normal Job Details layout outright.
Directions
There are two separate "get directions" actions in the app:
- Jobs list / schedule card -- the Directions button on the job card opens directions in Google Maps, using the app if it's installed and a browser otherwise. This works the same way on iOS and Android.
- Job Details → Info tab -- tapping the Job Location address opens Apple Maps on iOS, and whichever maps app the device uses on Android.
Both are external links that hand off to a maps app, so this page only screenshots the button itself rather than tapping it:
Clock In
The Clock In button appears on Job Details when you hold the clock-in permission, and either the job is on your schedule for today, or you hold the permission to clock in to unscheduled jobs. It's hidden entirely for a user whose default timesheet submission type is Manual (see Timesheet & Clock In Settings).
Tapping Clock In opens a sheet titled Clock in to <job name>, showing the current
time and (if your company requires GPS for clock-in) a geofence panel that captures your
location and compares it against the job's check-in radius:
| State | What it means |
|---|---|
| Getting your location... | Capturing a GPS fix (up to 15 seconds). |
| You are within the job site geofence | Your captured location is within the radius -- shows a green "Your location has been verified" panel, no reason required. |
| You are outside the job site geofence | Outside the radius -- flagged for review; a Reason required field appears asking "Why are you clocking in here?" |
| We couldn't verify your location | No GPS fix was obtained in time -- same flagged-for-review + reason-required behavior as outside-geofence. |
The check-in radius is the job's own override if it has one, otherwise the instance-wide Default Geofence Radius (500 meters out of the box, configurable down to a 25 meter minimum) from Timesheet & Clock In Settings. Once a location fix resolves, the sheet also shows a small map with the job pin, your pin, and the geofence circle -- it auto-opens when you're outside the geofence, and stays collapsed behind a Show Map toggle otherwise.
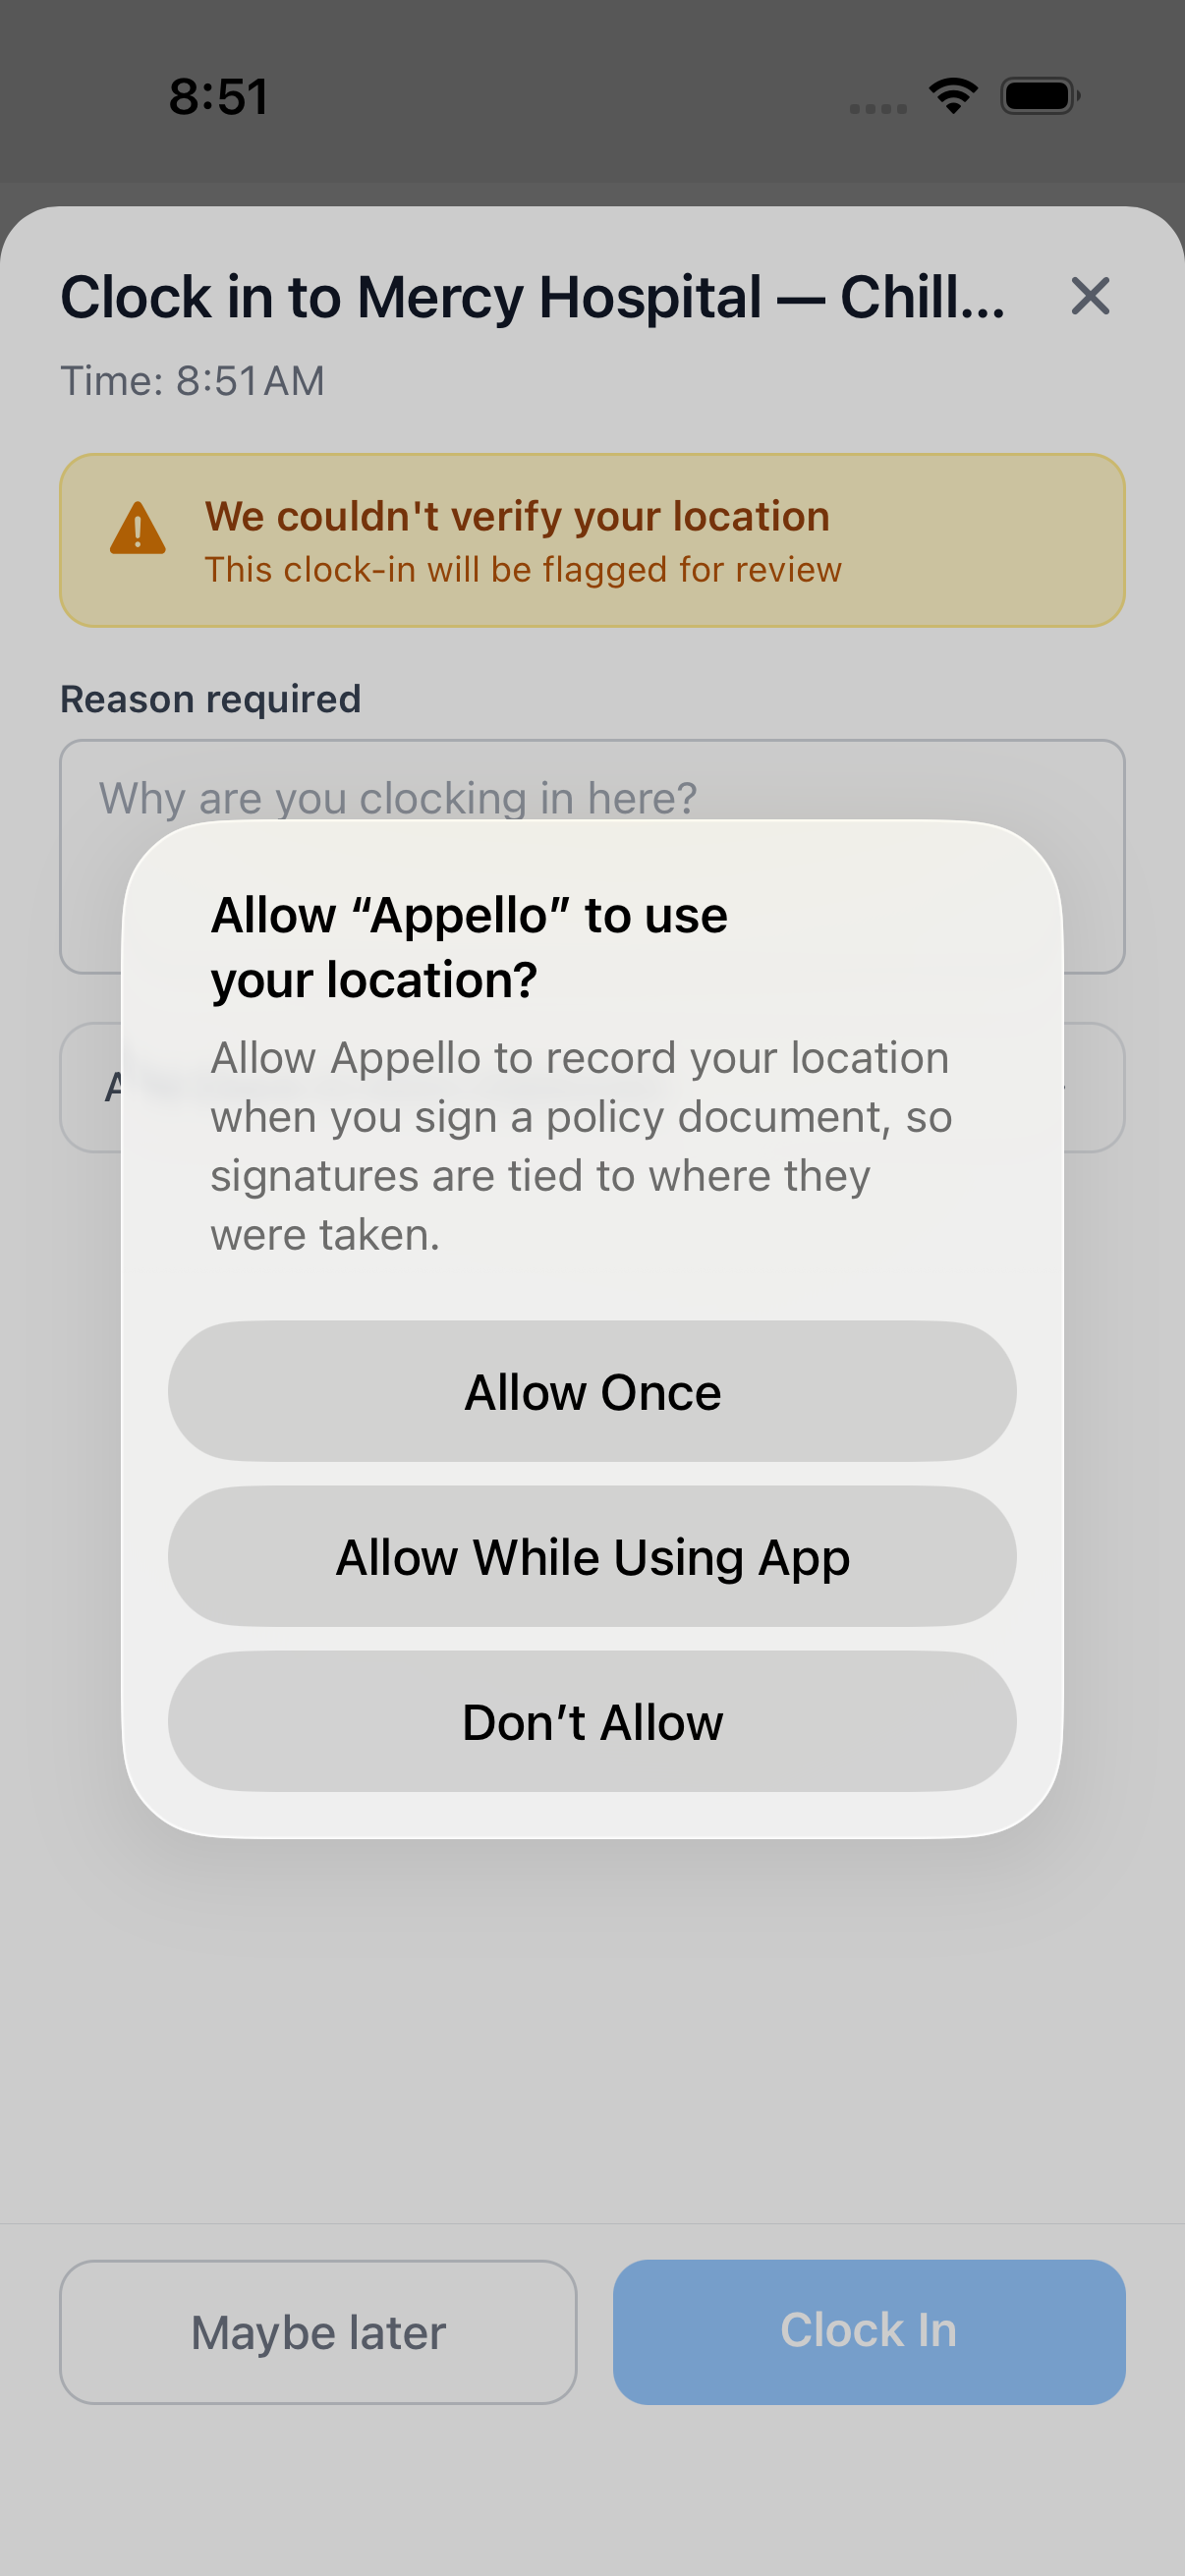
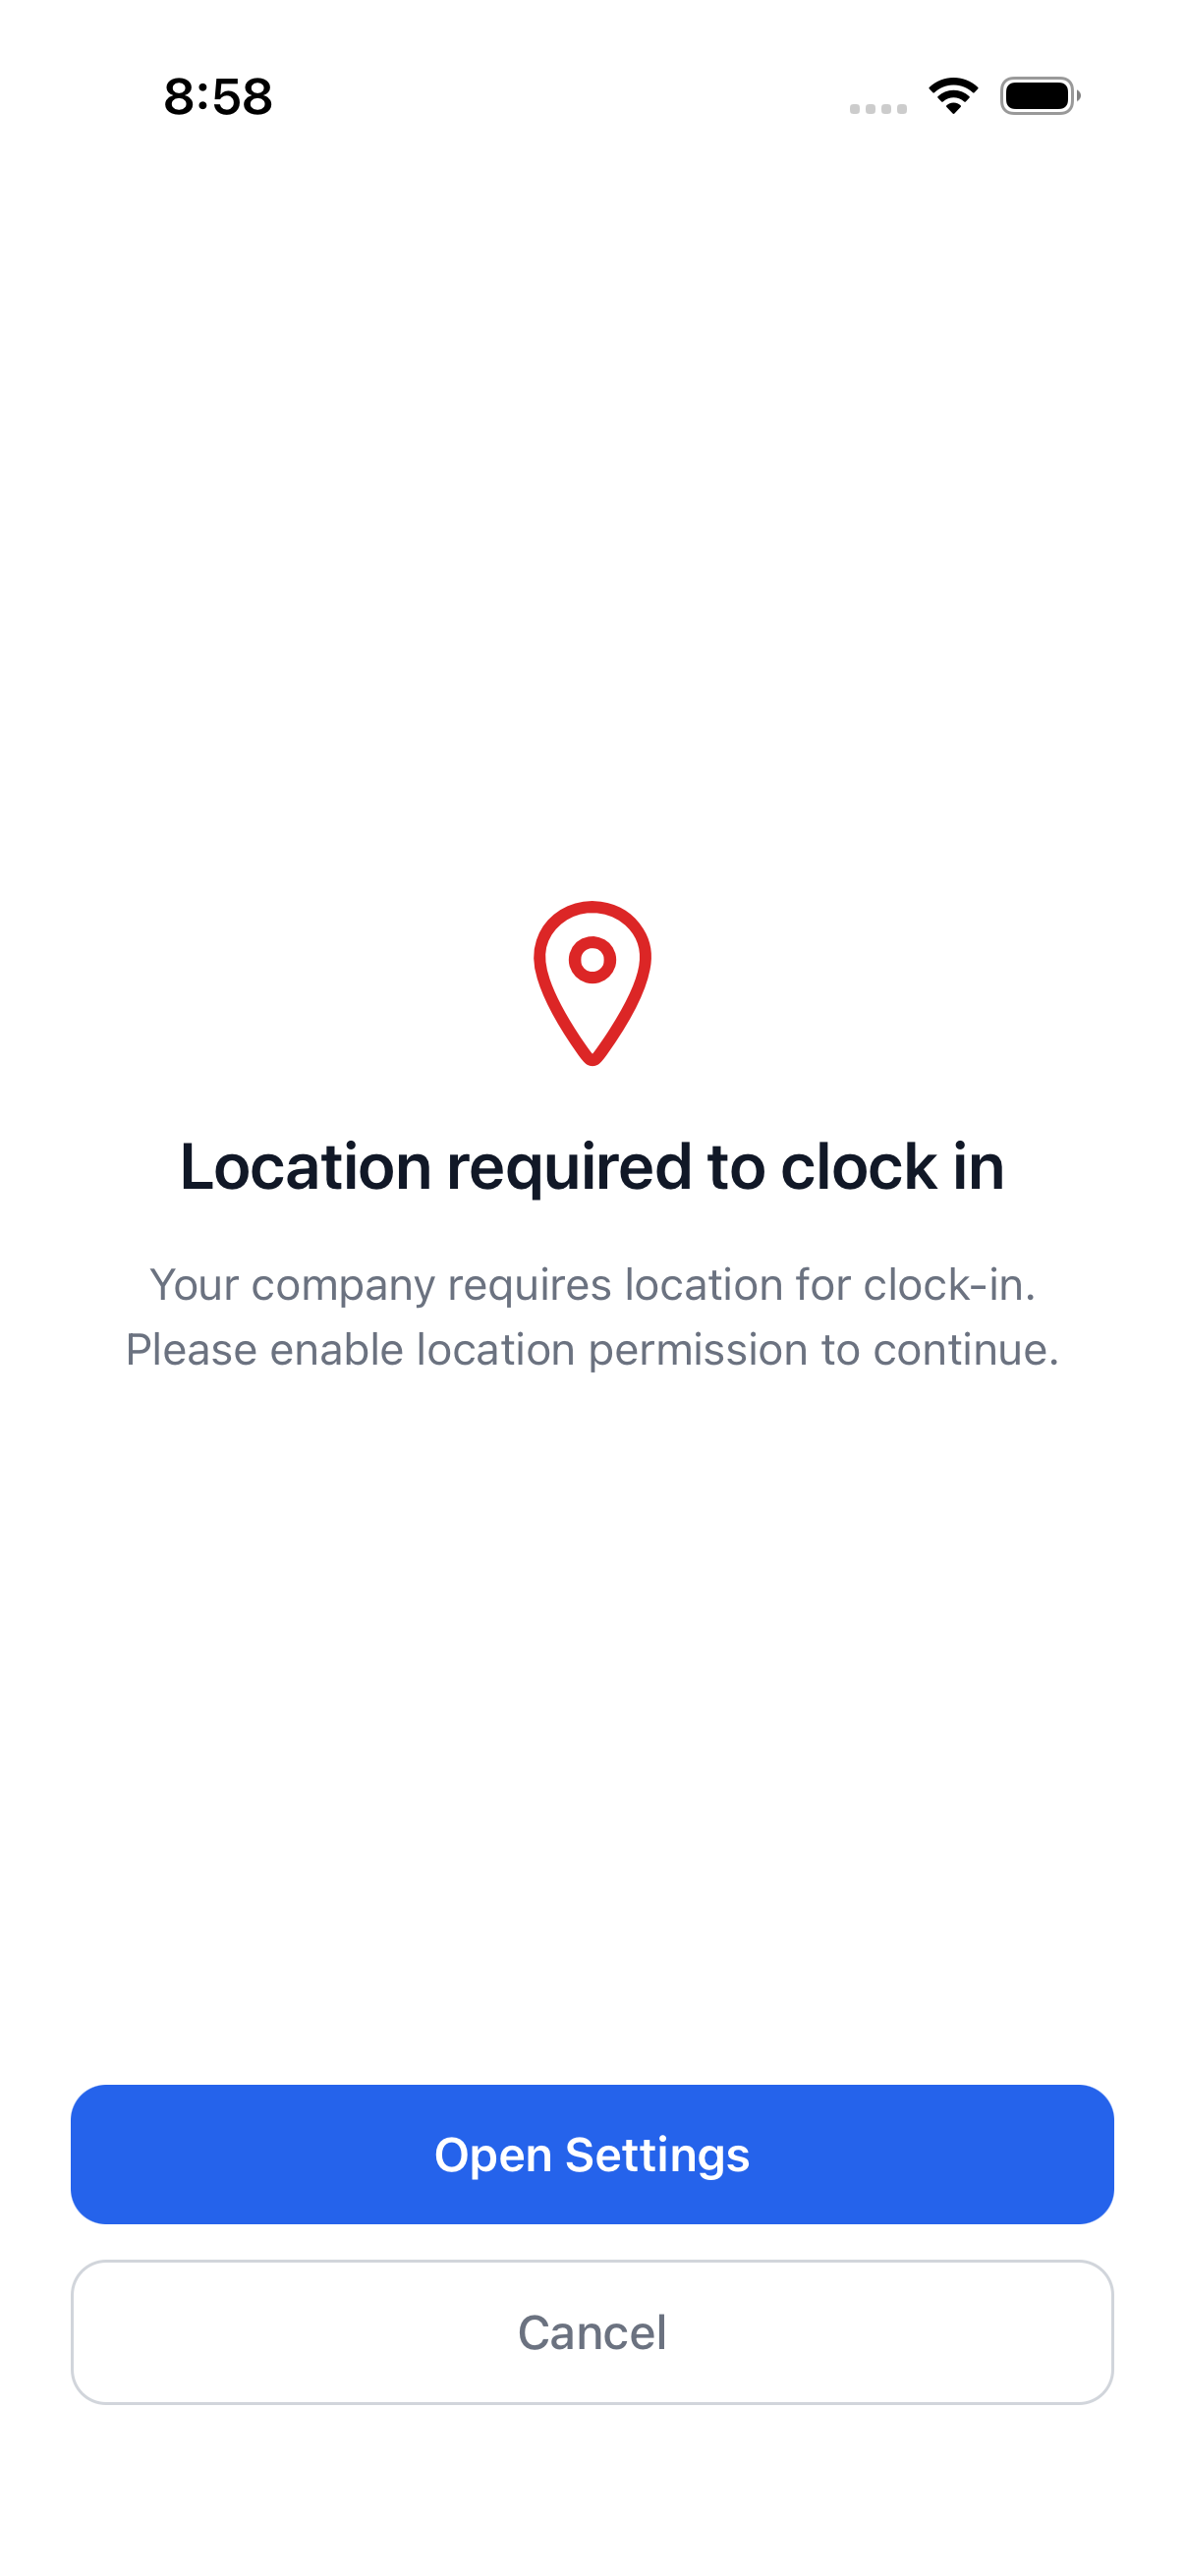
If your company requires location for clock-in and the OS-level permission isn't sufficient (denied, restricted, or only "While Using" when the company requires "Always"), tapping Clock In skips the sheet and takes you straight to a dedicated screen instead:
An optional note field (Add Clock-In Note) is also available before submitting.
Clock Out
The demo admin had no job scheduled for today during this pass, so no live clock-in/clock-out was performed on the demo instance -- this section is described in writing rather than captured on a device.
Once clocked in to a job, Job Details replaces the Clock In button with a row showing an
elapsed-time timer (with the clock-in time underneath), a Switch button (to switch to a
different job without clocking all the way out), and a Clock Out button. Tapping Clock
Out opens the same sheet layout as Clock In, titled Clock out of <job name>, running
the same geofence check and optional reason/note fields, and using the check-in's original
job location and radius rather than whatever the job-detail screen has loaded, so the
geofence check can't be silently skipped if that data hasn't finished loading.
Mobile Map View
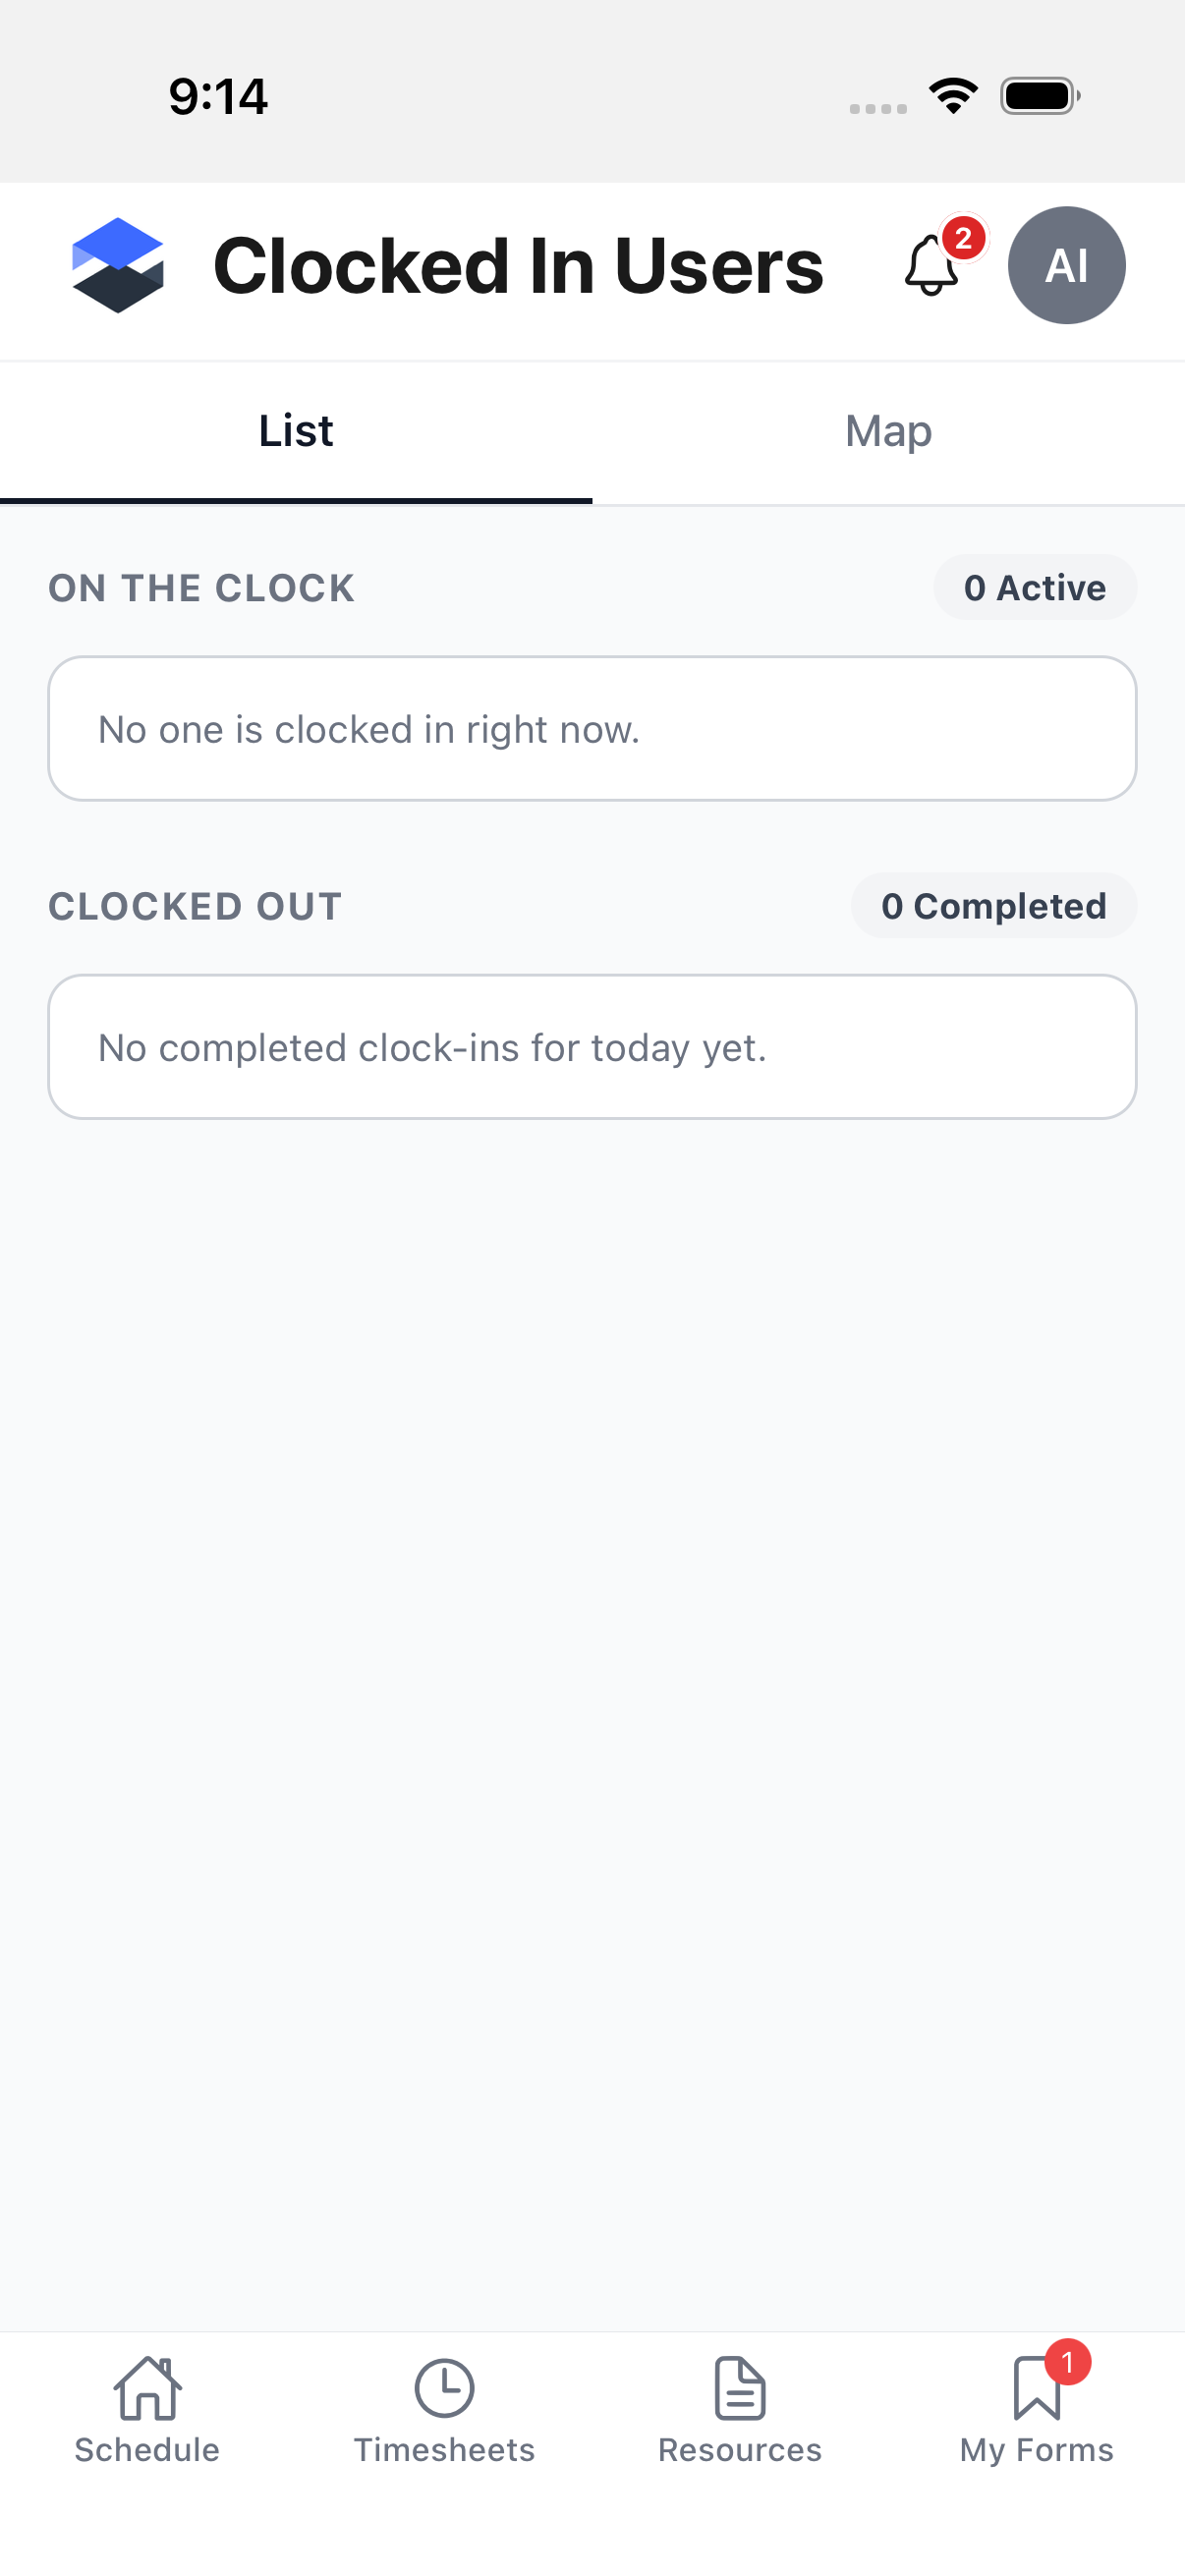
Menu (logo, top left) → Clocked In Users (only shown if you hold the Clocked In Users view permission). This screen lists everyone currently on the clock and everyone who has clocked out today, with List and Map tabs:
The Map tab plots each clocked-in worker's most recent location pin on a Mapbox map:
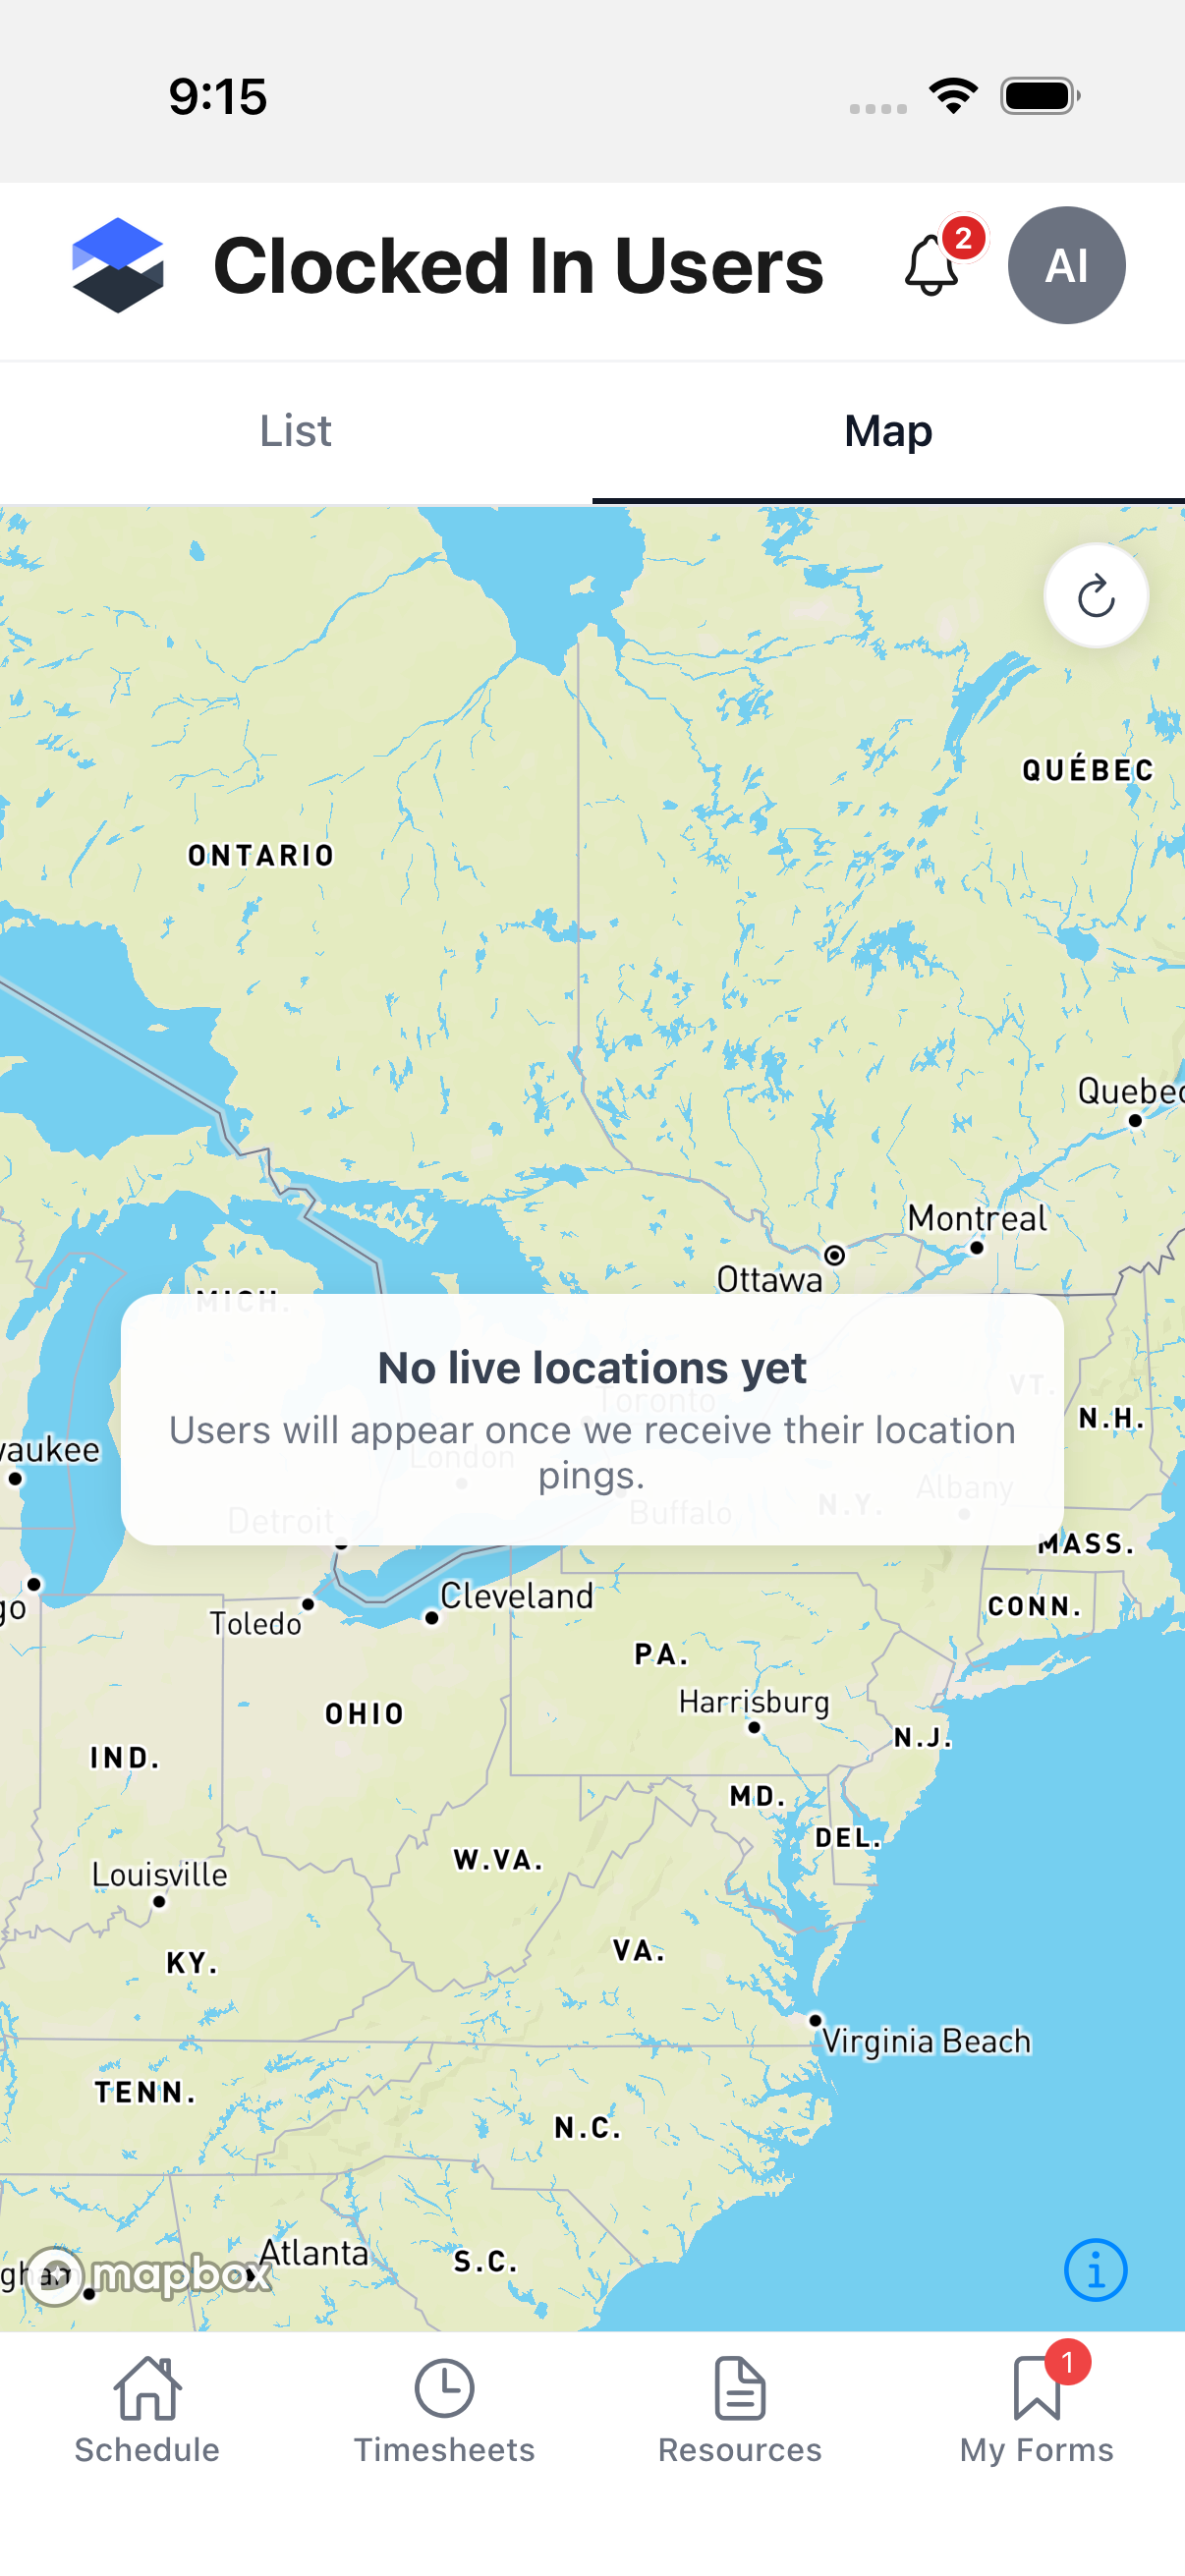
No one was clocked in on the demo instance during this pass, so the map above shows its empty state ("No live locations yet") rather than worker pins. It's centered on the instance's configured coordinates when set, or a fallback central-Ontario coordinate otherwise. The Clocked-In Users tab on Job Details (see the tab table above) renders the same List/Map view scoped to a single job.
Background Location Tracking
The following is described in writing rather than captured live, since it requires an active clock-in:
Permission requested. The first time location matters, the app's permissions carousel shows a Location & Movement slide. Its wording depends on whether the instance turns on background tracking (Allow Persistent Tracking):
- Persistent tracking off: the app requests When In Use location only. Copy: "We use your location to verify you're at the job site when clocking in. Motion & Fitness is optional -- granting it lets us track your work activity efficiently to preserve battery while you're clocked in. We do not track fitness or use this for any health purpose."
- Persistent tracking on: the app requests Always location. Copy adds: "While clocked in, we send periodic location updates so your team knows where you are."
When pings are sent. Background tracking starts only once a clock-in has synced to the server (not while it's still pending), and stops on clock-out. While it's running:
- Moving: a fix is captured roughly every 60 seconds at minimum, or every ~25 meters of movement, whichever triggers first.
- Stationary: the device is allowed to let its GPS chip sleep, waking for a relaxed-accuracy heartbeat fix roughly every 10 minutes to confirm continued presence at the job site.
Each fix is sent to Appello against the active check-in, which is what powers the pins on the Clocked In Users map above and the travel/breadcrumb map on a worker's check-in detail.
Related Pages
- Instance Settings — Mobile Settings — The Mobile Landing Page setting that decides whether the home tab shows Schedule or Jobs
- Instance Settings — Timesheet & Clock In Settings — Default submission type, geofence radius, and rounding rules referenced throughout this page
- Resources and Files — The Files tab shared by Job Details, Projects, and Equipment
- Notes on Mobile — The Notes tab on Job Details
- Clock In / Out Report — Office-side view of clock-in/clock-out events, including the geofence status badge per punch