Equipment and Clocked-In Users on Mobile
Screenshots on this page are from app version 1.71.0 on an iPhone simulator.
This page covers the mobile Equipment list, viewing and editing a single piece of equipment, and the standalone Clocked In Users screen (list and map).
Equipment List
Menu (logo, top left) → Equipment.
Source-confirmed: this is the only way to reach the Equipment list screen
(app/(app)/(tabs)/(home)/equipment/index.tsx). A job's own Equipment tab (see
Resources and Files on Mobile for the job tab row) shows
that job's assigned equipment as cards, but tapping one of those cards opens the equipment's
detail screen directly -- it does not route through this list. The Equipment menu item is
only shown if you hold the equipment___view permission.
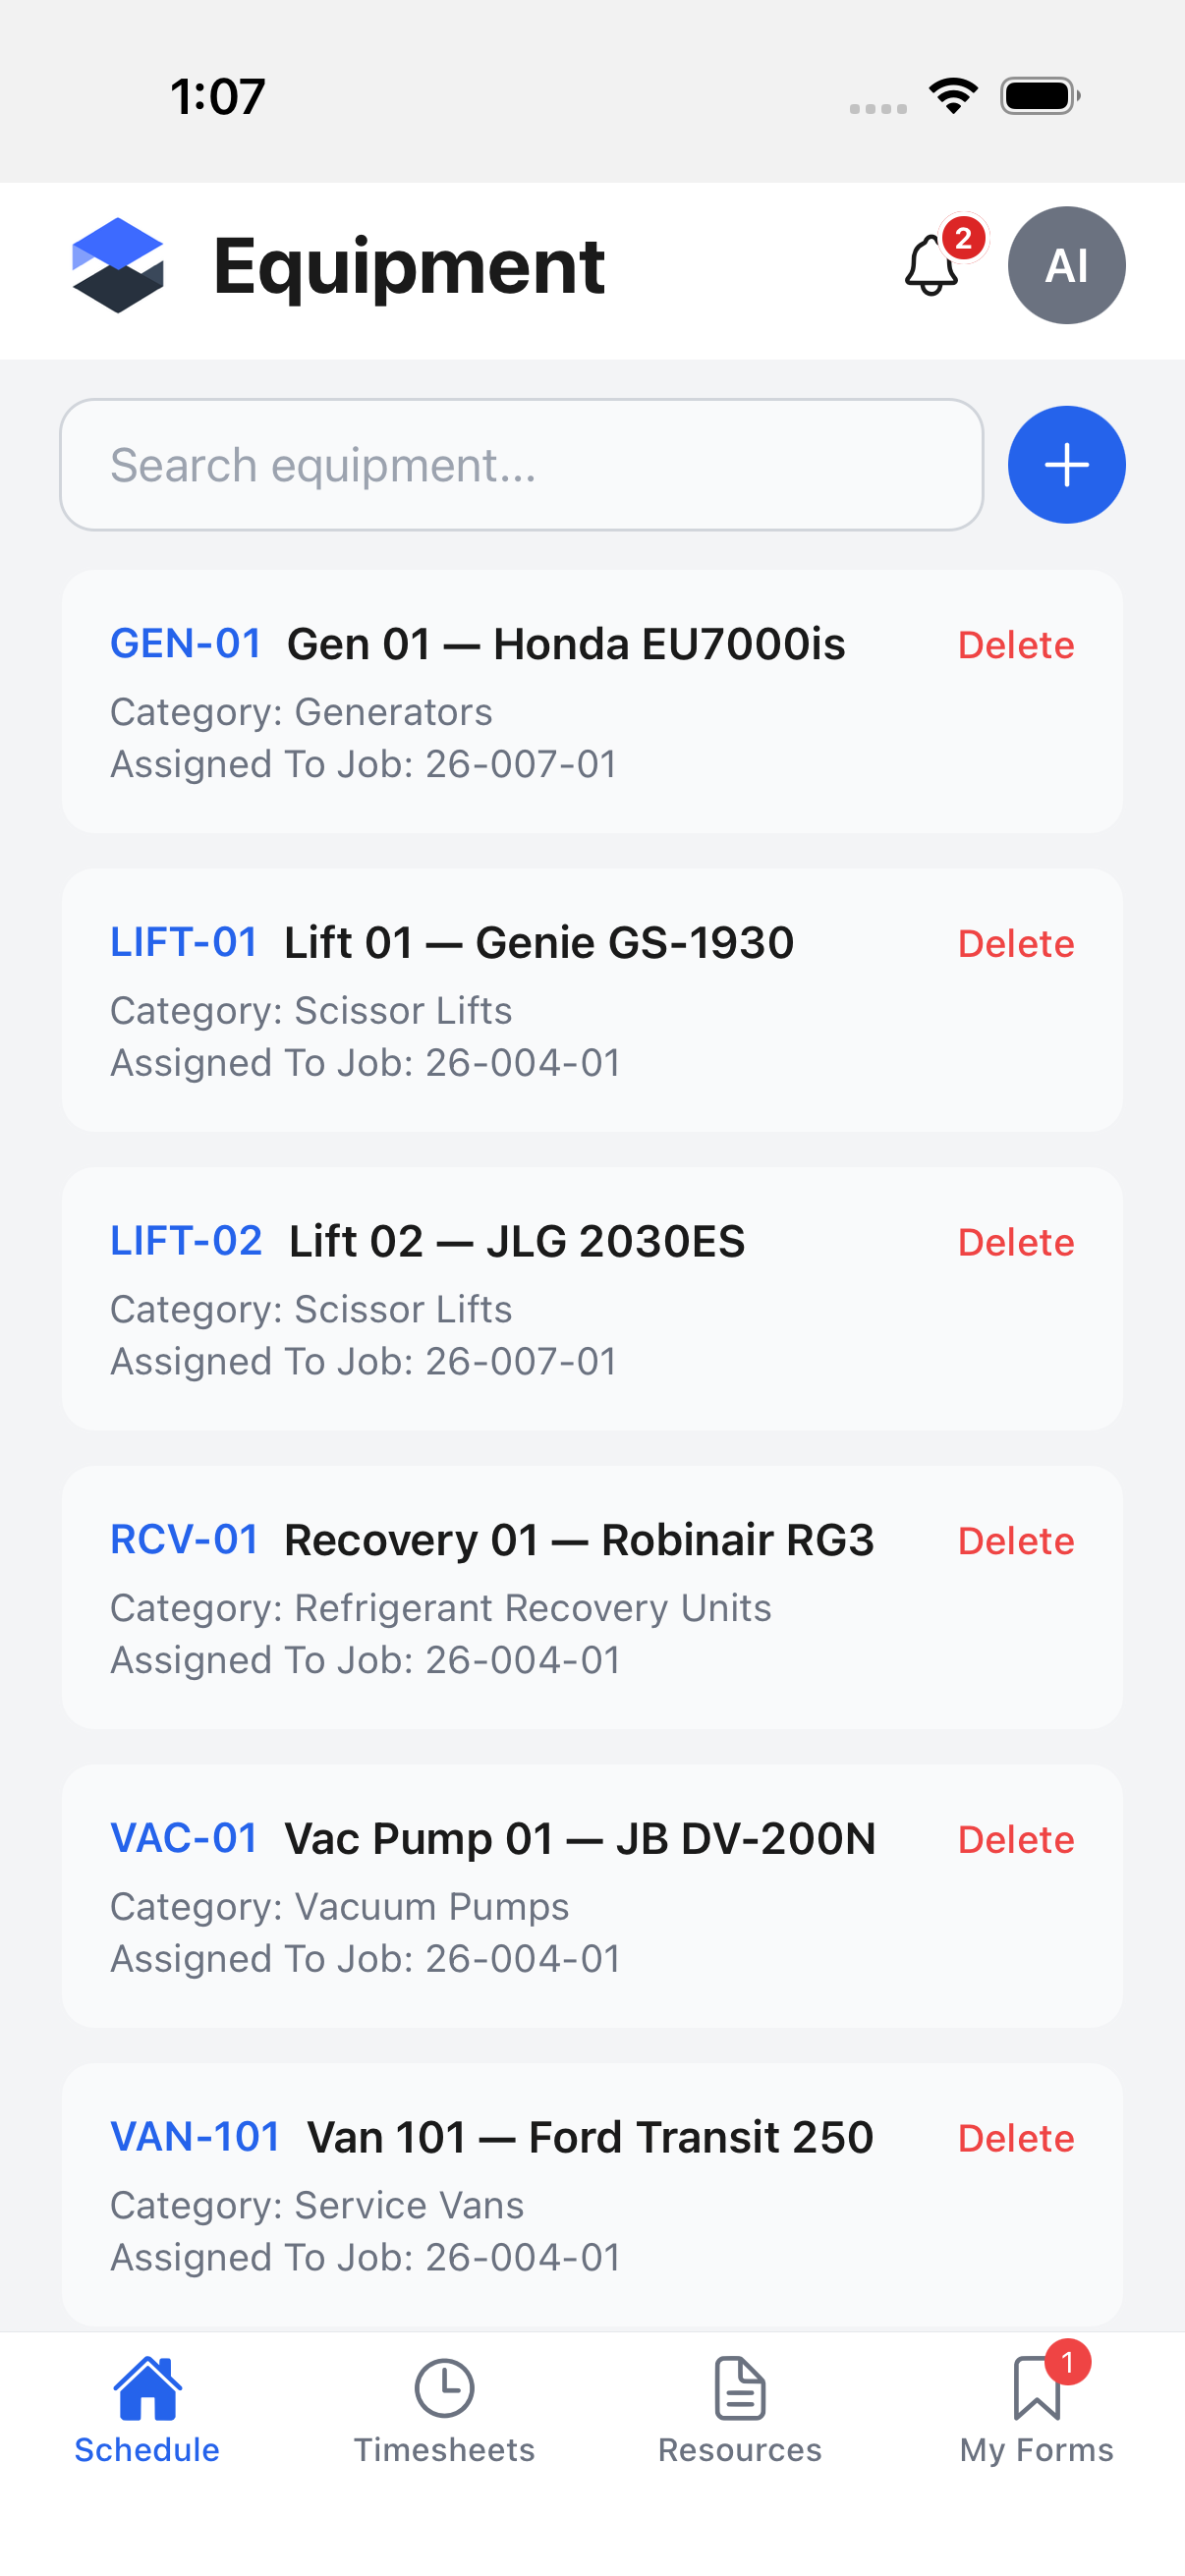
Each row shows the equipment's ID (blue), name, category, and the job it's currently assigned
to, plus a Delete link (only shown if you hold the equipment___delete permission). A
Search equipment... box filters the list by ID, name, or category. The blue + button
next to the search box opens Add Equipment -- it's only shown if you hold the
equipment___create permission (EQUIPMENT_PERMISSIONS.CREATE).
Add Equipment
Tap the + button on the Equipment list to open Add Equipment. The form has exactly three fields, all on one screen with no scrolling required:
- Equipment # -- the equipment's ID/cuid (placeholder: "Enter equipment ID").
- Name -- placeholder "Enter equipment name".
- Description -- a multi-line field, placeholder "Enter description".
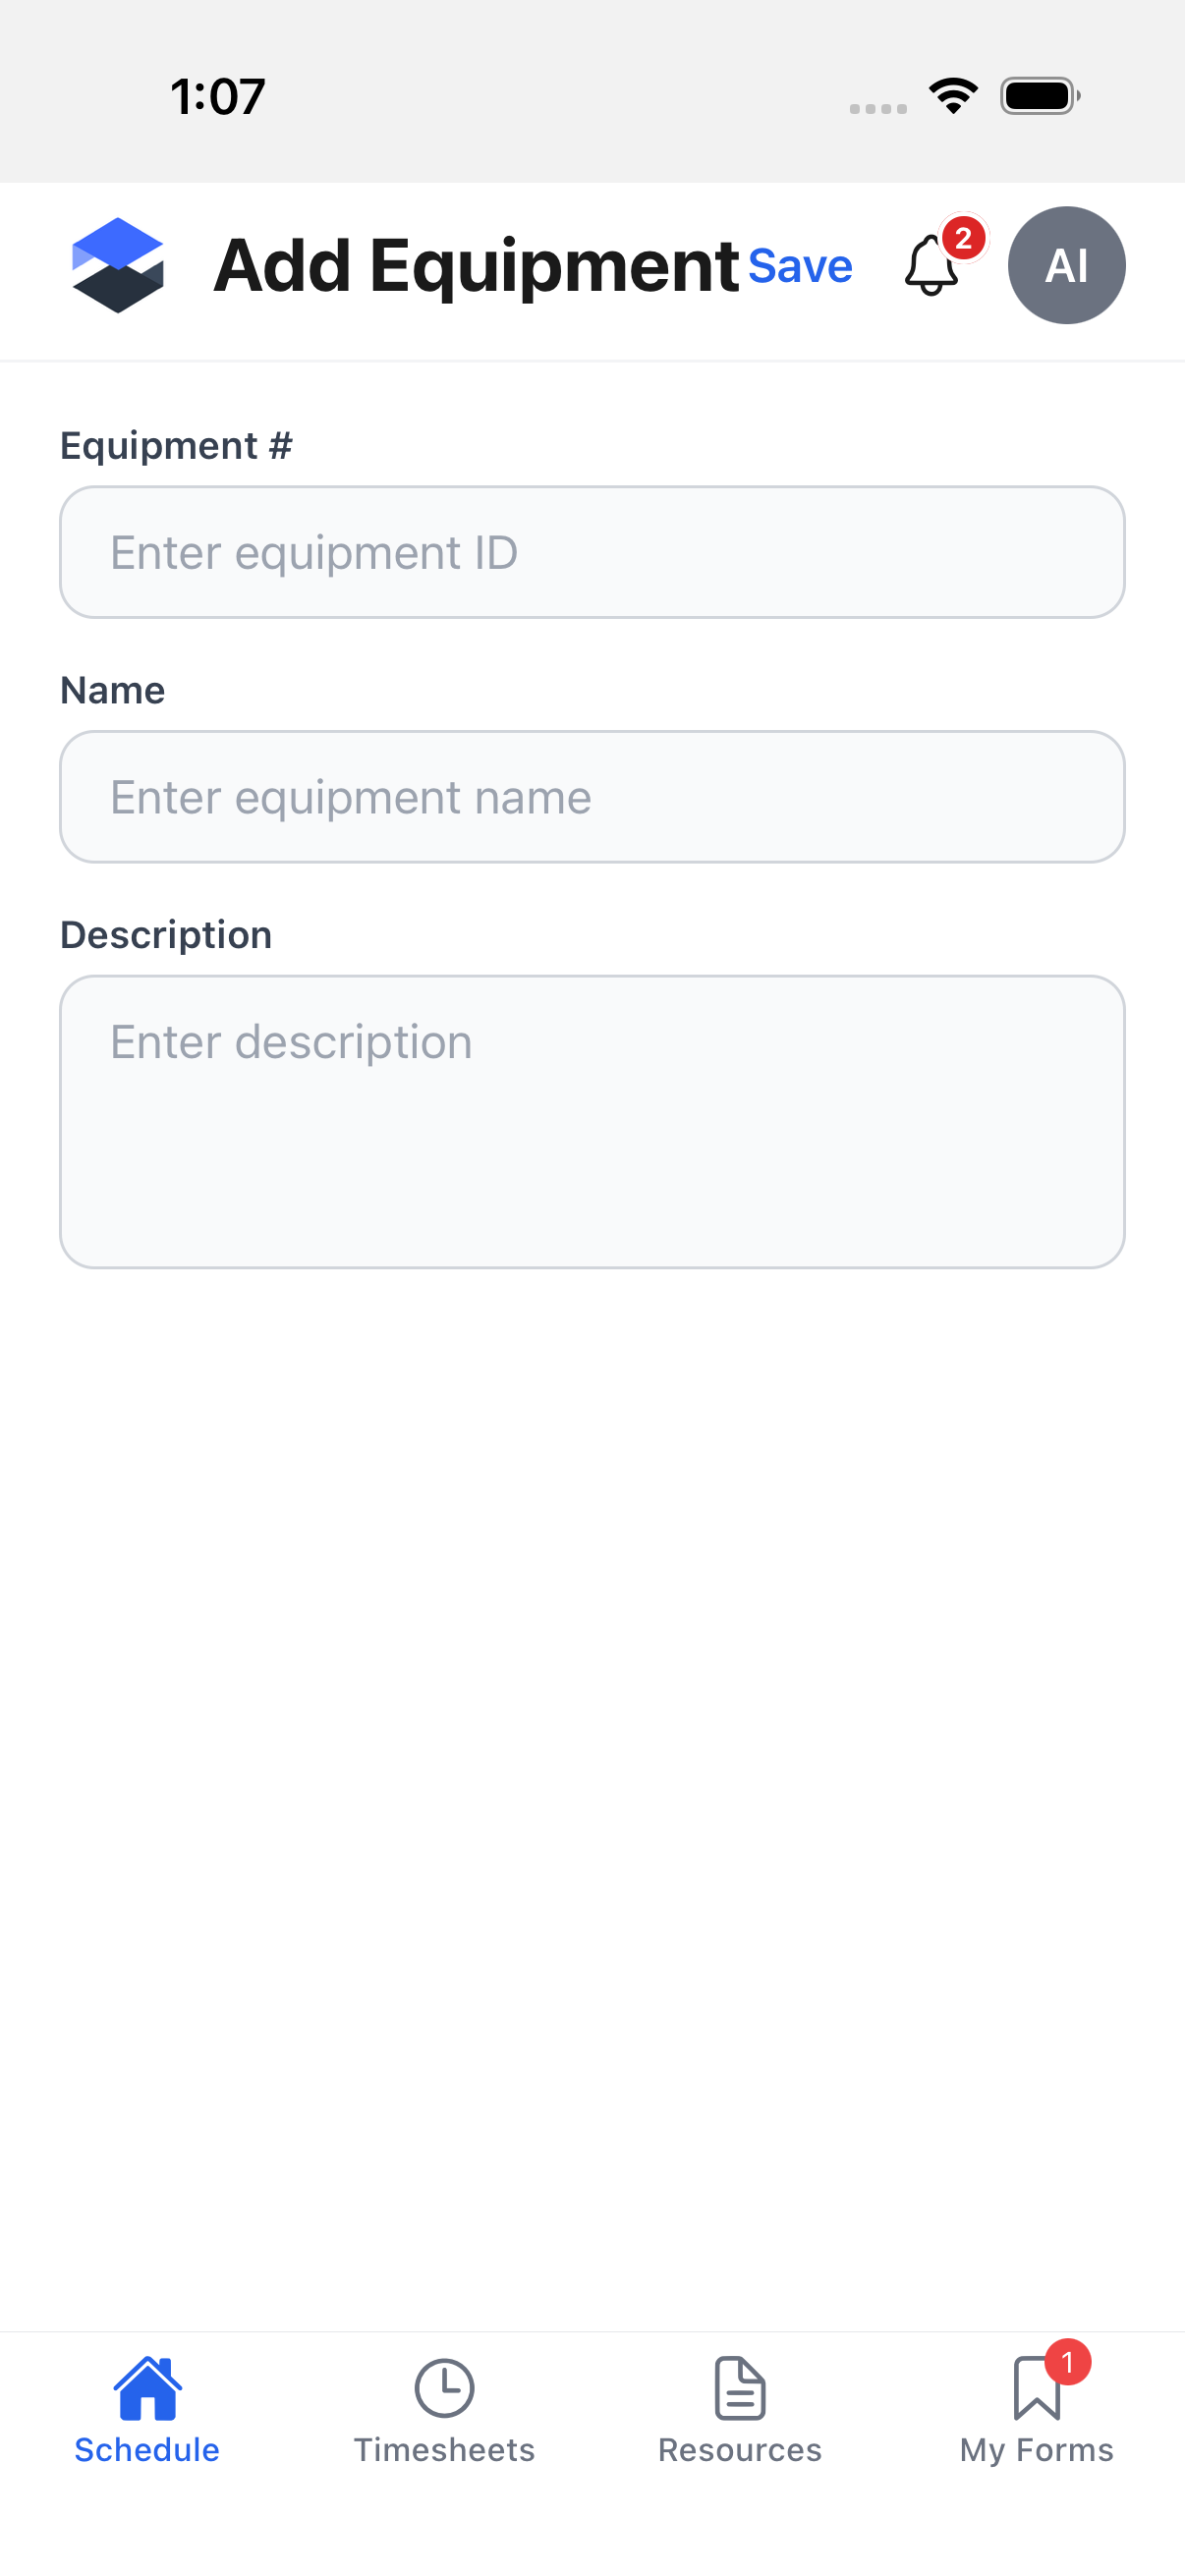
Tapping Save (top right) submits the form; category, status, and assignment aren't
editable from mobile (source comment in EquipmentForm.tsx notes these "land in a follow-up").
This screenshot was opened and backed out of without tapping Save -- the canary demo instance used to shoot it is read-only.
Equipment Detail
Tap any row on the Equipment list to open that equipment's detail screen. It has four tabs -- Info, Form Submissions, Notes, Files -- matching the same tab pattern used on Job Details and other detail screens in the app.
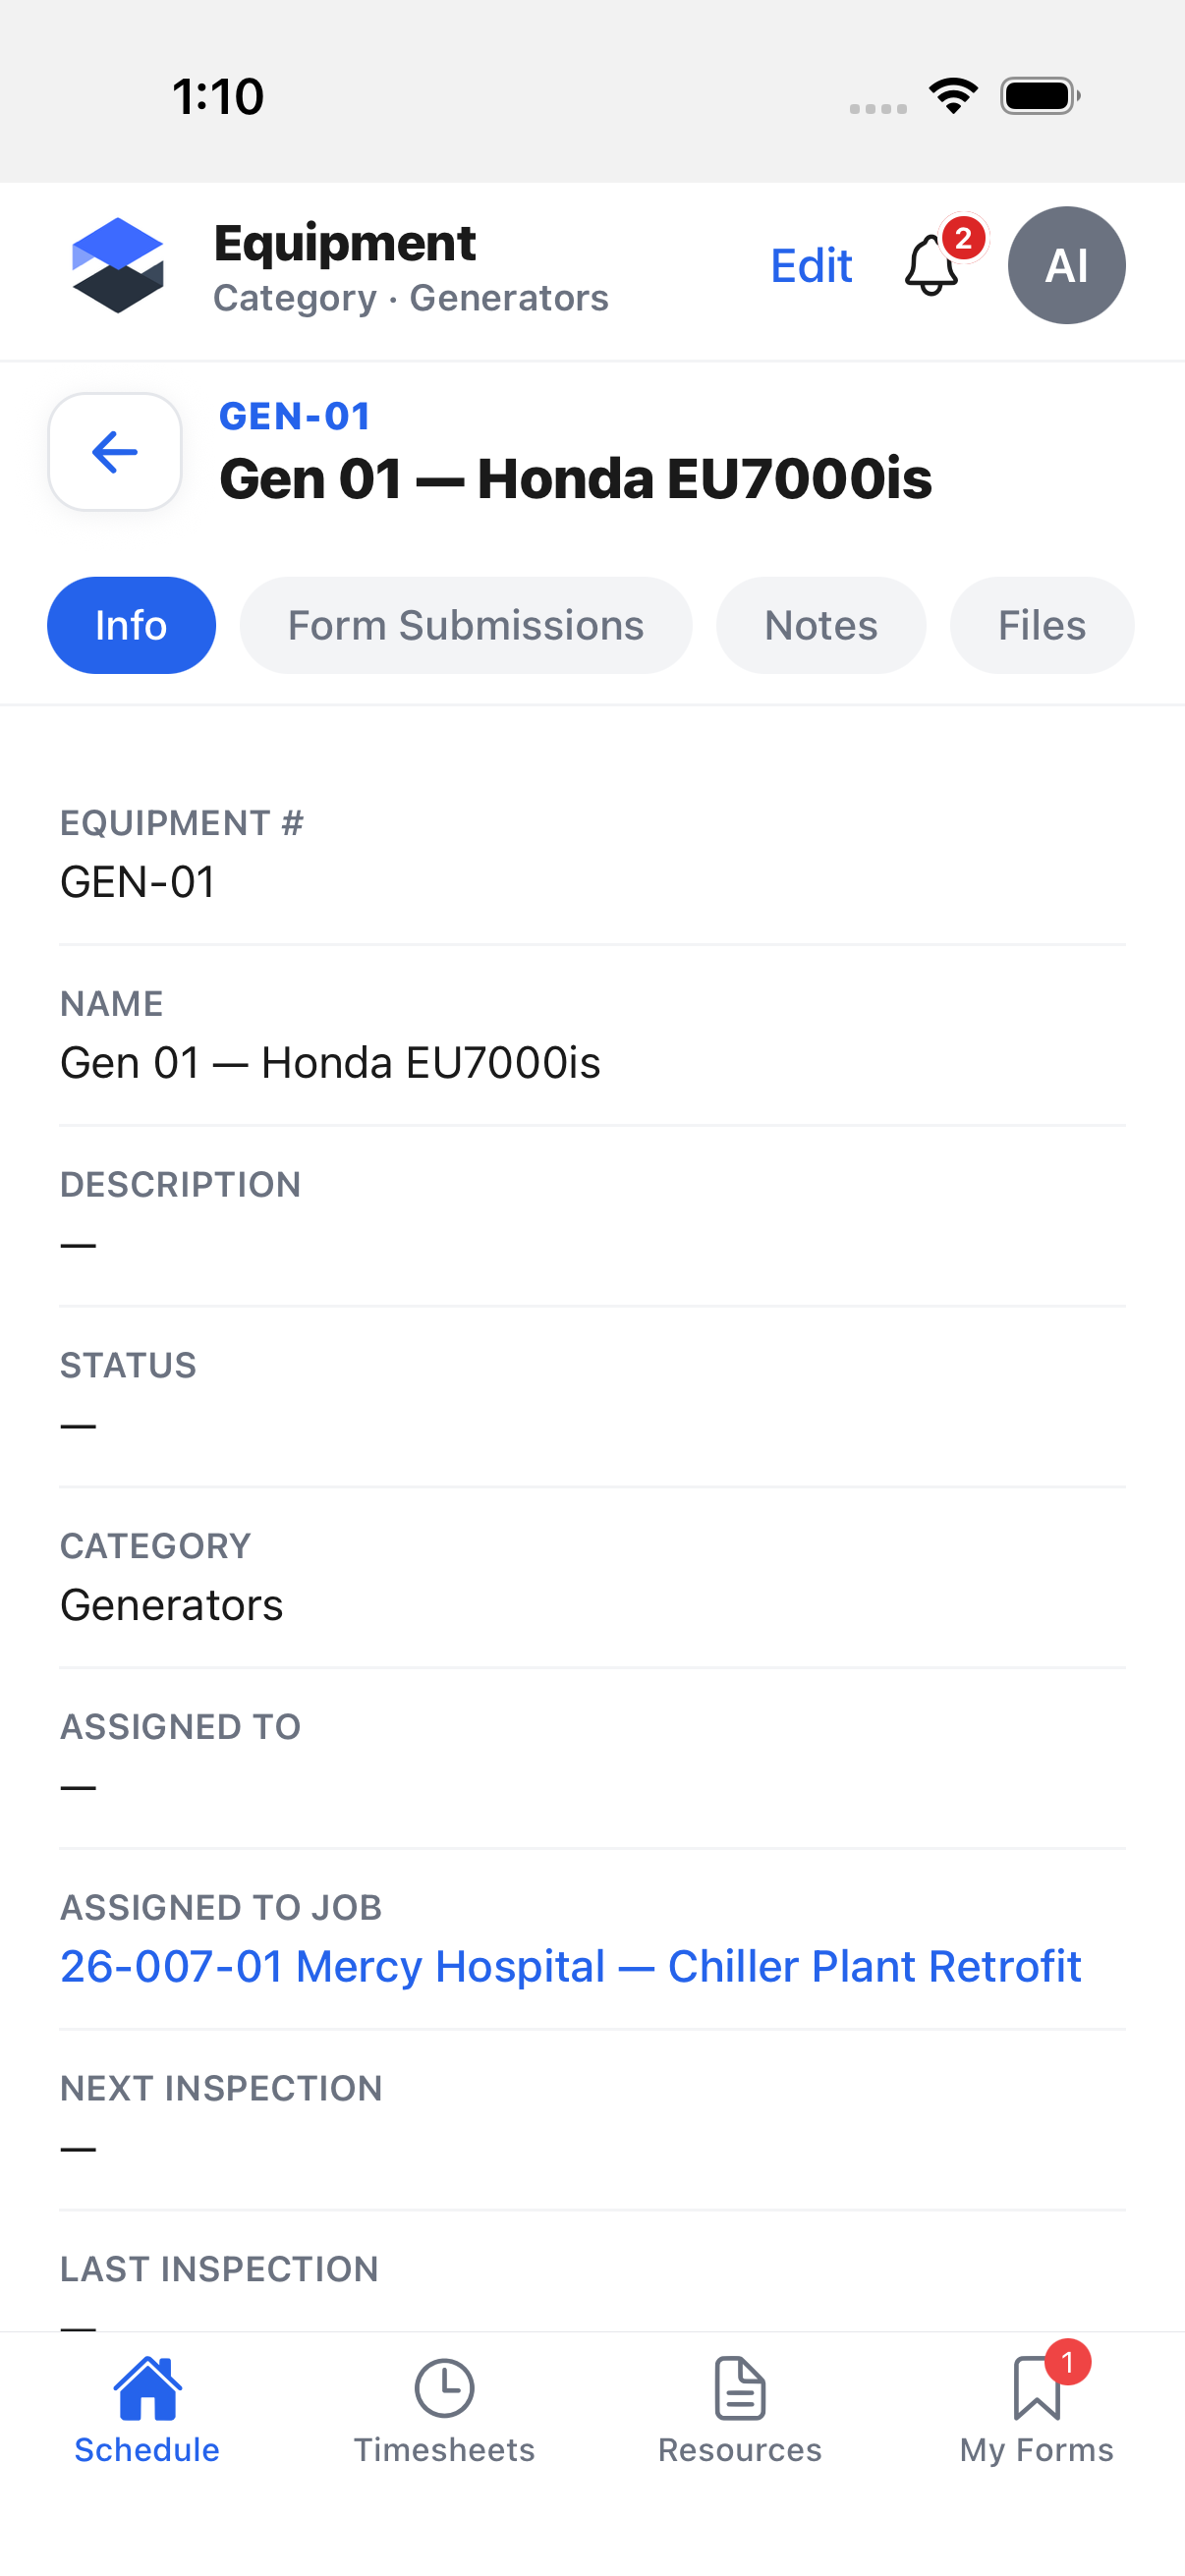
The Info tab lists, top to bottom: Equipment #, Name, Description, Status, Category, Assigned To, Assigned To Job, Next Inspection, Last Inspection, Purchase Date, and Purchase Price. Assigned To (the person) and Assigned To Job are both read-only display rows here -- there's no control on this screen to change either one. Assigned To Job additionally renders as a tappable blue link when a job is set, taking you to that job's Job Details screen.
An Edit link appears in the top-right of the header, next to the equipment's category
subtitle, only if you hold the equipment___edit permission (EQUIPMENT_PERMISSIONS.EDIT).
Confirmed from source as of this pass: there is no checkout or check-in action anywhere on
the mobile equipment detail screen -- no button, no menu item, nothing in EquipmentInfoTab.tsx
or the detail route itself. Equipment checkout/check-in on Appello is a desktop-only workflow.
See Equipment List for the desktop check-out flow.
Edit Equipment
Tapping Edit on the equipment detail screen opens Edit Equipment -- the same form
component as Add Equipment (EquipmentForm.tsx), pre-filled with the current Equipment #,
Name, and Description:
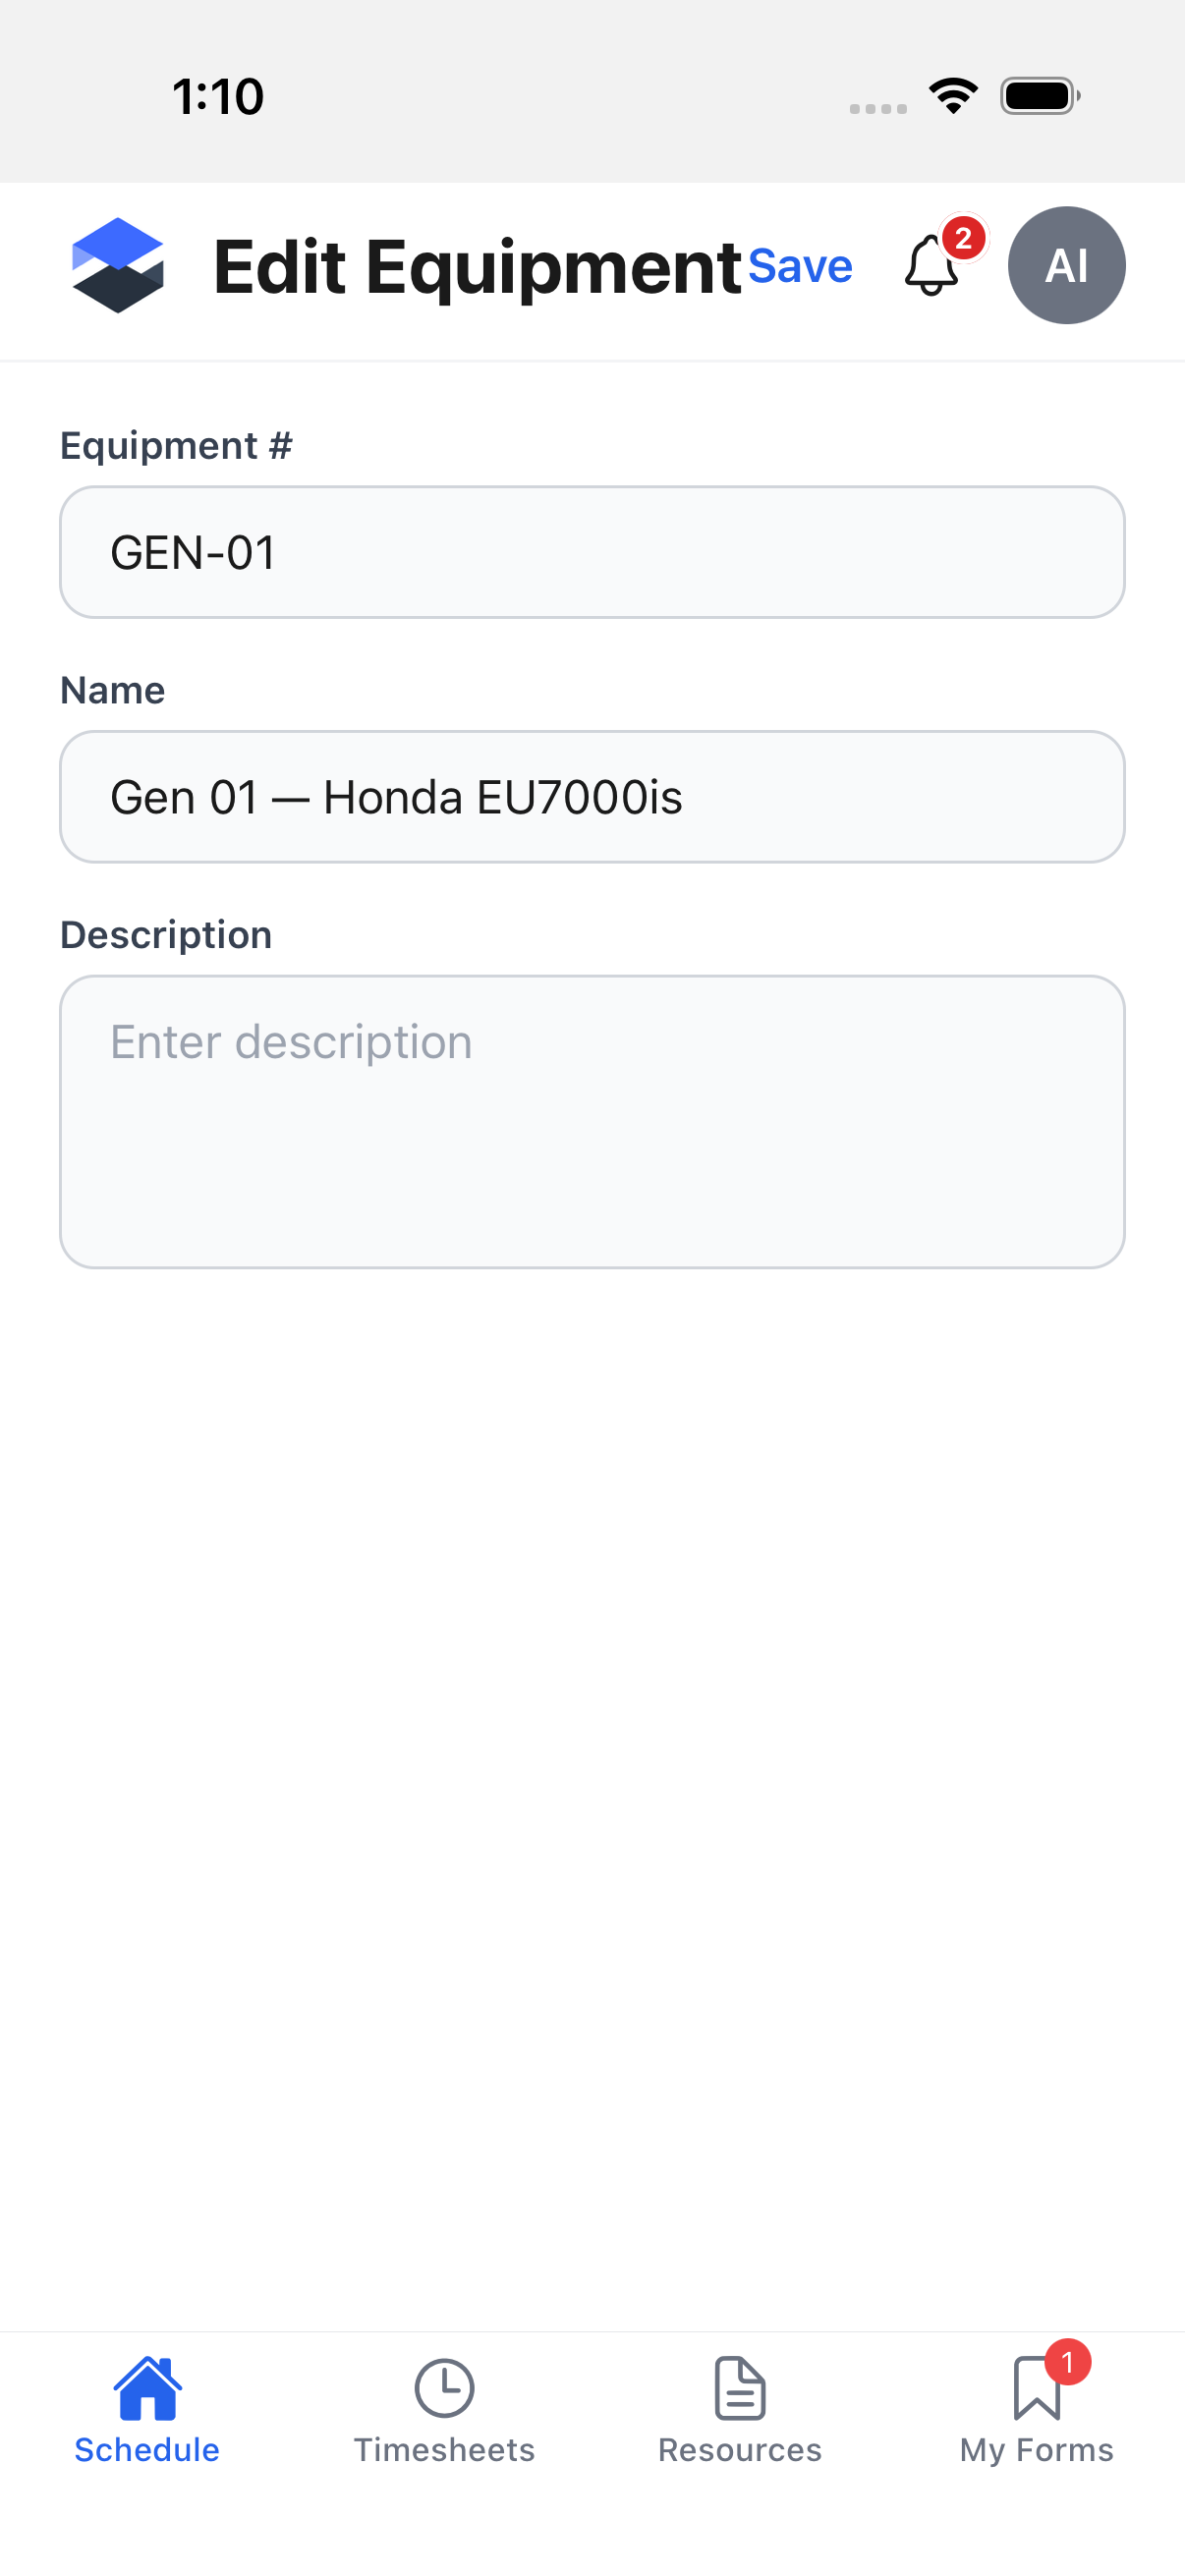
As with Add Equipment, only these three fields are editable from mobile; category, status, and assignment are not.
This screenshot was opened and backed out of without tapping Save -- the canary demo instance used to shoot it is read-only.
Clocked-In Users
Menu (logo, top left) → Clocked In Users -- only shown if you hold the Clocked In Users
view permission (mobile___canViewCheckedInUsers, source-verified against the API seed
migration 20251127140700_mobile_checked_in_user_permission, which grants it only to the
super-admin and admin roles). This is a read-only supervisor screen: it lists everyone
currently on the clock and everyone who has clocked out today, company-wide, with List and
Map tabs.
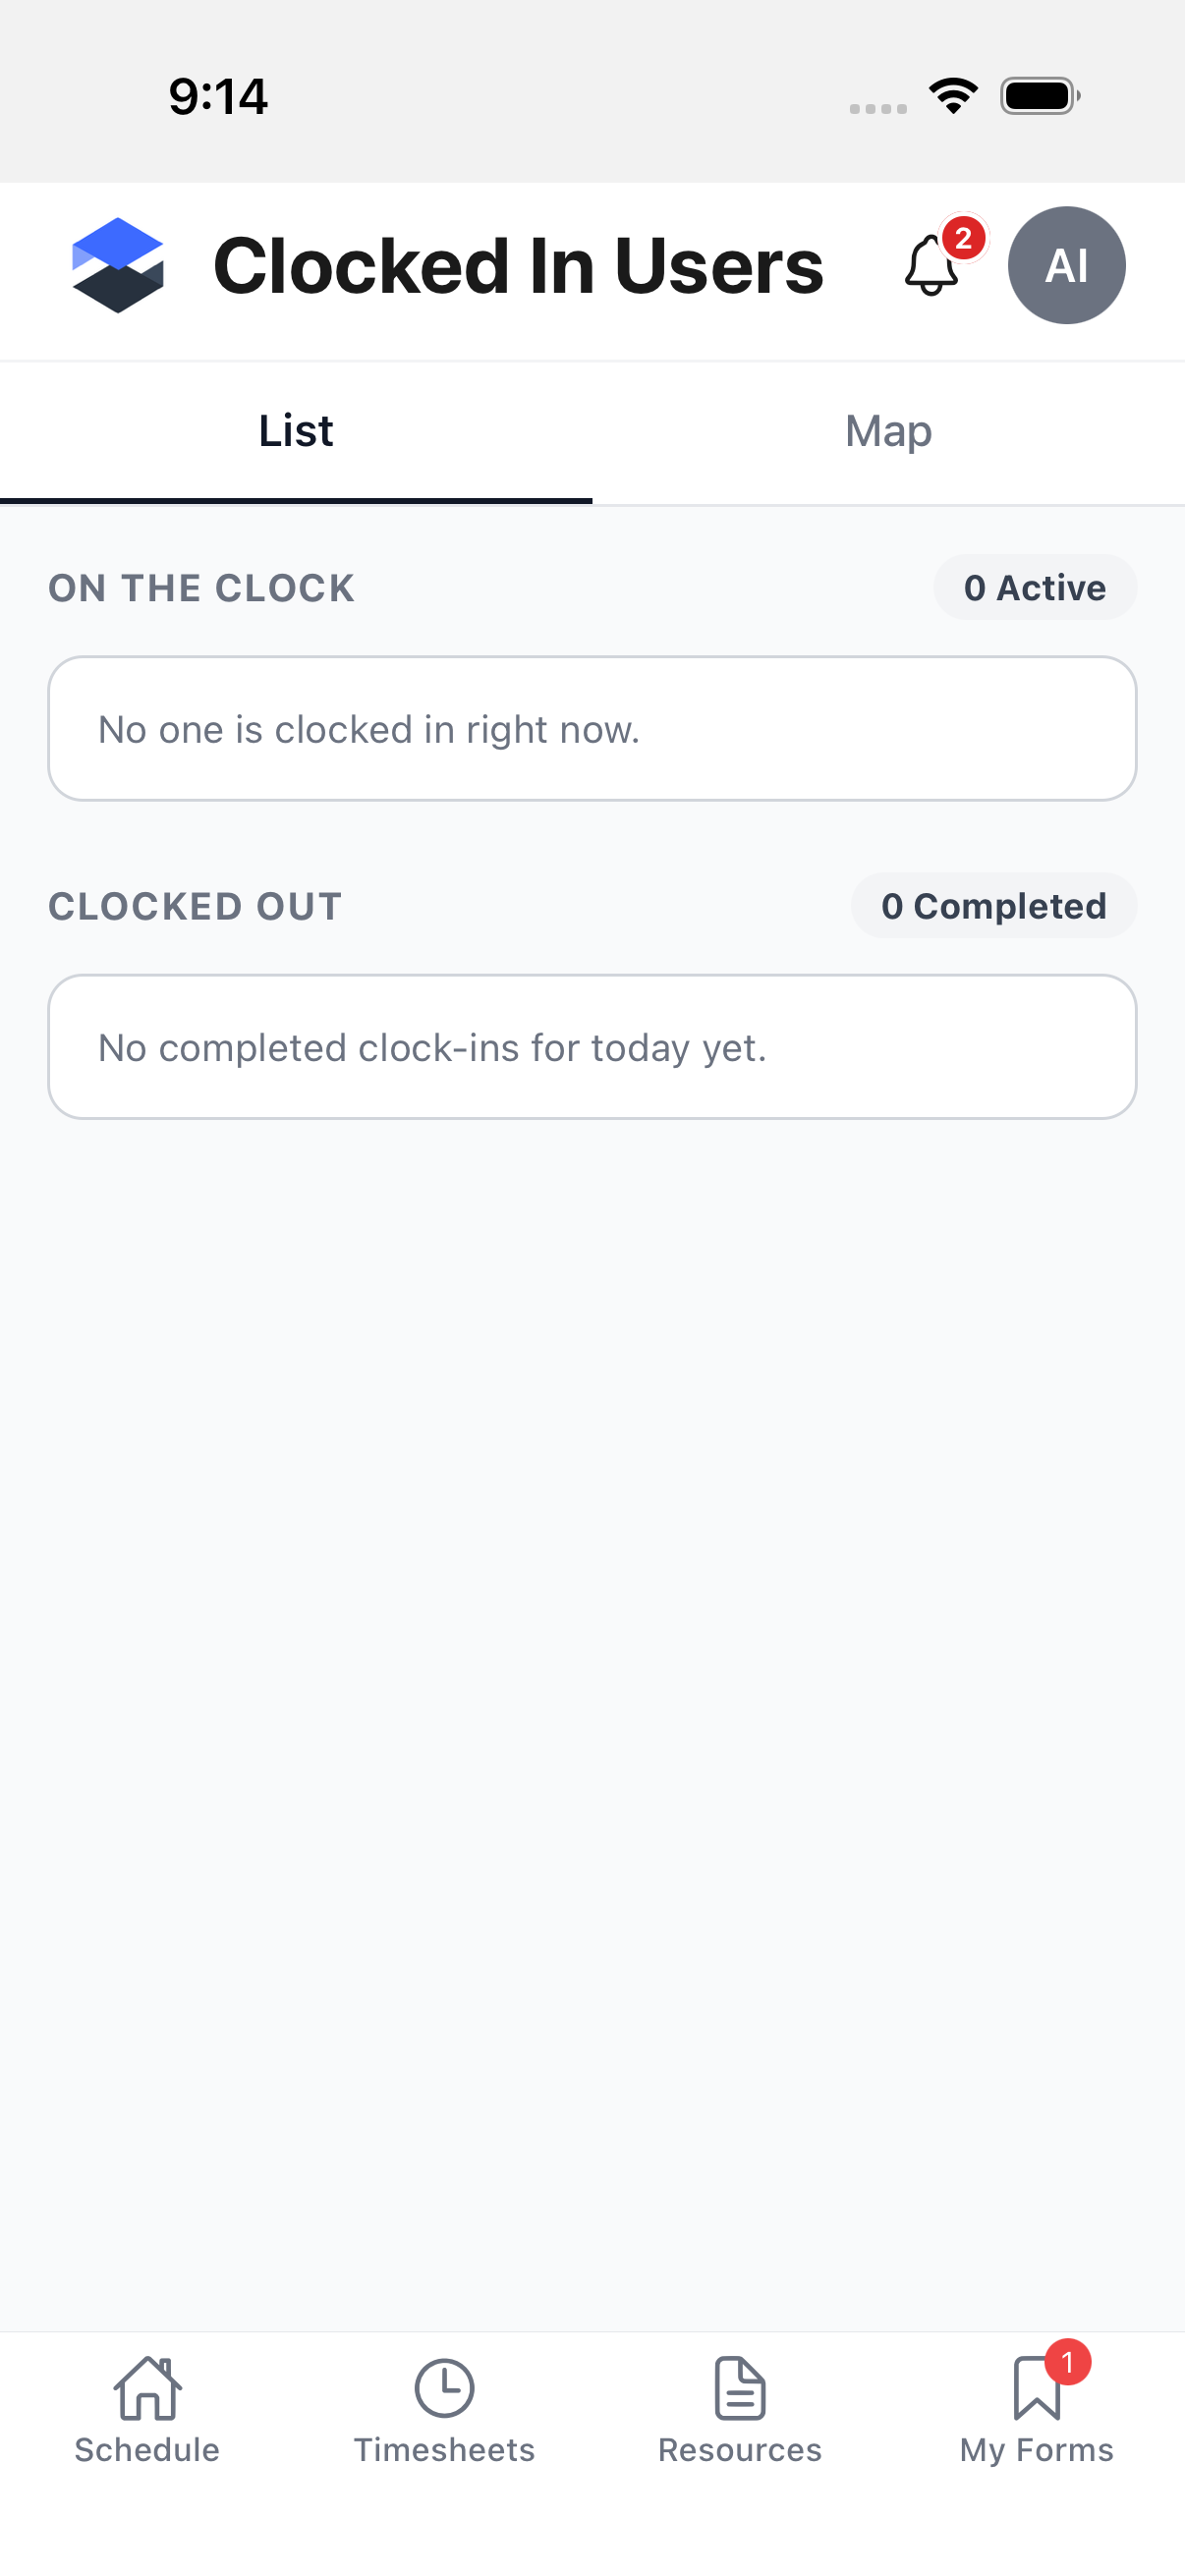
The List tab groups workers into On the Clock (with an Active count) and Clocked
Out (with a Completed count for today). The Map tab plots each currently clocked-in
worker's most recent GPS location as a pin on a Mapbox map (@rnmapbox/maps), centered on the
instance's configured coordinates when set, or a fallback central-Ontario coordinate otherwise:
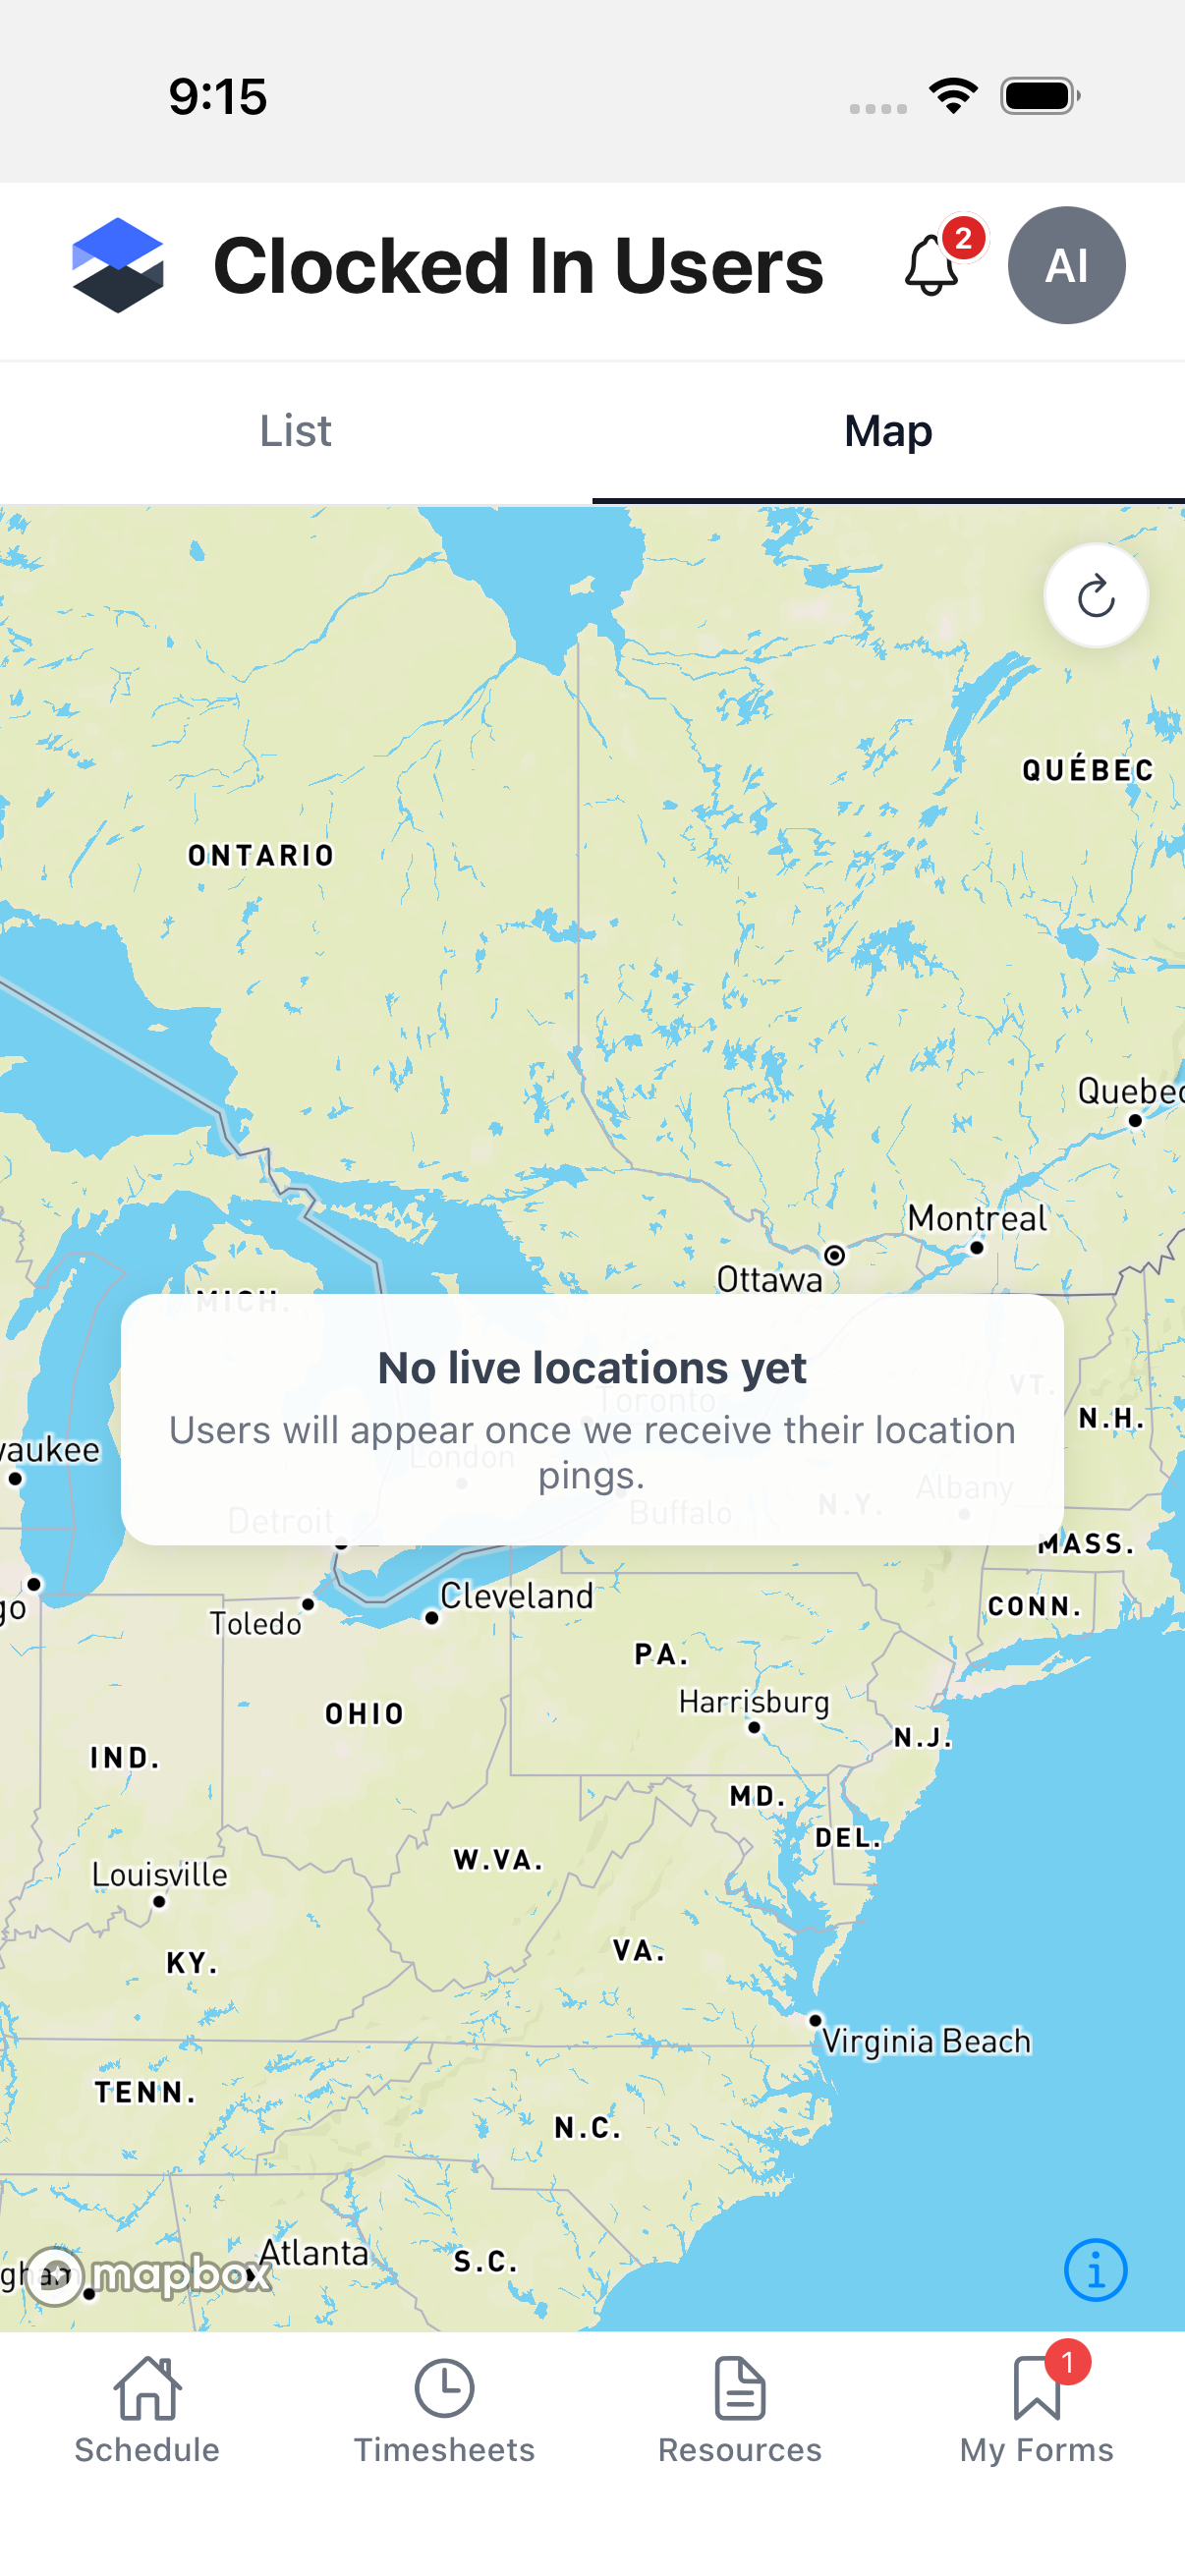
Both screenshots above are reused from Schedule, Directions and Clock In, which captured this same screen. No one was clocked in on the canary instance during either capture pass, so both show their empty states rather than worker rows and pins.
This screen only shows a snapshot of the current day and current location per worker -- for a given worker's full clock-in history and GPS breadcrumb trail, see that worker's check-in detail (linked from Clock In / Out Report on desktop).
Related Pages
- Schedule, Directions and Clock In -- the Clock In / Clock Out flow that produces the data shown on the Clocked In Users screen, and background location tracking while clocked in
- Equipment List -- the desktop equipment list, including the check-out/check-in flow that mobile does not have
- Resources and Files on Mobile -- the job detail tab row, including the job-scoped Equipment tab