Work Orders
Work Orders is currently a BETA module (Appello 1.33). The main navigation item and the list page's browser tab title both carry a "(BETA)" tag while the feature set is still being finished. Seeing the list and detail pages requires the job: view permission — the same permission that shows the Jobs list — and the Settings tab additionally requires job: edit.
A work order is Appello's record for a single, self-contained piece of field-service work — typically a service call, repair, or maintenance visit that doesn't need the full multi-job structure of a construction project. Under the hood a work order is the same underlying job record as a regular Job (it carries most of the same fields), but it is tagged as a Work Order sub-type. That tag changes three things:
- It gets its own status field (Work Order Status) instead of the standard Job Status.
- It gets its own list, detail page, and URL (
/work-orders/...instead of/jobs/...). - Its detail page is built around a field-service workflow — a checklist, labour/material/ equipment logging by day, a customer signature flow, and a one-click PDF export — rather than the full project-accounting tab set a construction Job carries.
Because a work order is still a job record, it can carry its own labour, material, and equipment costs, and it can be converted into an invoice directly, the same way a job's costs eventually get billed.
Work order vs. job — which one do I create?
| Job | Work Order | |
|---|---|---|
| Best for | Multi-phase construction/project work, usually attached to a Project | A single service/dispatch visit |
| List page | Jobs | Work Orders (BETA) |
| Status field | Job Status | Work Order Status |
| Typical tabs | Overview, Financials, Schedule, Estimates, Billing, etc. | Overview, Checklist, Labor, Materials, Equipment, Schedule, Photos, Files, Settings |
| Customer sign-off | Not built in the same way | Built-in signature request + view-only link |
| Converts to invoice | Via standard job billing | One-click "Generate Invoice" from the work order itself |
The Work Orders list
Where it is: main navigation → Operations → Work Orders (BETA) (/work-orders).
What it's for: a filterable, exportable table of every work order on the instance, with the same create/archive/delete/restore actions as the Jobs list. It's the entry point for both finding an existing work order and starting a new one.
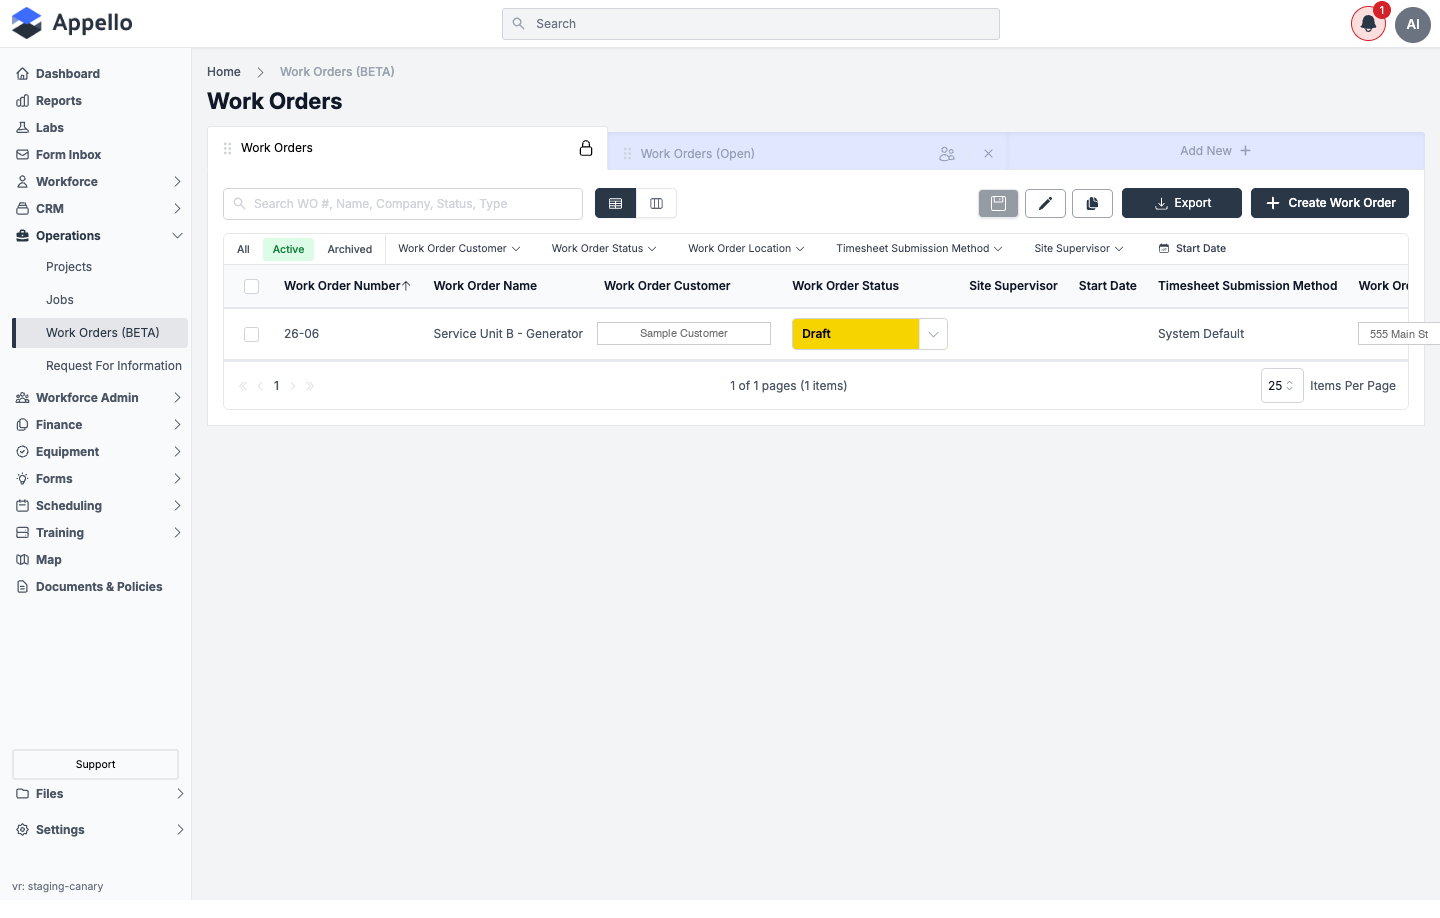
| Control | Effect |
|---|---|
| All / Active / Archived tabs | Filters the table by archive state. |
| Search WO #, Name, Company, Status, Type | Full-text search across those five fields only (see Common questions — PO number is not indexed). |
| Column filter chips (Work Order Customer, Work Order Status, Work Order Location, Timesheet Submission Method, Site Supervisor, Start Date) | Per-column filters, click to open a picker for that column. |
| Export | Downloads the current filtered view as CSV. |
| Create Work Order | Opens the Create form in a flyout. |
| Row checkboxes + header actions | Selecting one or more rows exposes bulk Archive, Delete, and Restore (restore only shows under the Archived tab). Delete first checks for related records and warns before it removes any. |
| List columns | Work Order Number, Work Order Name, Work Order Customer, Work Order Status (inline-editable dropdown), Site Supervisor, Start Date, Timesheet Submission Method, and further columns (scroll right) drawn from the same configurable table-view system as the Jobs list. |
| View picker / column editor icons | Same "views" system as other Appello lists — save named column layouts, reorder/hide columns. |
Permissions: the whole module is gated by the job: view permission; list actions (create, archive, delete, restore) additionally require the matching job create / archive / delete permission, same as the Jobs list.
Related pages: Jobs, Scheduling / Dispatch.
Creating a Work Order
From the Work Orders list
-
Go to Work Orders (BETA) from the main navigation.
-
Click Create Work Order.
-
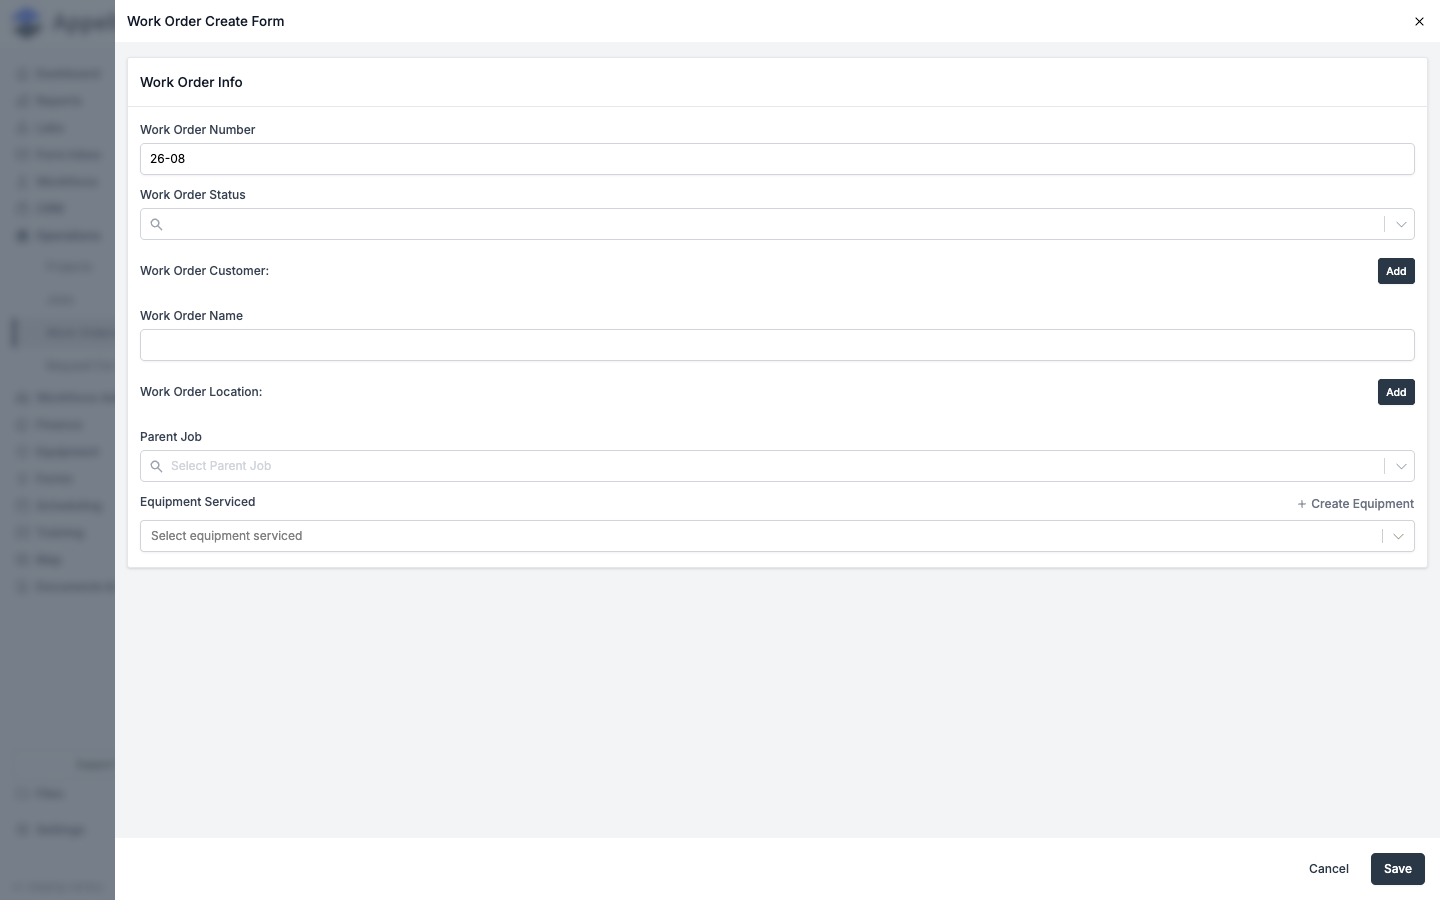
Fill in the Work Order Create Form. Which fields appear is controlled by your instance's Manage Forms configuration (see Common questions); on a default instance the form shows:
Field Required Type Effect Work Order Number No (auto-filled) Text Pre-filled with the next generated number (see Numbering); editable, letters/numbers/dashes only. Work Order Status Depends on config Combobox Picks from the Work Order Status list (Draft, Submitted, Void, etc. — see Work order status flow). Work Order Customer: Depends on config Add-a-relation button Opens an Associate Company panel (Associate Existing / Associate New) to pick or create the customer. If the work order has a Parent Job, filling this in unlocks a same-as-parent-job convenience. Work Order Name Depends on config Text Free-text label shown throughout the app (e.g. in the header and list). Work Order Location: No Add-a-relation button Opens the same kind of panel as Customer, to pick or create the job site. Parent Job No Combobox (searches Project Jobs) Nests the work order under an existing standalone construction job; when set, the customer/location "Same as Parent Job" toggles become available. Equipment Serviced Depends on config Multiselect Attaches one or more equipment records the work order is performed on; a + Create Equipment link opens the equipment create form inline without leaving the flyout. noteDepending on your instance's Manage Forms setup, additional fields can appear in this same "Work Order Info" section — Work Order Rate Type, Work Order Wage Region, Work Order Purchase Order, Work Order Contact, and a Description of Work rich-text field — plus a Signatures section for adding an in-person signature or staging a signature request at creation time. These are available on work orders but were not present on the create form as configured on the demo instance used for these screenshots.
-
Click Save. You're taken straight to the new work order's Overview tab.
From Scheduling / Dispatch
Scheduling and Dispatch do not create a new work order record. They let you put an existing work order onto the calendar and assign a technician and time slot to it. You still have to create the work order itself from the Work Orders list first (or from another place in the app that embeds the Work Orders list, such as a job or equipment record's own Work Orders tab).
Once a work order exists, you can schedule it in either of these places:
- The work order's own Schedule tab, or the Schedule button in the work order's header — opens the "Add Job Schedule" panel with the work order already selected, so you only need to fill in the date, time, and crew.
- The Dispatch board — filter Dispatch to Work Orders, then either:
- Drag an unscheduled work order card from the side rail onto a technician's row, or
- Click-drag directly on an empty part of a technician's row to open the same "Add Job Schedule" panel with that technician and time slot pre-filled — you then pick which work order to schedule from a Select Work Order field.
Either path opens the same scheduling panel; the only difference is what's pre-filled.
Numbering
New work orders are numbered automatically. If your instance uses year-prefixed numbering (the default), the number looks like 26-001 — a two-digit year followed by a sequential number. You can edit the number yourself in the Number field if you need to; it isn't locked after the work order is created (the field only restricts you to letters, numbers, and dashes).
Work order numbers are generated the same way standalone job numbers are — because a work order is a Job record, it draws from the same running counter as every other standalone job on your instance, not a separate work-order-only count. When a work order isn't attached to a project, Appello looks at every standalone job (work order or otherwise) that shares its number format, takes the highest number found, and adds one. If your instance uses year-prefixed numbering, that number is formatted as a two-digit year, a dash, then the sequential number; otherwise it's just the padded number.
This is why a work order can come out numbered something like 26-77508: the counter isn't scoped to work orders — it has counted every standalone job and work order ever created on your instance since numbering started, so the numeric portion reflects your instance's total job/work order volume, not how many work orders you've made. A work order attached to a project instead inherits that project's numbering scope, the same as a regular job would.
Assigning a technician
A technician is assigned when the work order is scheduled, not on the work order's create form. Open the Add Job Schedule panel (see Creating a Work Order above) from the work order's Schedule tab, the header Schedule button, or the Dispatch board, then:
- Confirm the work order, date, and time.
- Add the technician(s) to the crew field.
- Save. The scheduled crew appears on the work order's Schedule tab and on the Dispatch board / Calendar Schedule.
You can reschedule or reassign the crew the same way at any time before the work is locked (for example, once time has been logged against it for a given day).
The work order detail page
Where it is: click any row on the Work Orders list.
What it's for: everything about one piece of field-service work — status, checklist, cost tracking, forms, billing, scheduling, and customer sign-off — organized into a fixed set of tabs.
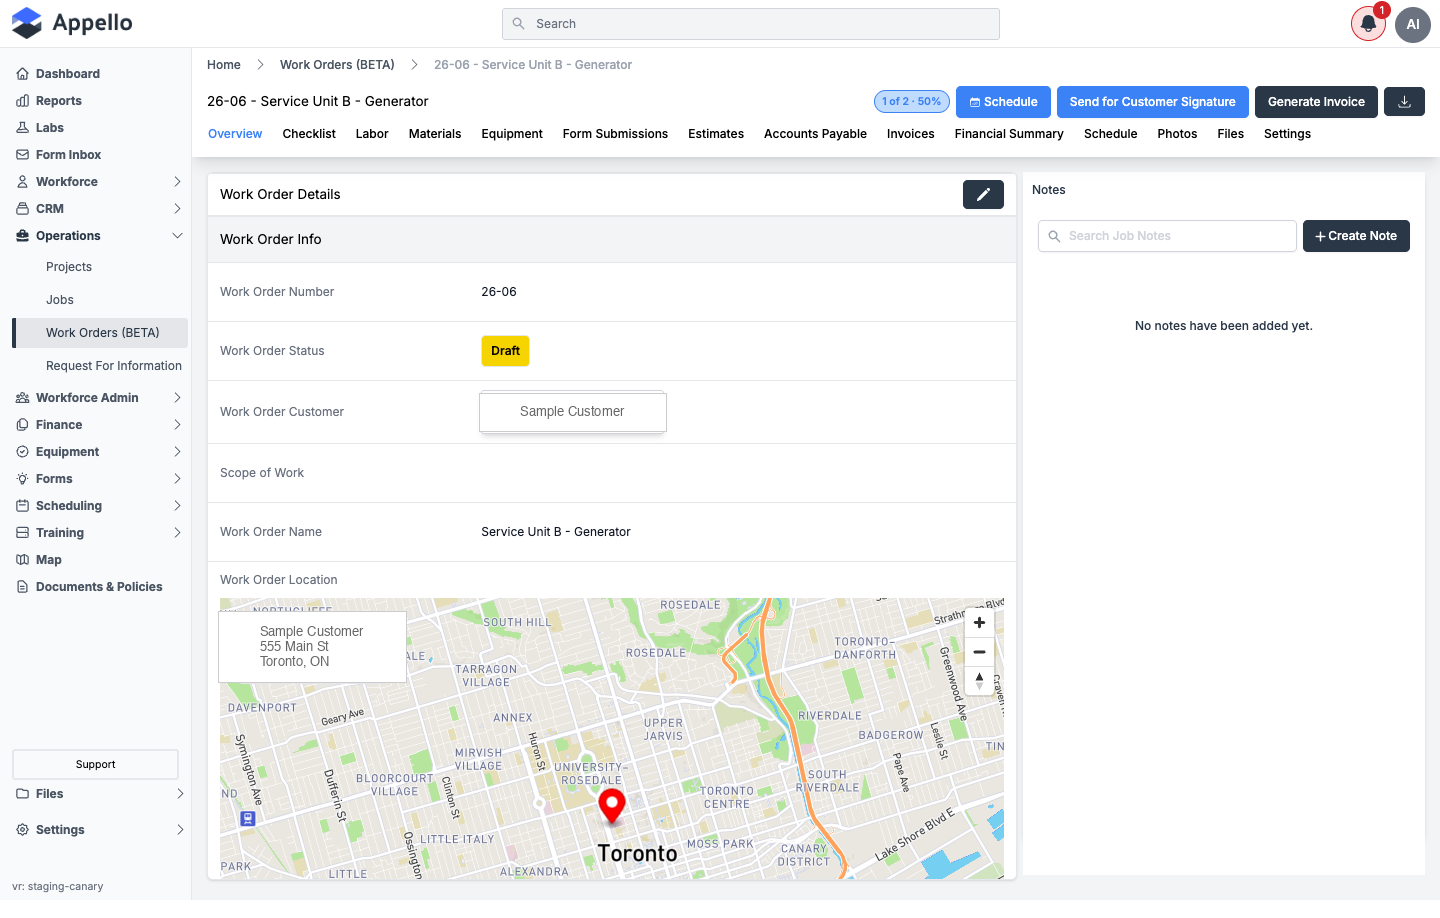
The header carries the work order's number and name, a completion badge (checklist items complete out of total), and up to three action buttons: Schedule, Send for Customer Signature (or its pending/signed variants — see Customer-facing signature and view links), and Generate Invoice (only once line items exist and no invoice has been generated yet — see From a completed Work Order to an invoice). The download icon in the top-right exports the PDF.
The tabs, in the order they appear, and the permission that shows each one:
| Tab | Permission gate |
|---|---|
| Overview | job: view |
| Checklist | job: view |
| Labor | job: view |
| Materials | job: view |
| Equipment | job: view |
| Form Submissions | safetyForm: view |
| Estimates | Estimate: view |
| Accounts Payable | expense: view |
| Invoices | job: view |
| Financial Summary | financial_summary: view (job-cost data — a project-based scope additionally requires you to be the job's or its project's lead) |
| Schedule | JobSchedule: view |
| Photos | job: view |
| Files | job: view |
| Settings | job: edit |
Overview
The Overview tab shows the Work Order Details card (Work Order Number, Work Order Status, Work Order Customer, Scope of Work, Work Order Name, and a map of the Work Order Location) next to a Notes panel for job notes. Click the pencil icon on the details card to reopen the same form used to create the work order, with every configured field editable.
Checklist
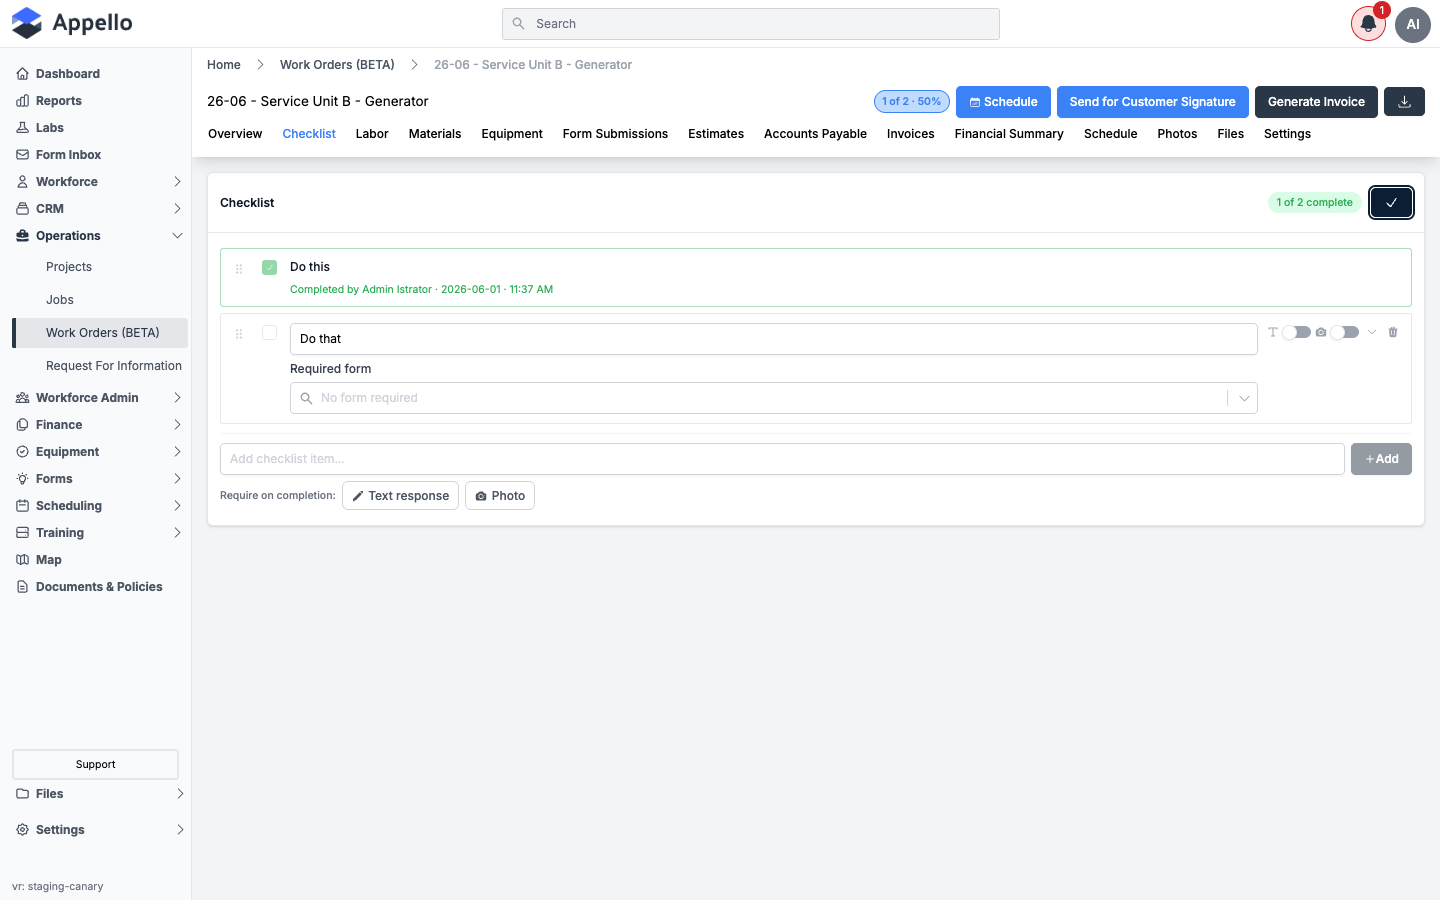
The Checklist tab is a simple task list scoped to the work order.
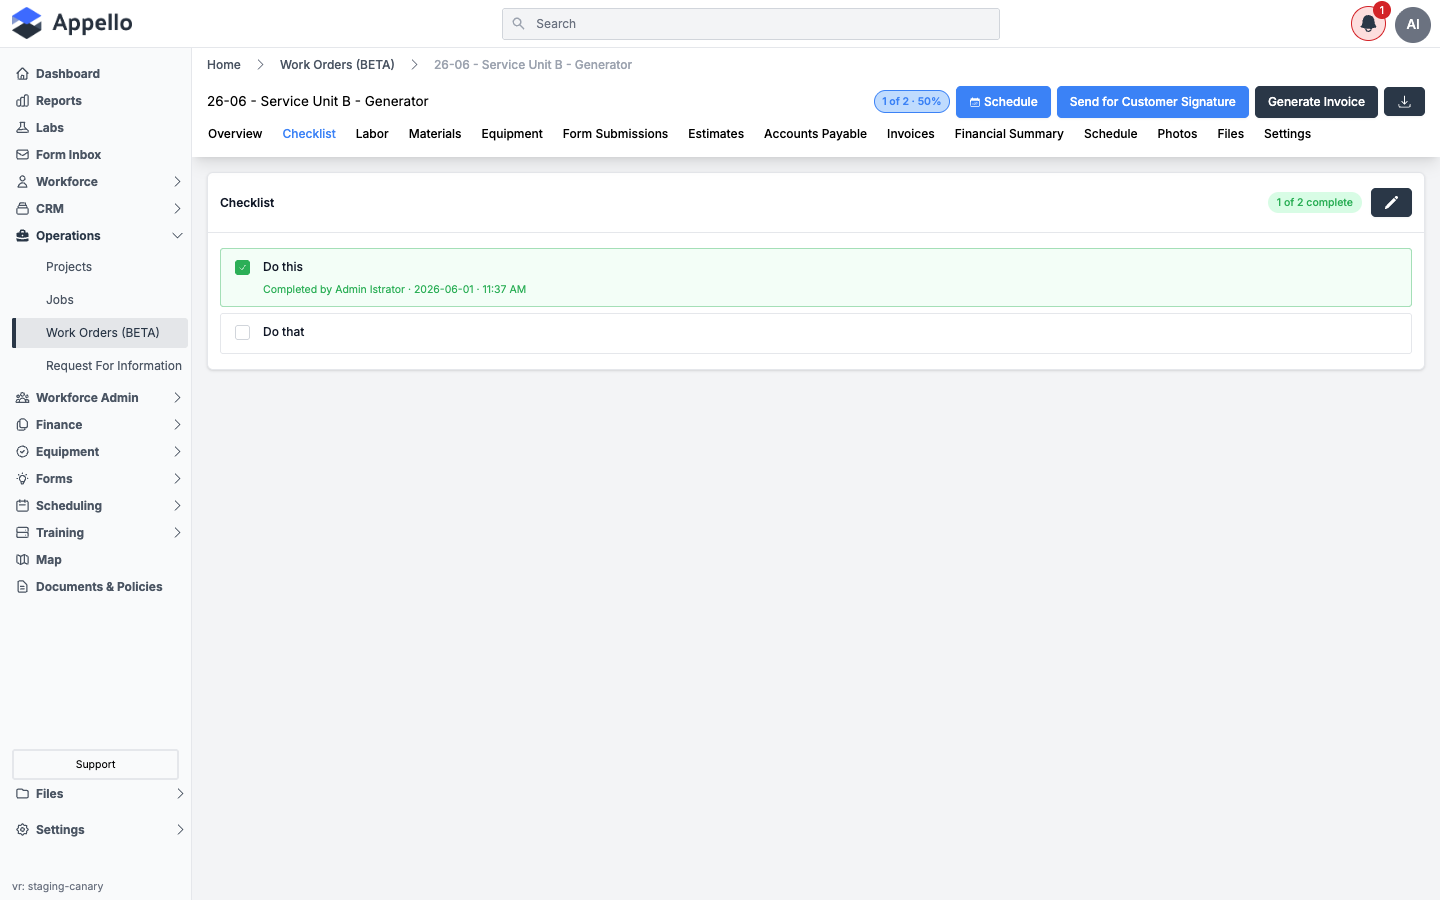
- Click the edit (pencil) icon to switch into edit mode, where you can quick-add new items, drag to reorder them (drag handle on the left), edit their label inline, set a Required form per item, toggle Text response and/or Photo requirements, and archive items you no longer need (the trash icon; you can't archive an item that's already marked done).
- Each item can optionally require a photo and/or a text response before it can be marked complete, and can optionally require a linked form submission.
- Ticking a plain item (no photo/text required) completes it immediately. Ticking an item with a requirement opens a small modal to capture the photo/response first.
- Unticking a completed item is treated as destructive — since it deletes the recorded photo and/or text response — so you're asked to confirm before it clears.
Labor
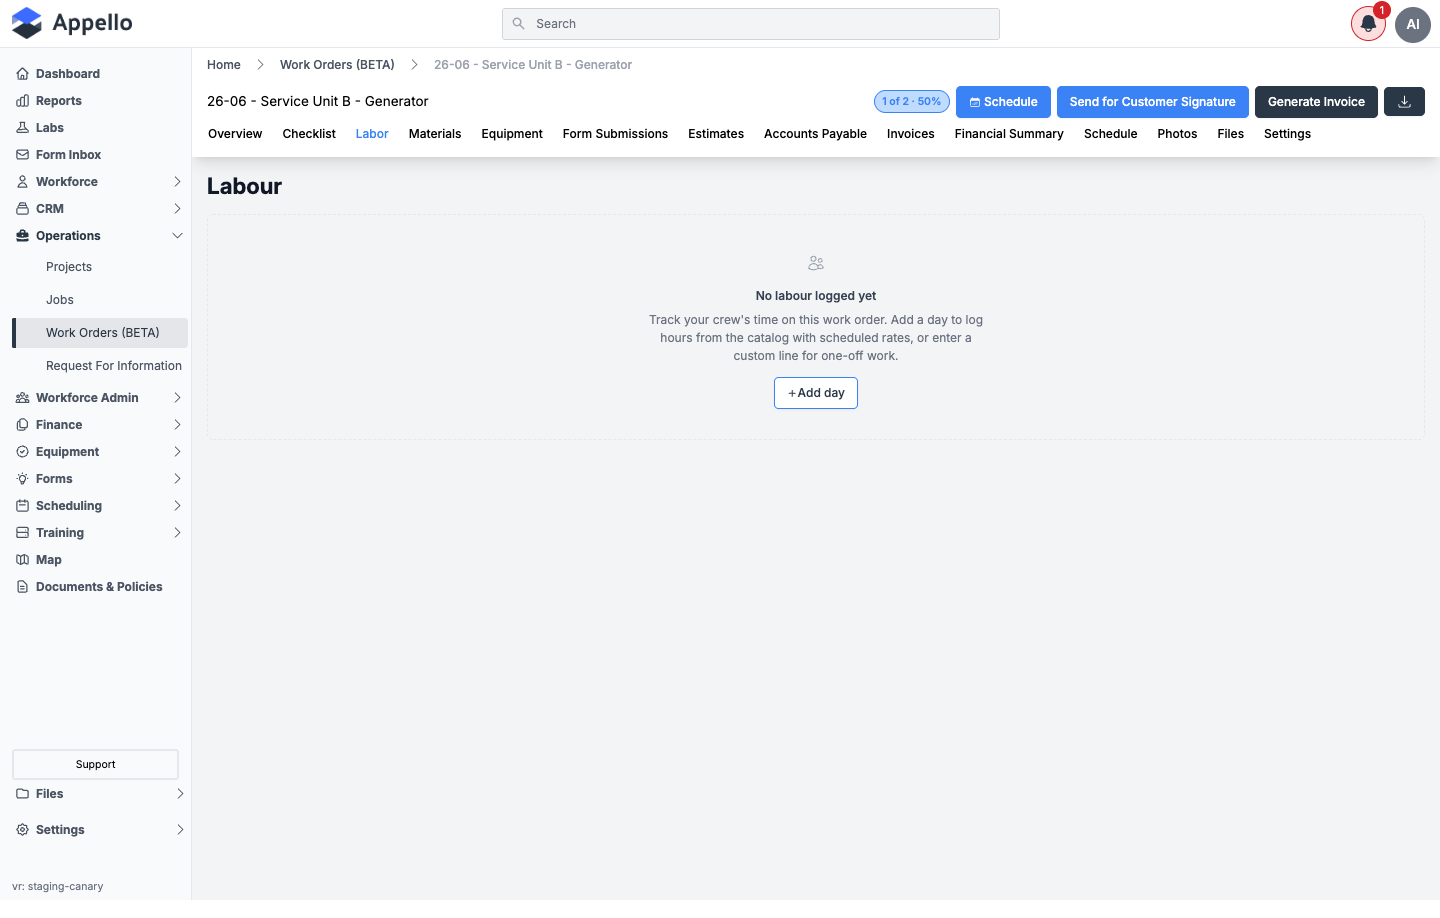
The Labor tab shows entries grouped by date. Shown empty on the demo instance:
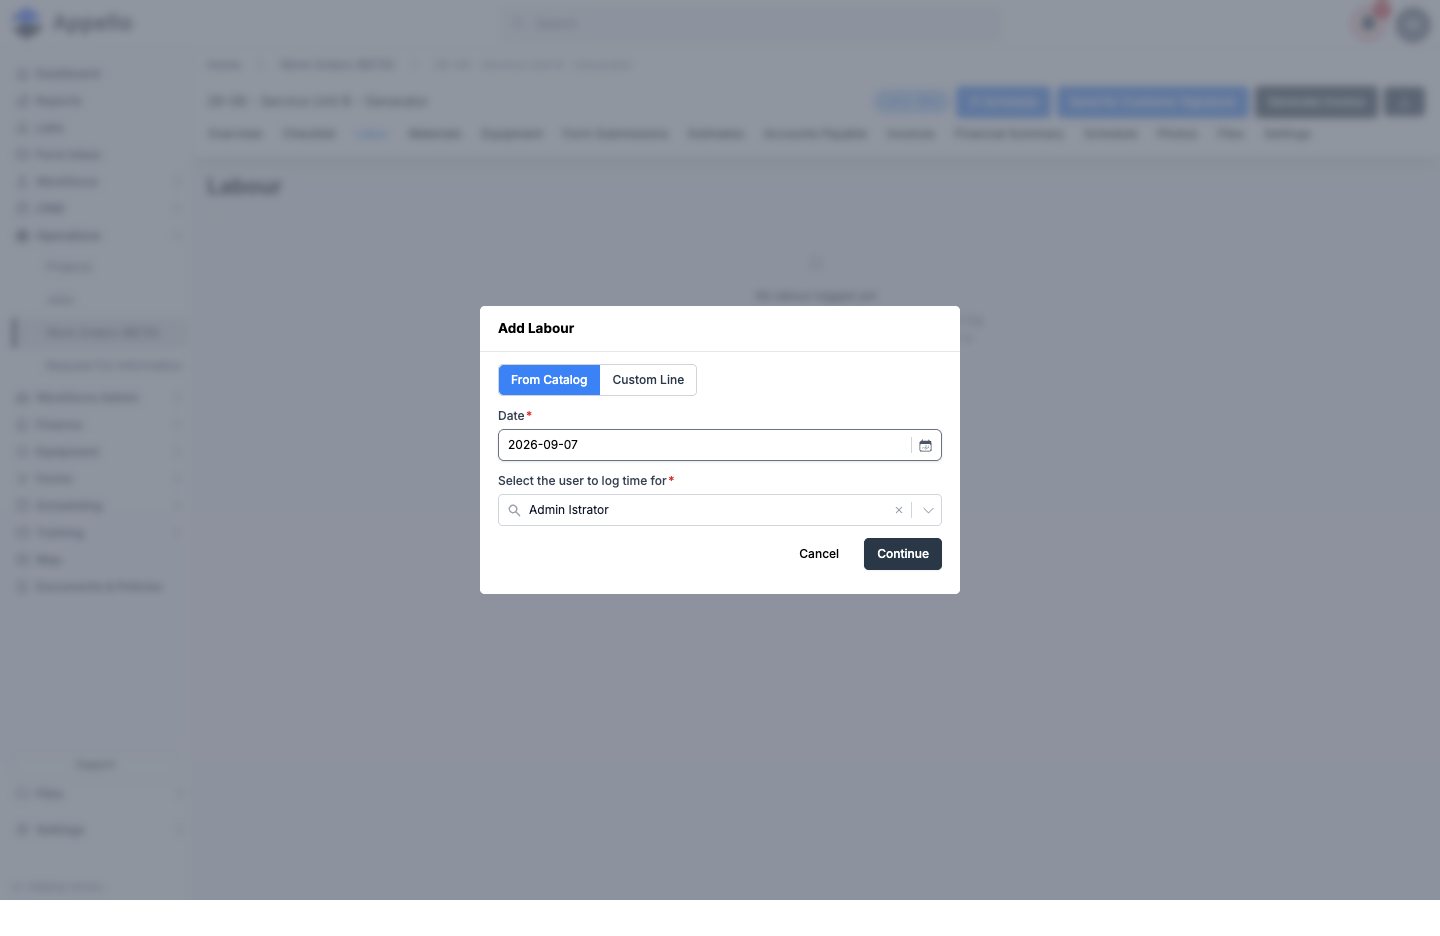
Click + Add day to log a day's labour. The Add Labour modal offers two line types:
| Control | Required | Type | Effect |
|---|---|---|---|
| From Catalog / Custom Line toggle | — | Toggle | Catalog pulls a priced labour rate; Custom Line lets you type a description, quantity, duration, and rate/cost yourself. |
| Date | Yes | Date picker | The day the labour was performed. |
| Select the user to log time for | Yes | Combobox | The crew member the hours are attributed to. |
Once entries exist, the tab shows two kinds mixed together by date:
- Timesheet-based entries — hours logged against this work order through the normal timesheet process show up here automatically (click a row to open the underlying timesheet, permissions allowing).
- Custom labour lines — the ones added here directly, not tied to a timesheet.
Custom lines carry a GL account (category + item) the same way Accounting account items work elsewhere in Appello. Whether rates and costs are visible on any of this depends on the workOrder: viewPricing permission — creating the work order grants no exception to that gate.
Materials
Materials are added per day, similar to labour. Shown empty on the demo instance:
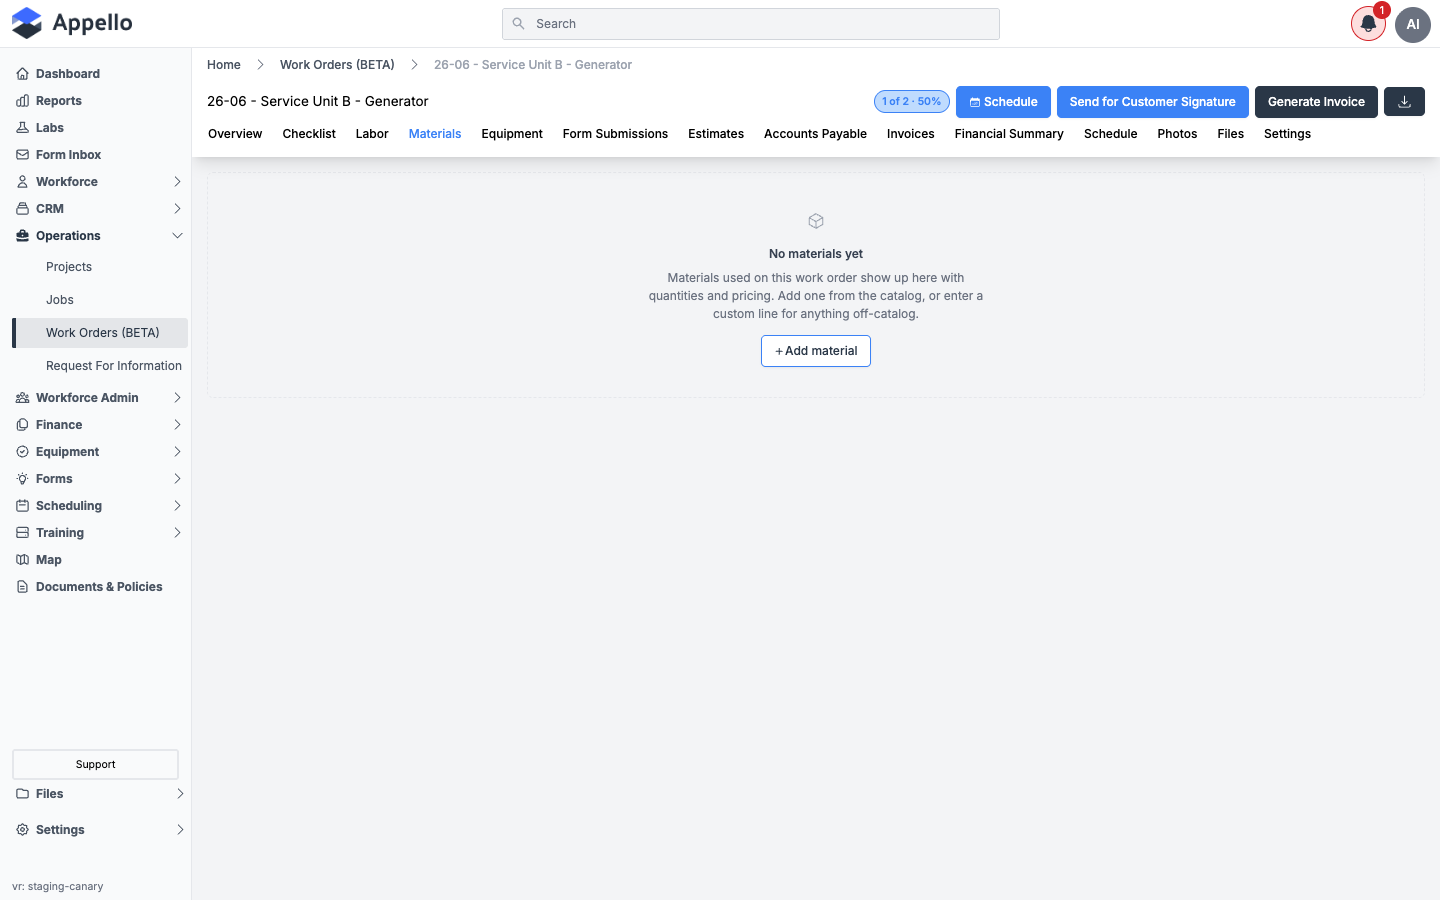
Click + Add material to open the Add materials chooser:
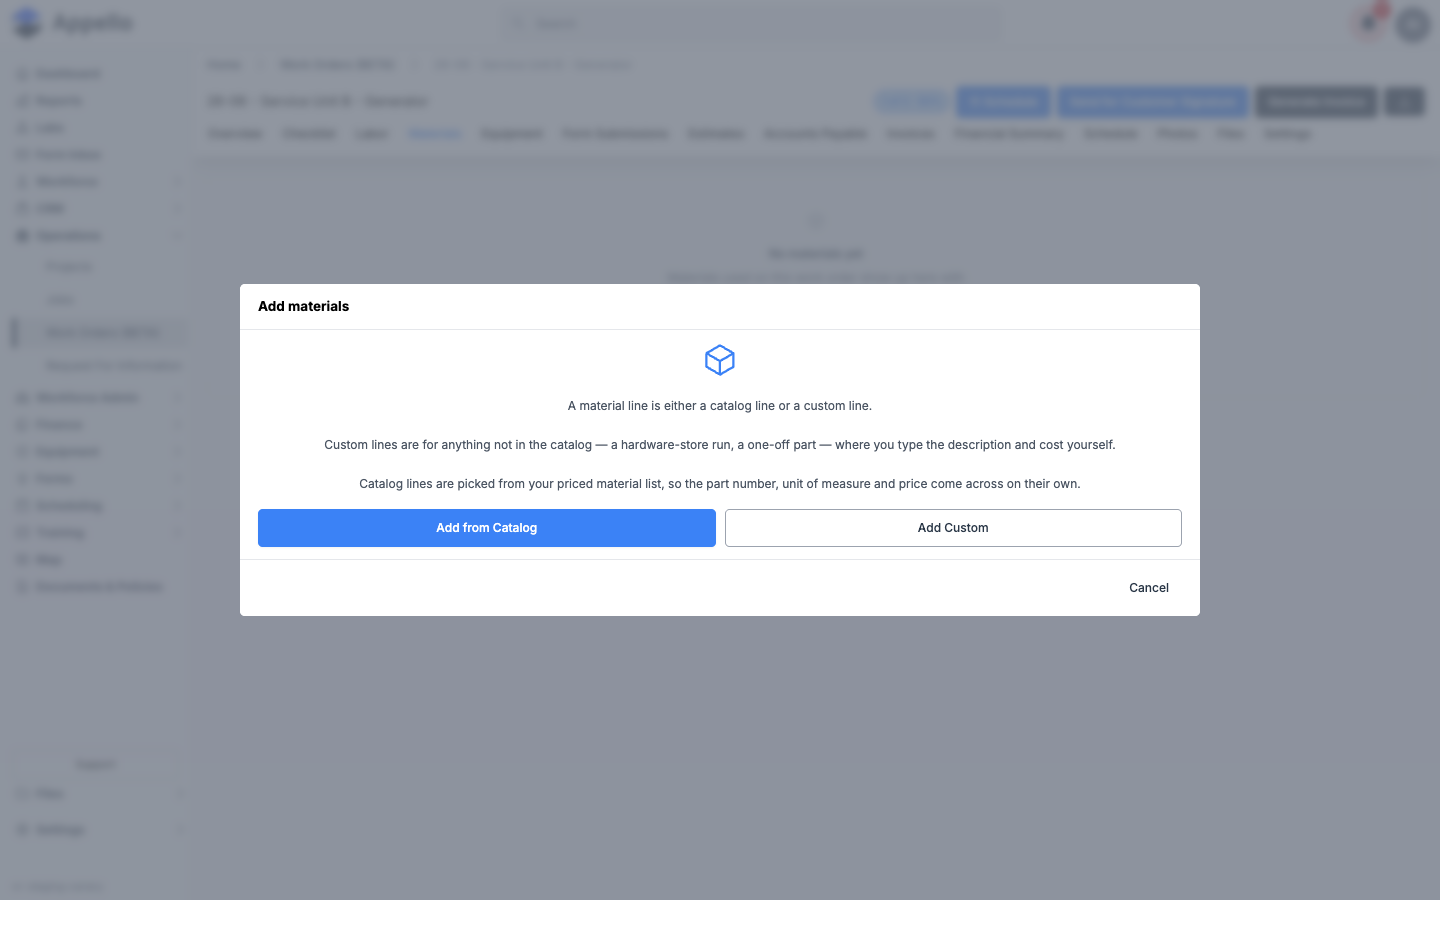
| Option | Effect |
|---|---|
| Add from Catalog | Picks a priced material from your material list — part number, unit of measure, and price come across automatically. |
| Add Custom | For anything not in the catalog (a hardware-store run, a one-off part) — you type the description and cost yourself. |
Once added, set the quantity and (if you have pricing permission) the price. Like labour, custom material lines carry a GL account item — see Accounting.
Equipment
The Equipment tab has two sub-views, selected by the sub-tabs under the main tab bar:
-
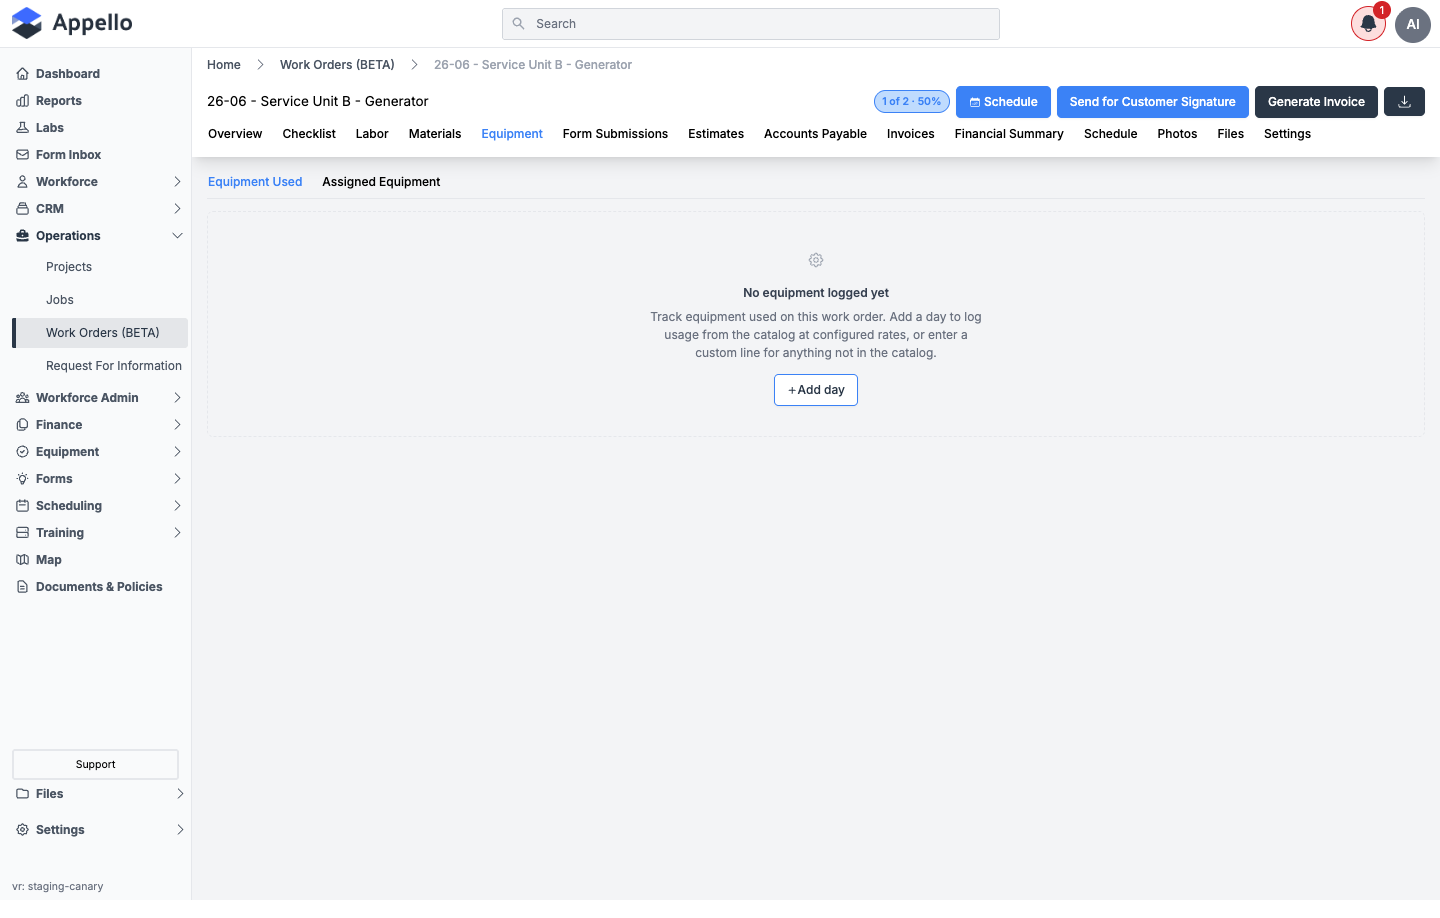
Equipment Used — logs equipment usage against the work order (catalog or custom entries, by day, via the same + Add day pattern as Labor). Shown empty below.
-
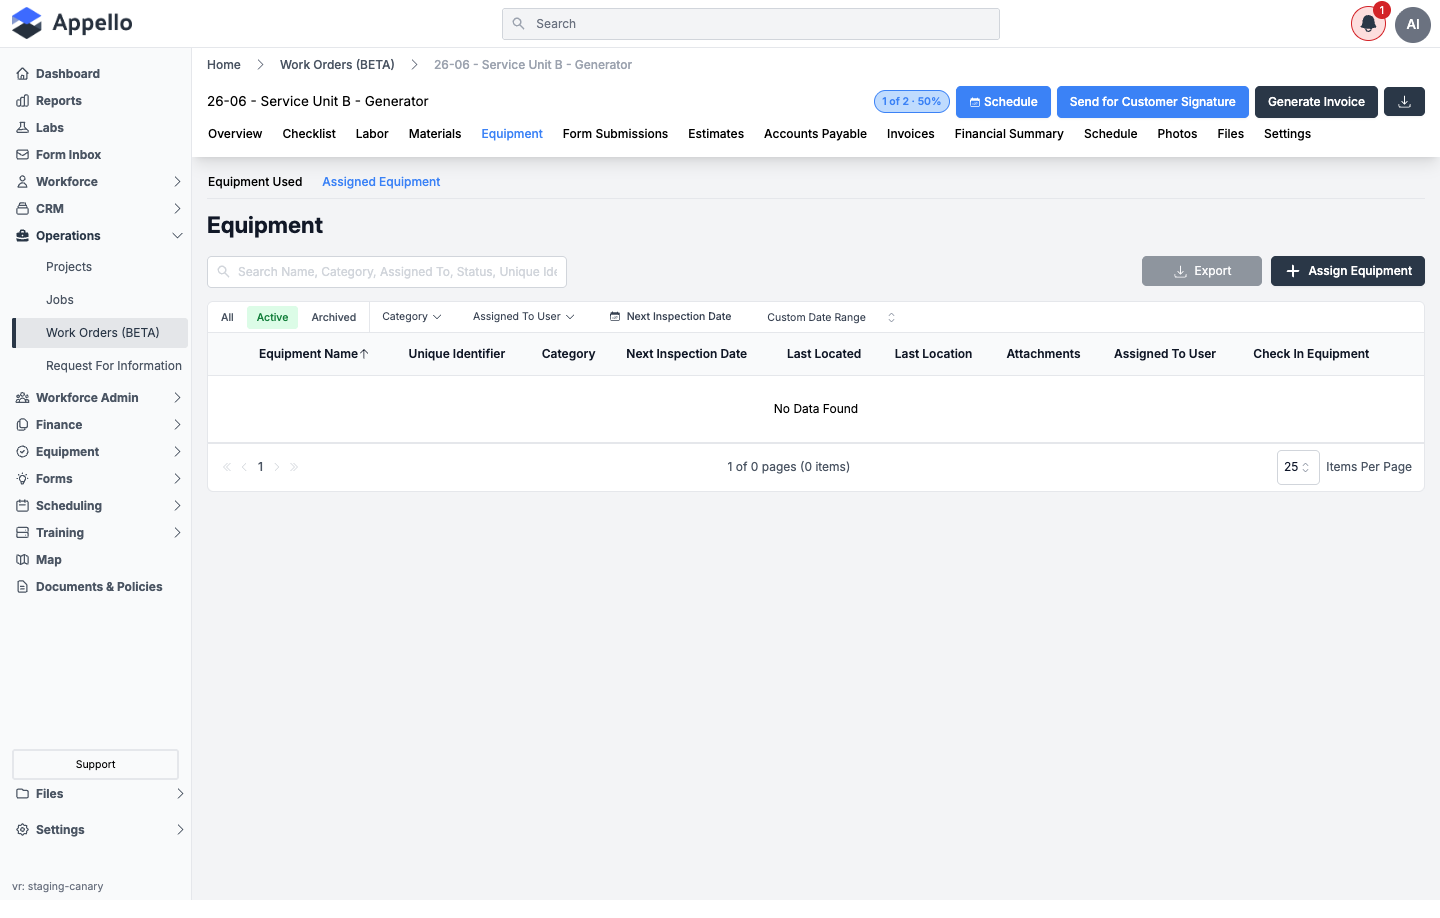
Assigned Equipment — a table of equipment records formally assigned to the job (a separate concept from "equipment used"), only visible if you have equipment-view permission. Has its own Search, Export, and Assign Equipment controls, and columns for Equipment Name, Unique Identifier, Category, Next Inspection Date, Last Located, Last Location, Attachments, Assigned To User, and Check In Equipment. Shown empty below.
Form Submissions
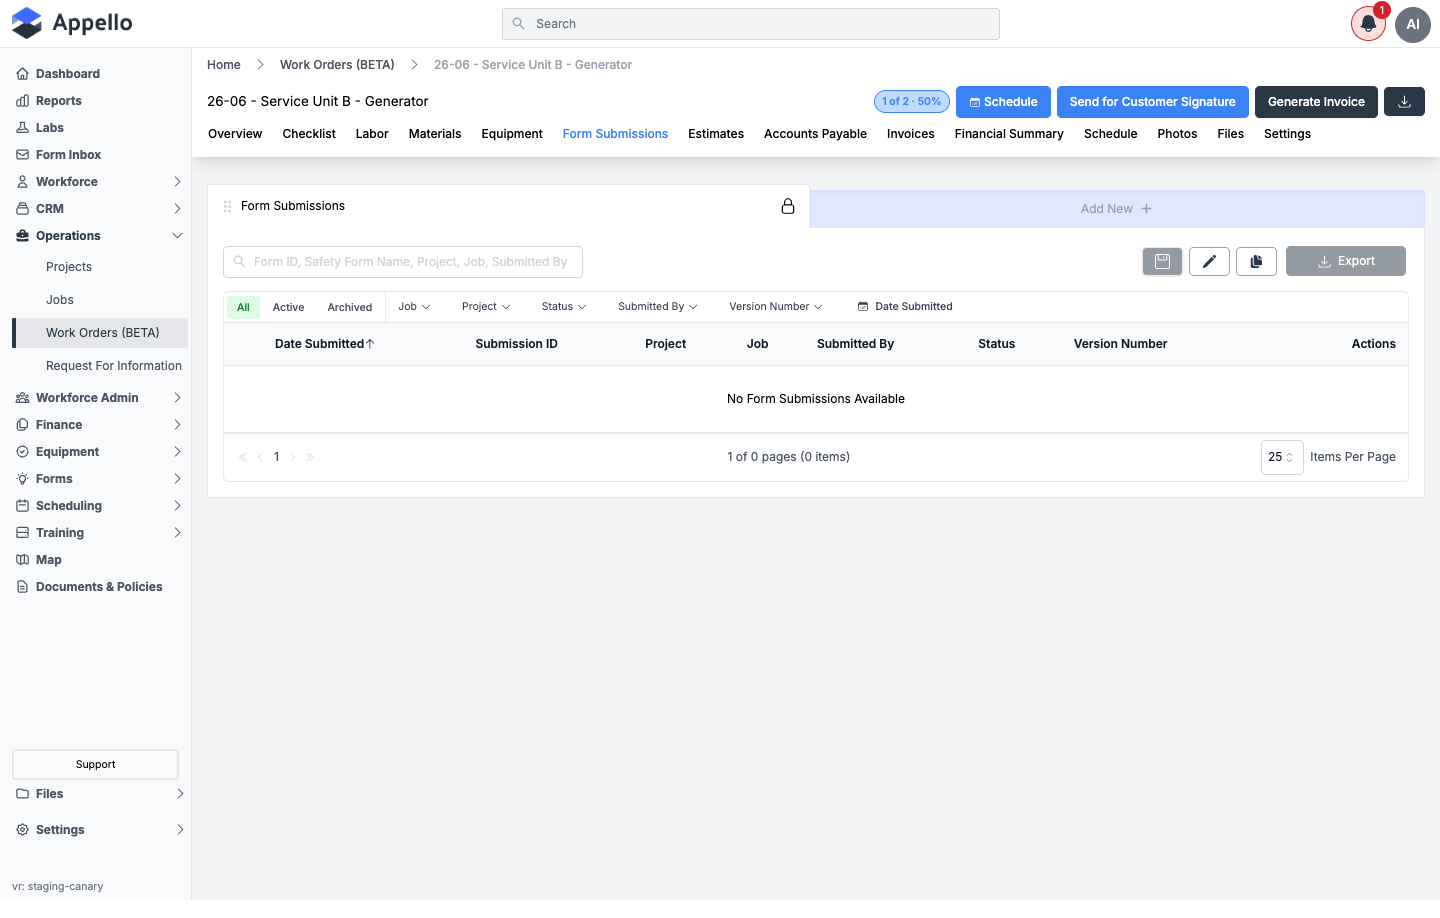
A read-only list of safety/inspection form submissions tied to this work order (submission ID, project, job, submitted by, status, version number). Shown empty on the demo instance:
Estimates
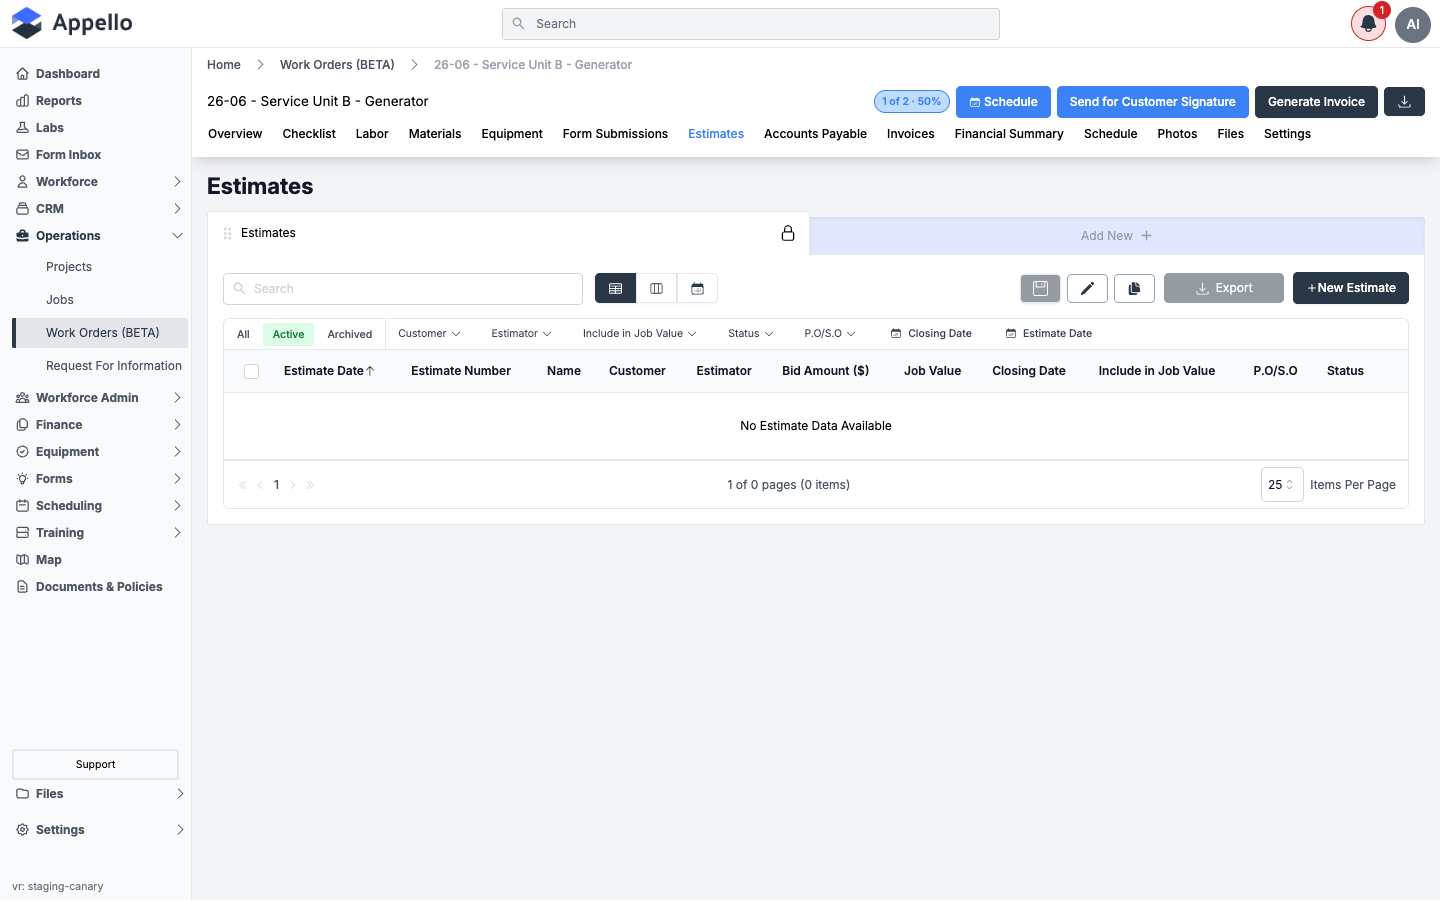
The standard itemized Estimate/Change Order list, scoped to this work order. Shown empty on the demo instance:
Accounts Payable
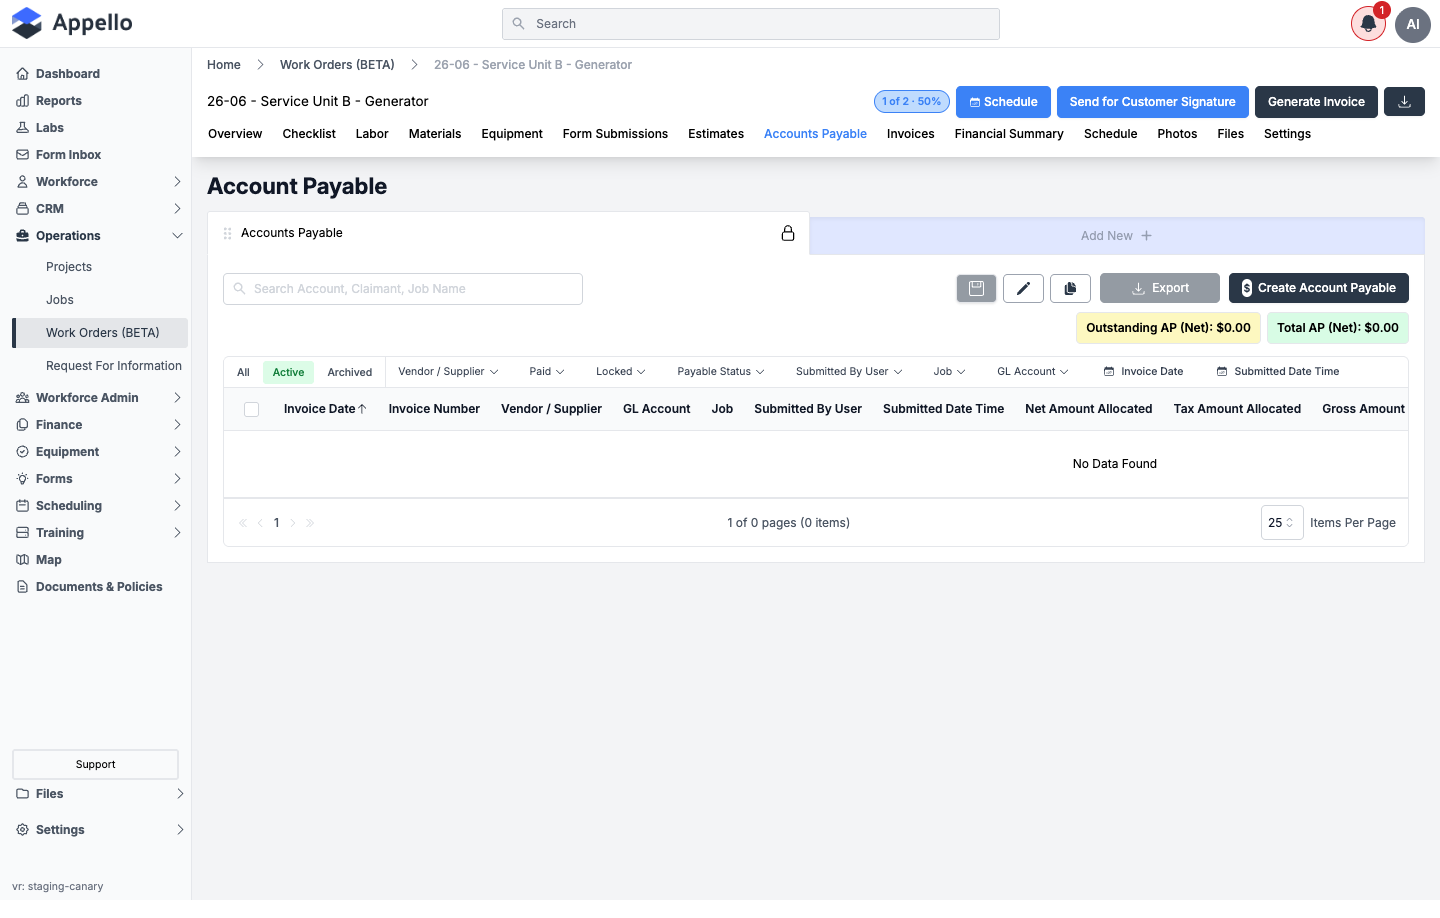
The standard Accounts Payable list (vendor invoices/expenses), scoped to this work order, with Outstanding AP and Total AP summary chips. Shown empty on the demo instance:
Invoices
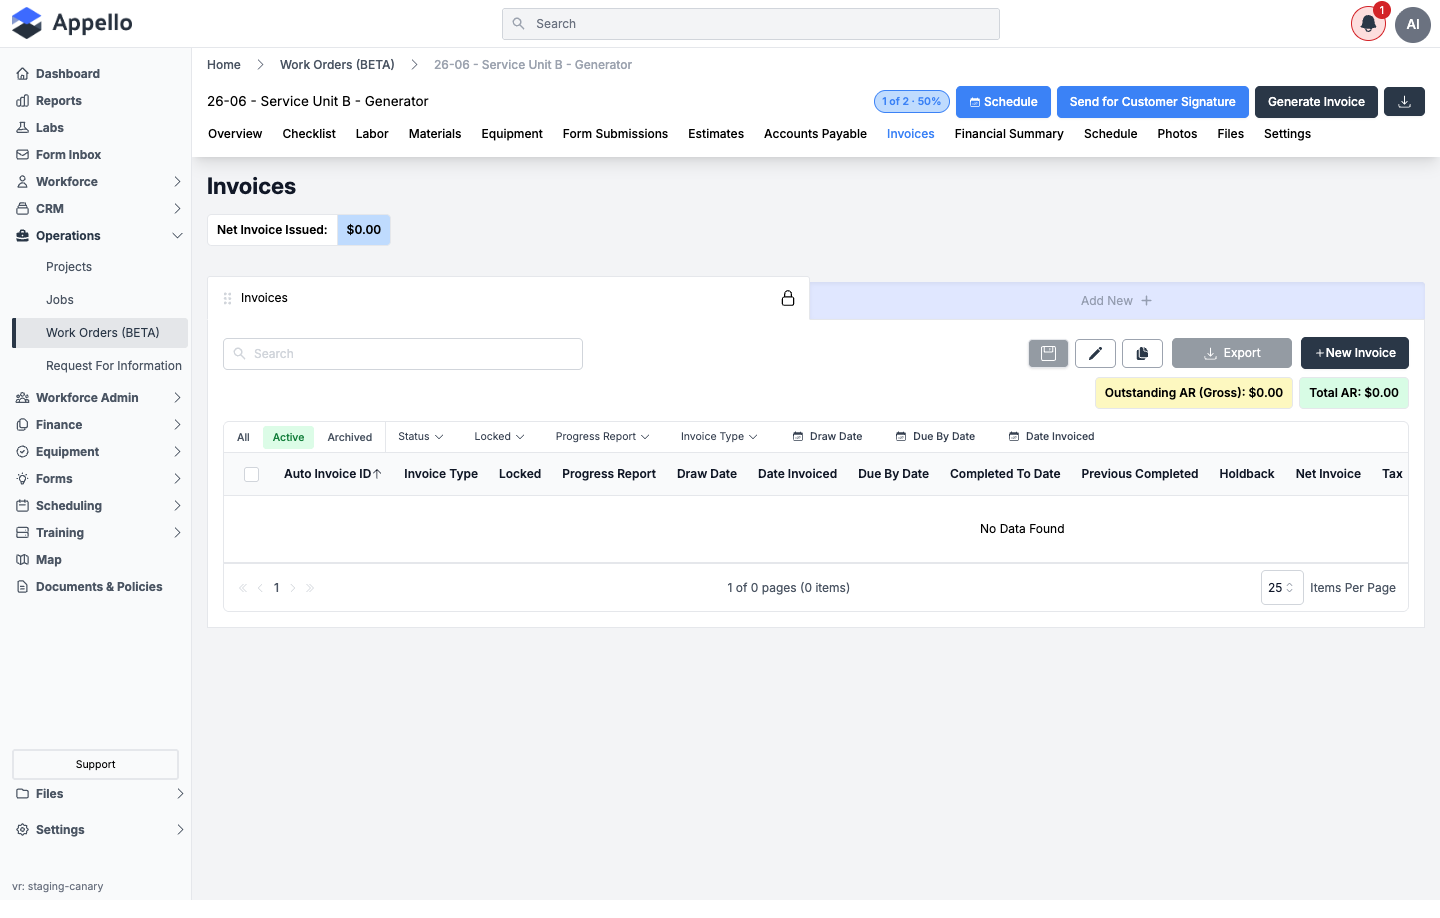
Invoices generated for this work order (see From a completed Work Order to an invoice), with a Net Invoice Issued and Outstanding AR (Gross) summary. Shown empty on the demo instance:
Financial Summary
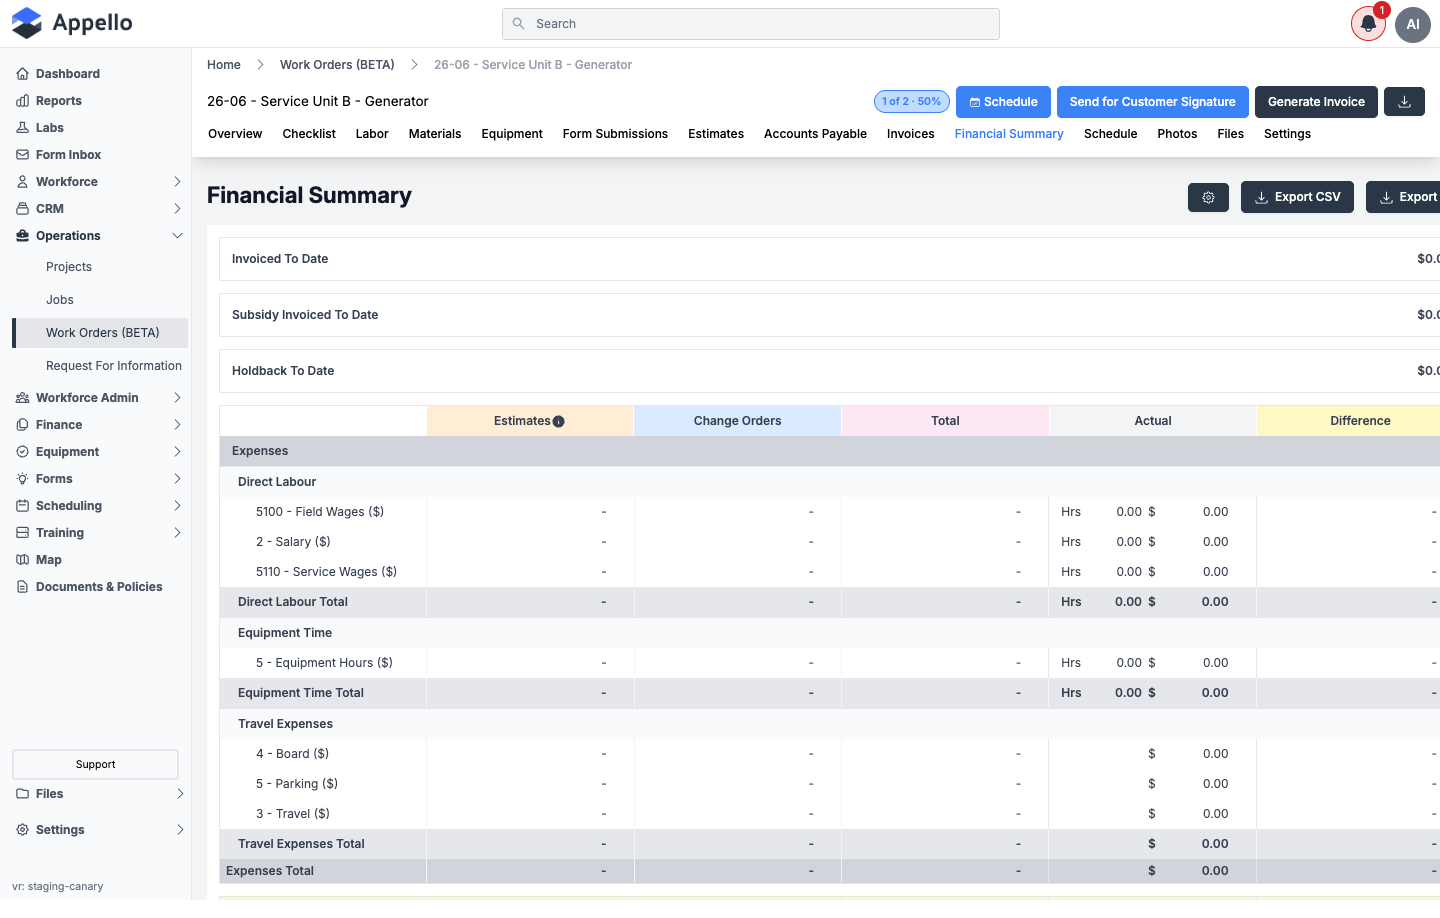
A cost-code-style rollup of Estimates vs. Change Orders vs. Total vs. Actual vs. Difference, broken out by category (Direct Labour, Equipment Time, Travel Expenses, and more further down the page), plus Invoiced To Date, Subsidy Invoiced To Date, and Holdback To Date. Supports Export CSV and a PDF-style export.
Schedule
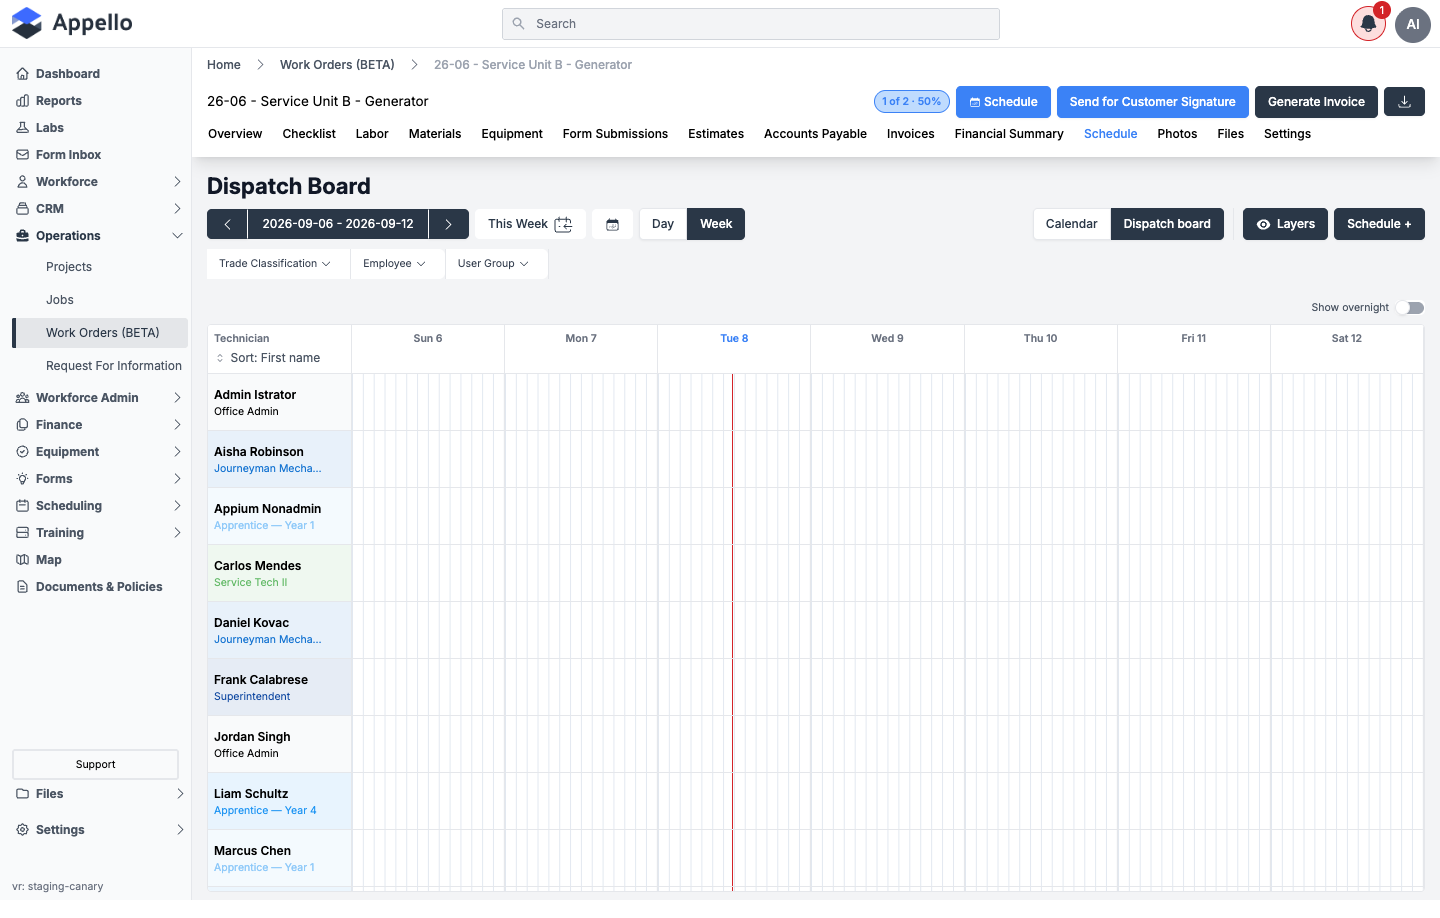
Embeds the same Dispatch Board used from the main Scheduling section (Day/Week toggle, Trade Classification / Employee / User Group filters, Layers, Calendar vs. Dispatch board view), so you can see and adjust this work order's crew assignments without leaving its detail page.
Photos
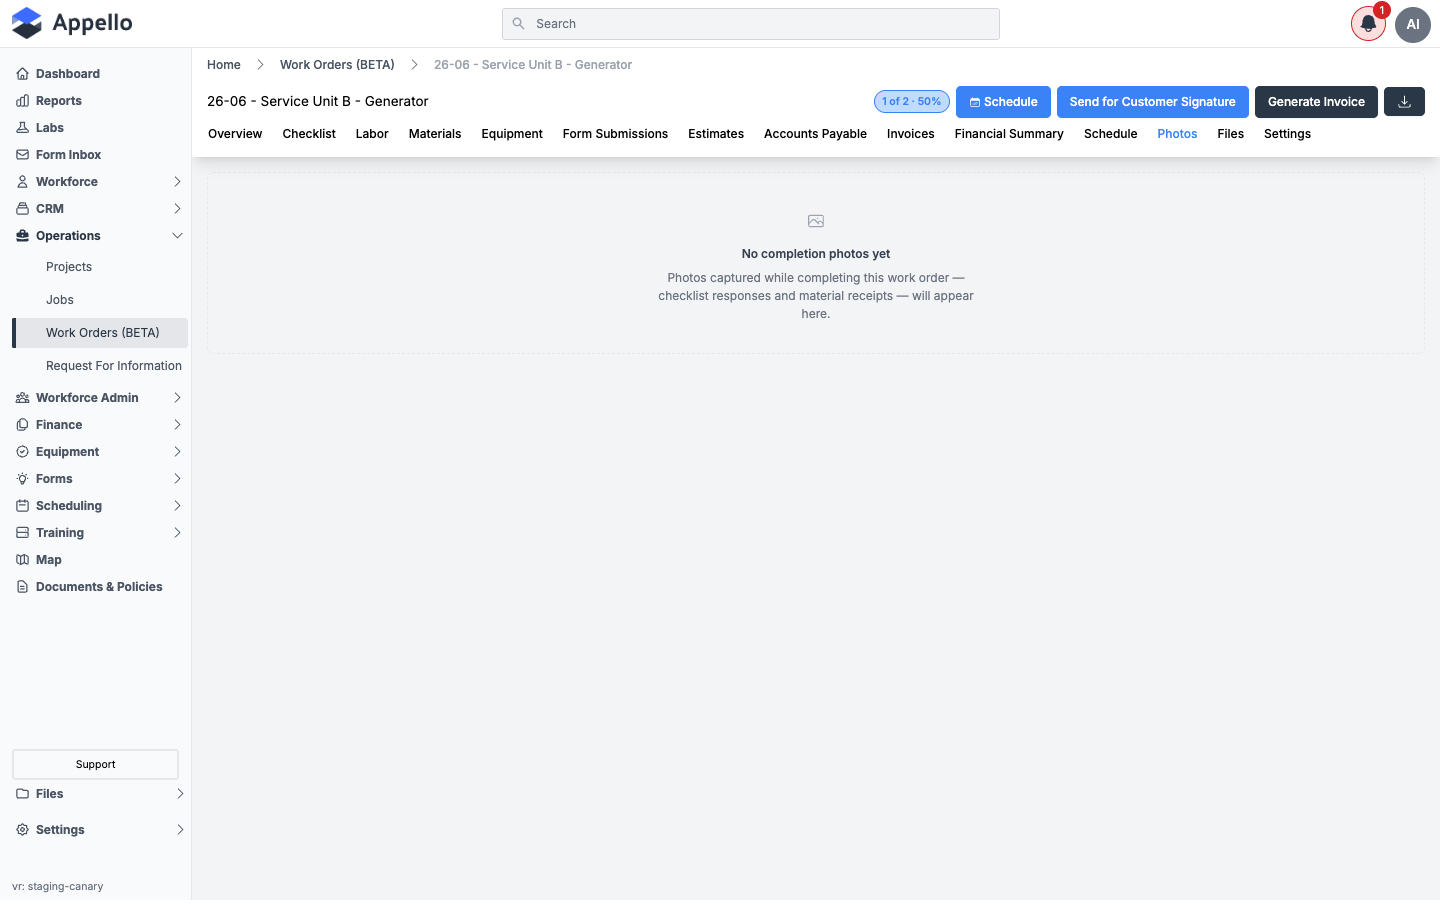
Collects photos captured while completing the work order — checklist responses and material receipts. Shown empty on the demo instance:
Files
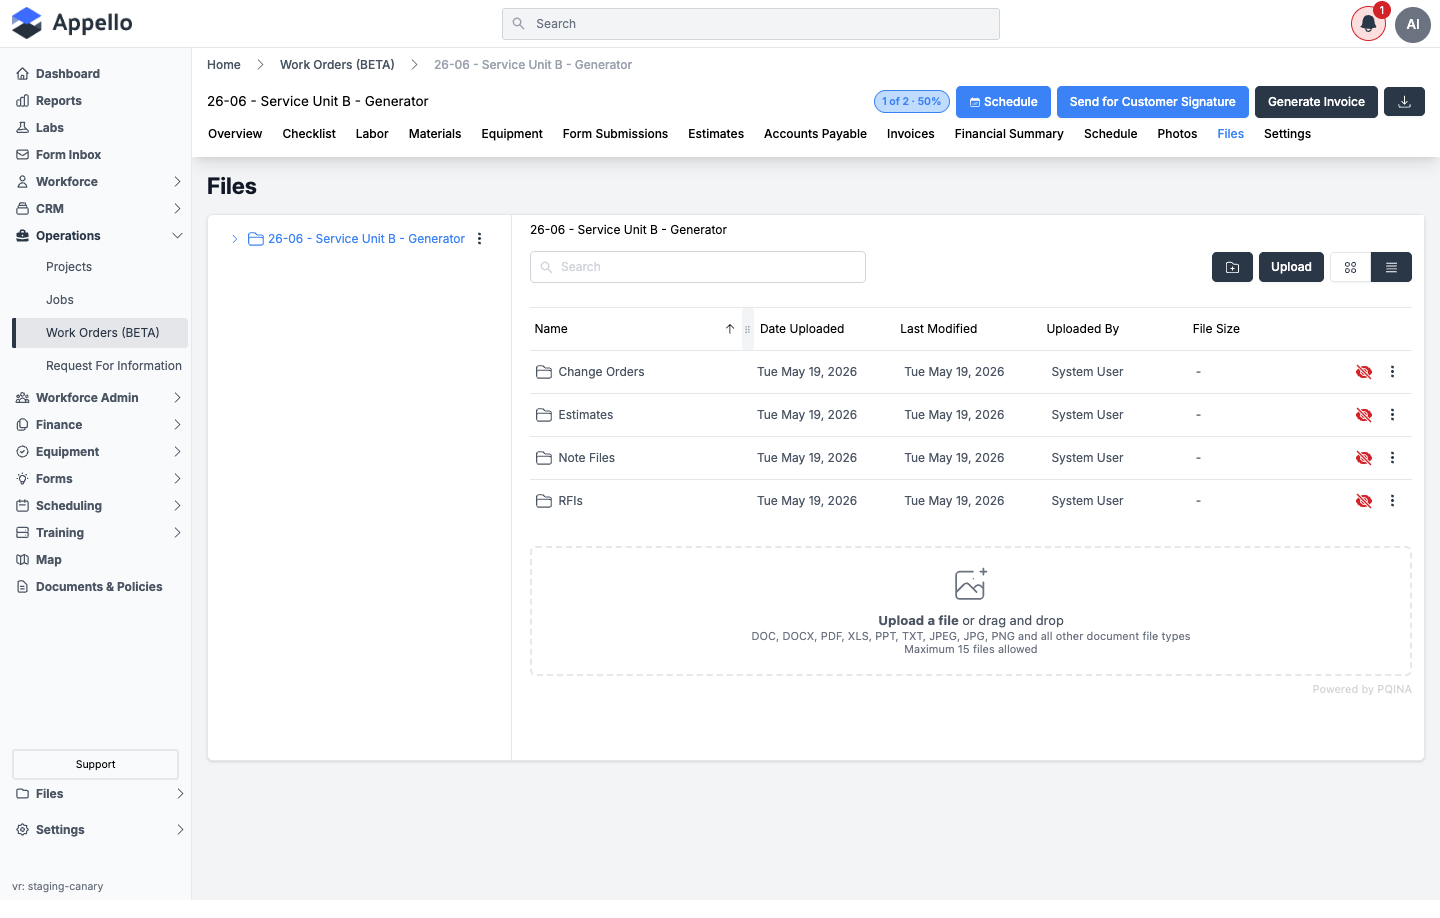
The standard Appello file browser, scoped to this work order, with default folders (Change Orders, Estimates, Note Files, RFIs), search, grid/list toggle, and drag-and-drop upload (up to 15 files at a time).
Settings
Shows the same field set as the create form (via the record's SETTINGS form configuration) with an edit button that reopens the create/edit form, plus a Form Settings card for attaching or removing Inspection & Safety Forms from this specific work order.
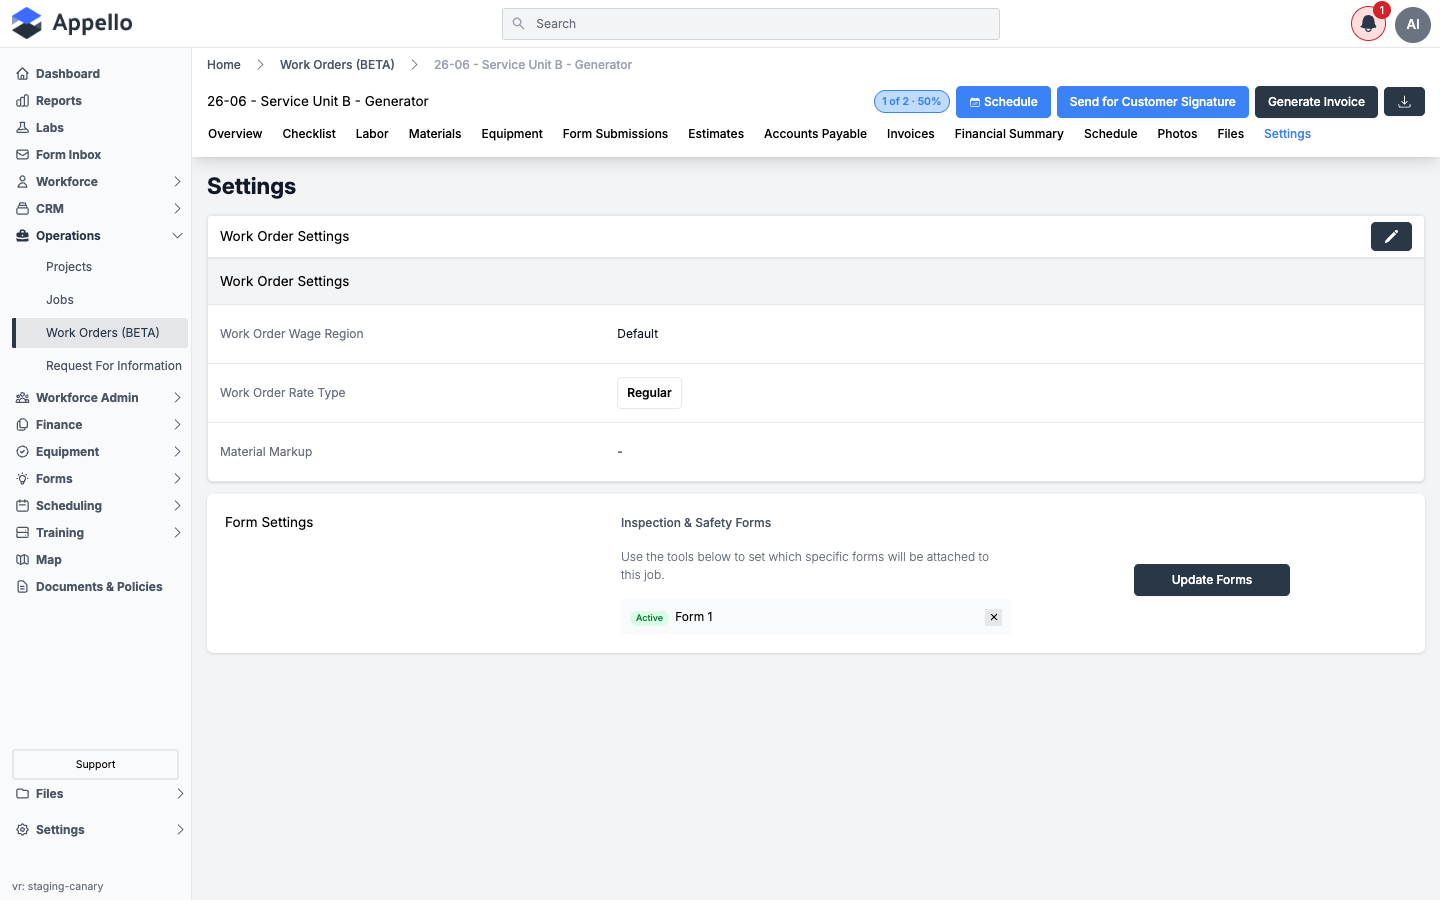
Settings does not include a calendar/"Standard Day" work-hours configuration — that control exists only on a Project's Settings → Calendar tab; it is not part of the Work Order Settings tab.
Work order status flow
Work Order Status is its own property list (separate from Job Status), configured under Settings → Property Settings → Work Order Status. A default instance ships with at least Draft, a Submitted status, and a locked Void status (Void can't be deleted, so its workflow state is pinned to "done"). Two places drive status changes automatically:
- Instance setting — an instance can designate one Work Order Status as the "submitted" status; this is what the mobile Mark as Complete action moves a work order into (see The mobile field flow below), and it notifies subscribed office users that a work order has been submitted.
- Manual changes — anyone with edit access can change Work Order Status directly from the list's inline dropdown or the Overview/Settings edit form at any time.
Generating an invoice from a work order does not change its status automatically — see the note in From a completed Work Order to an invoice.
The mobile field flow (high level)
- Tap Work Orders in the mobile app's main navigation to see your work orders, then tap into one to open its detail screen. (This nav item only appears once your instance is on a supported Appello version and you have job access — the same permission that shows the Jobs list.)
- The work order detail screen carries the same tabs as desktop, scoped for the field: Overview, Checklist, Labor, Materials, Equipment Used, Notes, Forms, Equipment, Photos, and Files (some tabs only show up if you have the matching permission).
- On the Checklist tab, plain items tick complete right in the list. Items that require a photo and/or a text response open a completion sheet first, where you can attach up to five photos and/or type a response before the item can be marked done.
- Add Labour, Materials, and Equipment Used entries from their own tabs the same way you would on desktop.
- Once the work is finished, tap Mark as Complete in the bottom action bar. A confirmation sheet ("Mark as Complete?") explains that confirming submits the work order to the office and moves it to its configured submitted status (see Work order status flow) — if you're offline, it queues and submits once you're back online.
- From that same action bar (either right after marking complete, or any time afterward via
Send for Signature), a "Collect a signature?" sheet offers three ways to get sign-off:
- Collect in person — hand the device to the customer to sign right there. This records the signer's name, the date, and (if the device allows it) GPS coordinates, and queues to sync if you're offline.
- Request signature — ask a coworker who's logged into Appello to sign (requires a connection).
- Email for signature — sends the same secure signing link described below in Sending a signature request (desktop), just triggered from the mobile app.
- The Photos tab collects photos captured through checklist completions and material receipts, so you can review everything attached to the work order in one place.
Customer-facing signature and view links
Work orders have two distinct ways to get a customer's sign-off, plus a read-only sharing link. Both pages below are reached from an emailed link — this page describes what the customer receives, since generating one requires actually sending mail (an action this documentation pass does not perform).
Sending a signature request (desktop)
From the work order's header, click Send for Customer Signature. This sends an emailed link to the customer (or another recipient you choose). It opens a read-only work order document alongside a Sign Off card containing:
- A signature pad where the customer draws their signature.
- A Full Name field, pre-filled with the signer's name if known.
- Today's date, formatted using the instance's date format.
- Confirmation language stating that by signing, the customer confirms the work was completed as described and approves the final total shown, plus applicable taxes — or just confirms the work, if pricing has been hidden on the request.
- A Confirm & Sign button that submits the signature (including GPS coordinates, if the browser grants location access) and swaps the page to a "Your signature has been recorded" confirmation.
The header button changes based on state:
- Send for Customer Signature — no request sent yet.
- Pending x/y signatures — one or more requests are outstanding; from here you can remind the existing signer(s) or add a signer.
- Signed by x/y customers — once all requested signatures are in; you can still add another signer from here.
In-person / in-app signatures
You can also capture a signature directly in the app (for example, while creating or editing the work order) rather than emailing a request — this is the same signature-capture control used by the mobile "collect in person" flow. Each signature records the signer's name, the date, and (if the device allows it) their GPS coordinates at the time of signing.
View-only share link
A separate, view-only link can be generated for a work order (via the same email-action system used for signature requests) so a customer can review the work order without being asked to sign anything. That page shows the cost summary, the same read-only work order detail, the list of any signatures already collected, and a Download PDF button (saved under the work order's number). The link can carry an expiry, shown to the customer as "This link expires in n days."
PDF export
Click the download icon in the work order's header to export it as a PDF. The PDF is generated from the same read-only content used for the signature/view links (line items, totals, and your company's letterhead/logo, using your instance's company address and date format settings), so it matches what a customer would see on the emailed link. The file downloads under your company's name when generated from the header button; the customer's own Download PDF button on the view-only link instead saves it under the work order's number — same document, different default filename.
A customer viewing the read-only share link can also download the same PDF for their own records, directly from that page.
From a completed Work Order to an invoice
When you're ready to bill for the work, click Generate Invoice in the work order's header (visible if you have job-bill creation permission and the work order doesn't already have an invoice generated from it).
- Appello shows a preview: the count and total of labour, material, and equipment line items that will be copied over, and the combined total.
- If there are no line items yet, you're prompted to add labour, materials, or equipment before you can generate an invoice.
- Confirming creates a Simple Invoice pre-filled with those line items and takes you to the work order's Invoices tab.
Generating the invoice does not change the work order's status automatically. Update the Work Order Status yourself once the invoice has been reviewed and sent.
Only one invoice can be generated this way per work order — once it has an invoice, the Generate Invoice button disappears from the header. See Billing Report for how work order invoices roll up alongside regular job billing.
Common questions
How do I edit the name of a work order after it's been created? The Name field is not locked once a work order is saved. Open the work order's Overview tab and use inline edit on the details card (or open Settings and use its edit panel) — both open the same form used to create the work order, with Name available to change.
Can I remove the Location field, or make it optional? Location isn't hard-required by the work order form itself — nothing in the underlying field definition forces a value, so out of the box it's optional (you just won't get the "Same as Parent Job" convenience unless a value is filled in somewhere upstream). Whether it shows up, is required, or is hidden on your instance is controlled by the same field configuration used for every other field on the Work Order form:
- Settings → Property Settings → Work Orders → Manage Forms lets an instance admin add or remove Location from the Create/Edit form for Work Orders, and toggle whether it's required for your instance. This is also where the additional fields mentioned in Creating a Work Order (Rate Type, Wage Region, Purchase Order, Contact, Description of Work, Signatures) are added or removed.
- Settings → Roles & Permissions → Field Permissions can additionally hide the field (or make it view-only) for specific roles, separately from whether it's on the form at all.
If you don't see these options, the Manage Forms screen needs an elevated field-configuration permission that not every admin role has by default — check with your instance owner or Appello support to get it enabled.
Can I search work orders by customer PO number? Not currently. The Work Orders list search only matches on WO number, name, company, status, and type. Purchase order numbers linked to a work order are visible on its Overview tab (as PO chips, if the Purchase Order field is on your form), but they aren't part of the list's search index yet.
Why is my work order numbered something like 26-77508? See Numbering above — the numeric portion reflects a running counter shared with regular jobs, not a count of work orders alone. You can edit the number field directly if you need it to read differently.